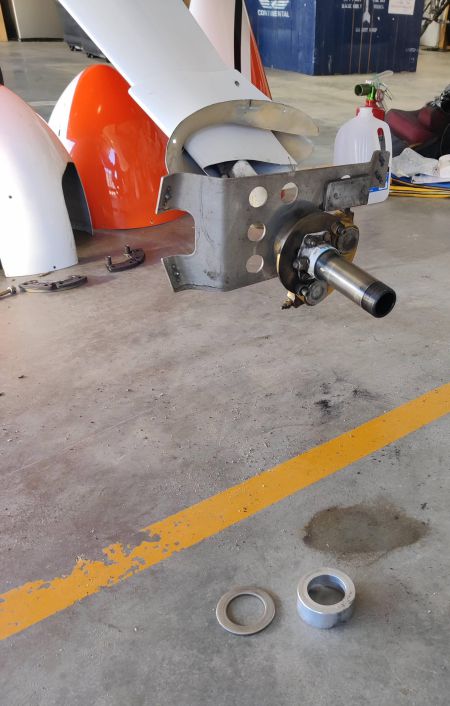
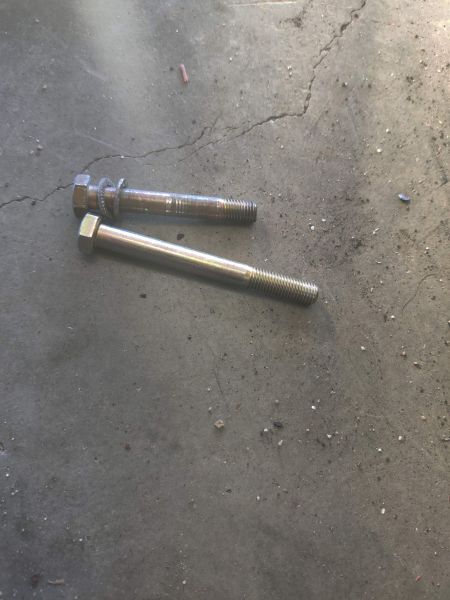
Each Condition inspection I have battled the reinstallation of the Matco brakes. The issue is that there is almost no room to get the inside brake pad lined up and start the bolt. I’ve spent upwards of 40 minutes getting one bolt started, frustrating and a total waste of time. I’m embarrassed it took me this long but I finally have an excellent solution that makes the process take only seconds.
The trick is to use two 5/16-24 x 4 inch long bolts (installed in one of the outside holes and one of the inside holes). With the added length it is easy to position the inside brake pad. Once those two inserted, use them to pull the caliper parts together and then the stock bolts line up perfectly. Finger tighten those, remove the long bolts, and install the remaining two stock bolts and you are done!
Oh and FYI, this year I found three of the four slide pins had become loose…


Hi Chris. If I understand correctly your issue, I think the instruction manual for these brakes addresses this issue. I’ve done three condition inspections so far with no issues like you’ve described. Section F in the manual says to loosen three of the four center bolts and slide them out a third of an inch. Then loosen the remaining bolt one or two turns and you’re able to rotate and slide the linings and calipers off while keeping all of the spacers in place to ease in alignment when reassembling. Fair winds!
Aaron, thanks. I can’t visualize this process – The pads and calipers are connected with bolts. How can the pads rotate and slide separate from each other? Do you remove the disc? I leave mine attached during servicing.