Well I suppose it should be expected that the one hatch that leaked would be over my bed. At least in Mexico and San Diego there isn’t a lot of rain so it wasn’t major issue. Mostly just a just a pain in the ass when washing the boat, since I had to remember to put a bin under the hatch to keep my bed from getting damp.
First off, I reached out to Seawind Catamarans for their recommendation on what adhesive I should use to reseal my hatch, which they promptly responded that 3M 4000UV was the right stuff (a quick shout out to Huyen for always getting back to me quickly!).
Next was removing the hatch. I removed the 19 screws that went around the parameter. Then using a HomeDepot 6-in-1 tool and a hammer I gently worked my way around the hatch breaking break the old adhesive. Let me tell you, the 6-in-1 tool was perfect for the job. Maybe 10 minutes later I had it out and on the deck.
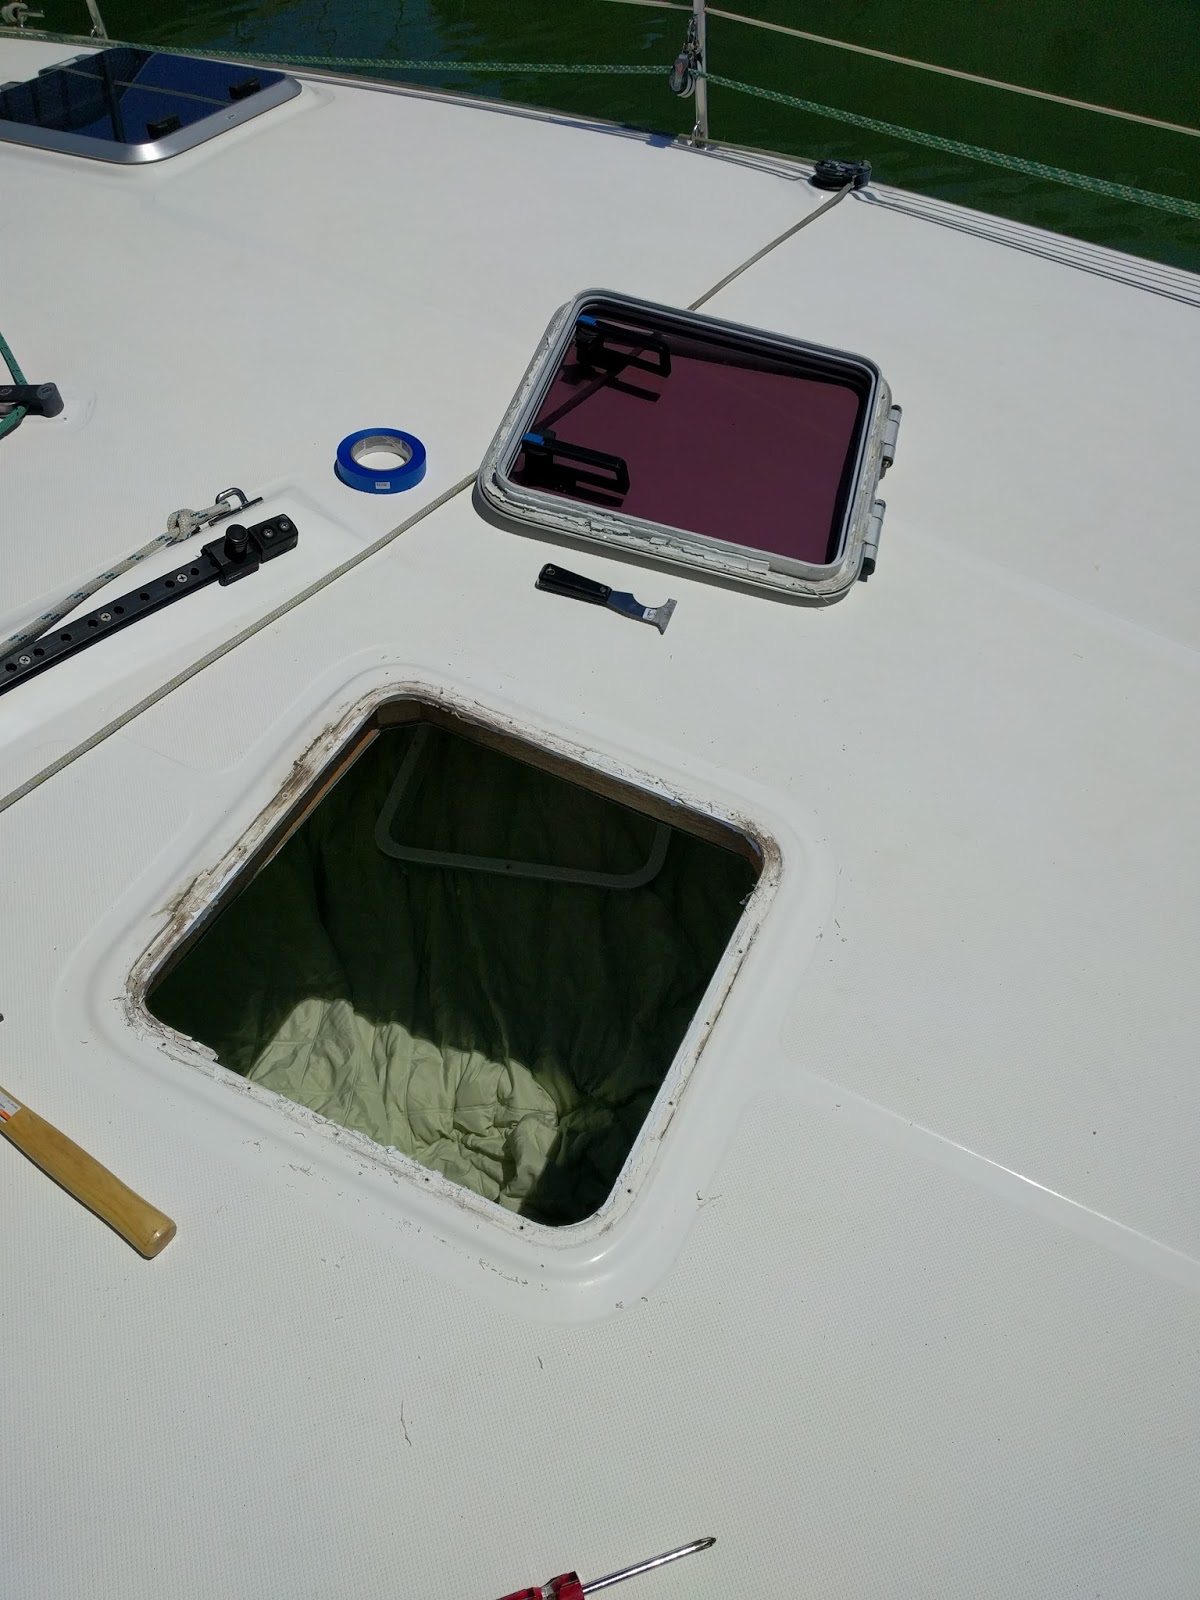
Gebo hatch removed
Next up was the fun job of getting all of the old adhesive off the hatch. Since new silicon won’t stick to old silicon it was critical that I removed all of the old stuff. Easier said than done…
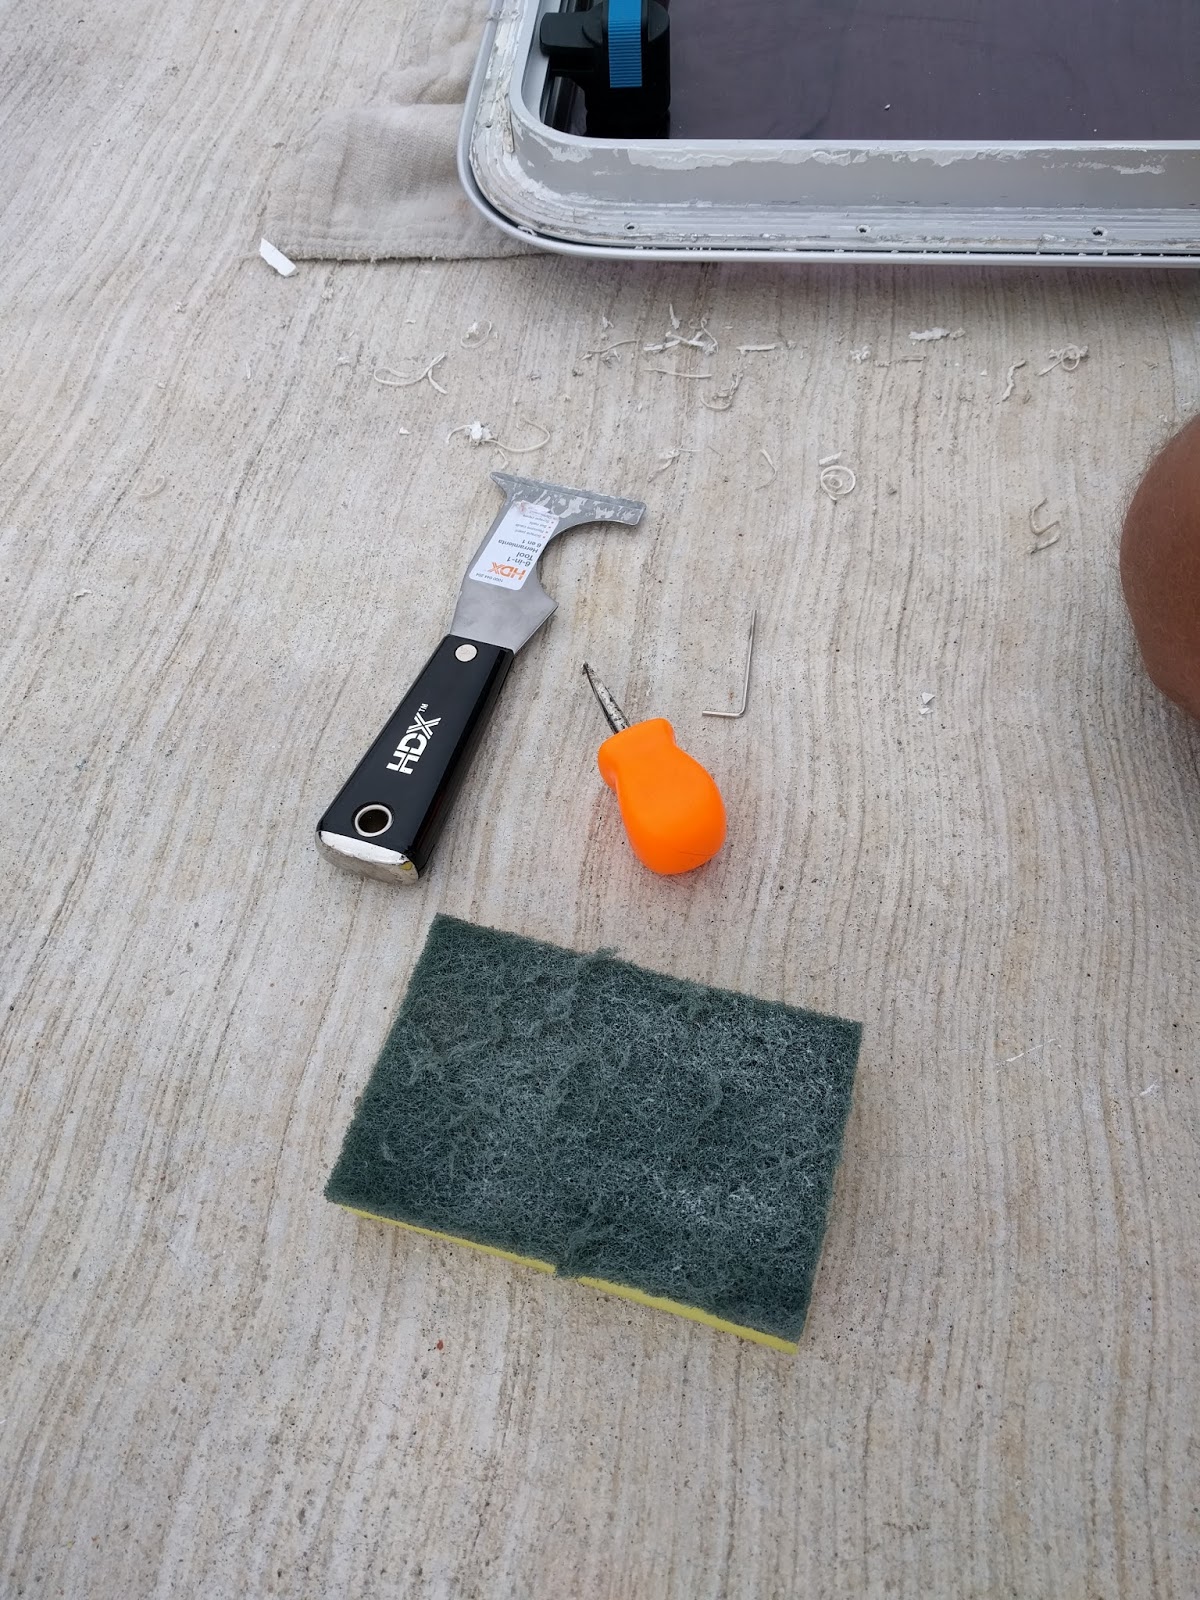
I used a number of tools to get it cleaned off. I started with the 6-in-1 tool and a razor blade, which allowed for clearing a good amount of material pretty quickly.
I took an acetone wash before the next step of using a small Allen wrench to clear out the groves cut into the aluminum. A small slotted screw driver and Brillo pad cut through the smaller areas. It probably took 30-45 minutes to get it down to bare metal. Not horrible. But not fun either.
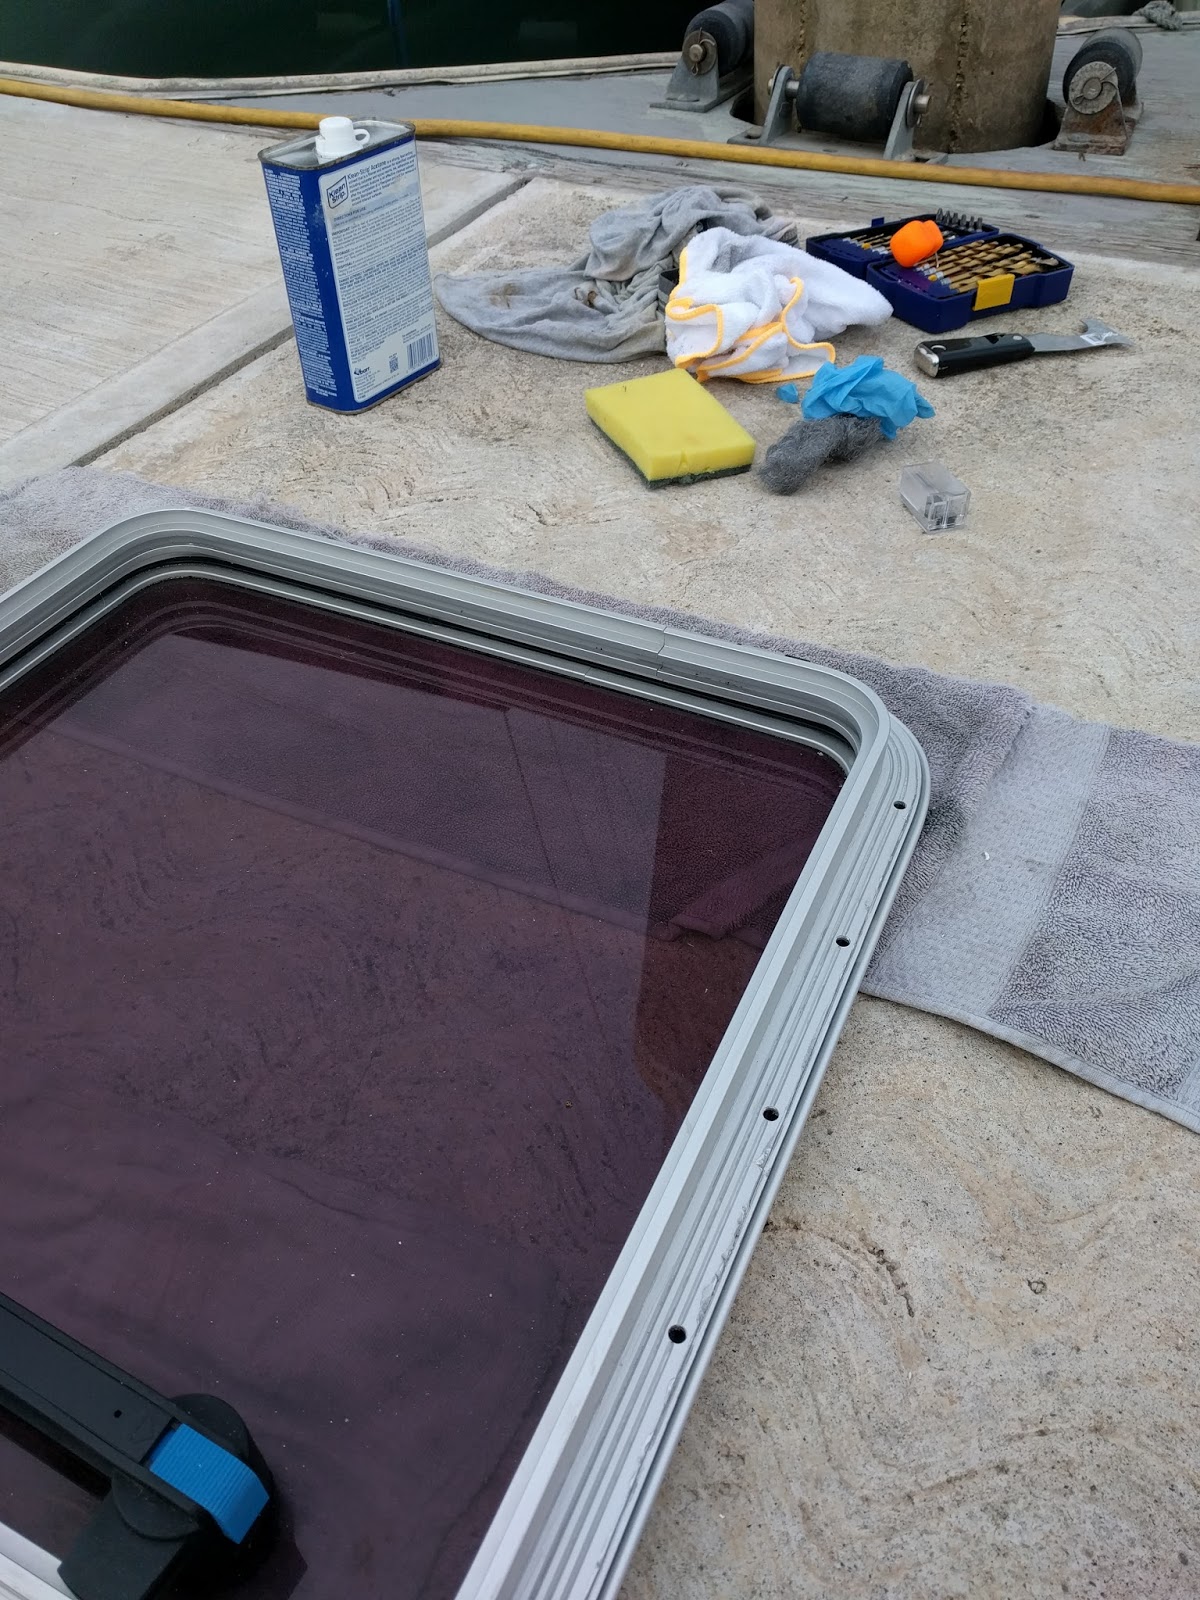
Cleaned hatch, ready to re-installation
Now to prep’ing the fiberglass which includes careful use of the razor blade along with the Brillo pad and more acetone. Yum! Getting everything cleaned off, it was clear why the leak happened – the holes on the hatch side just caught the edge of the fiberglass. Looks like more steps to the project…
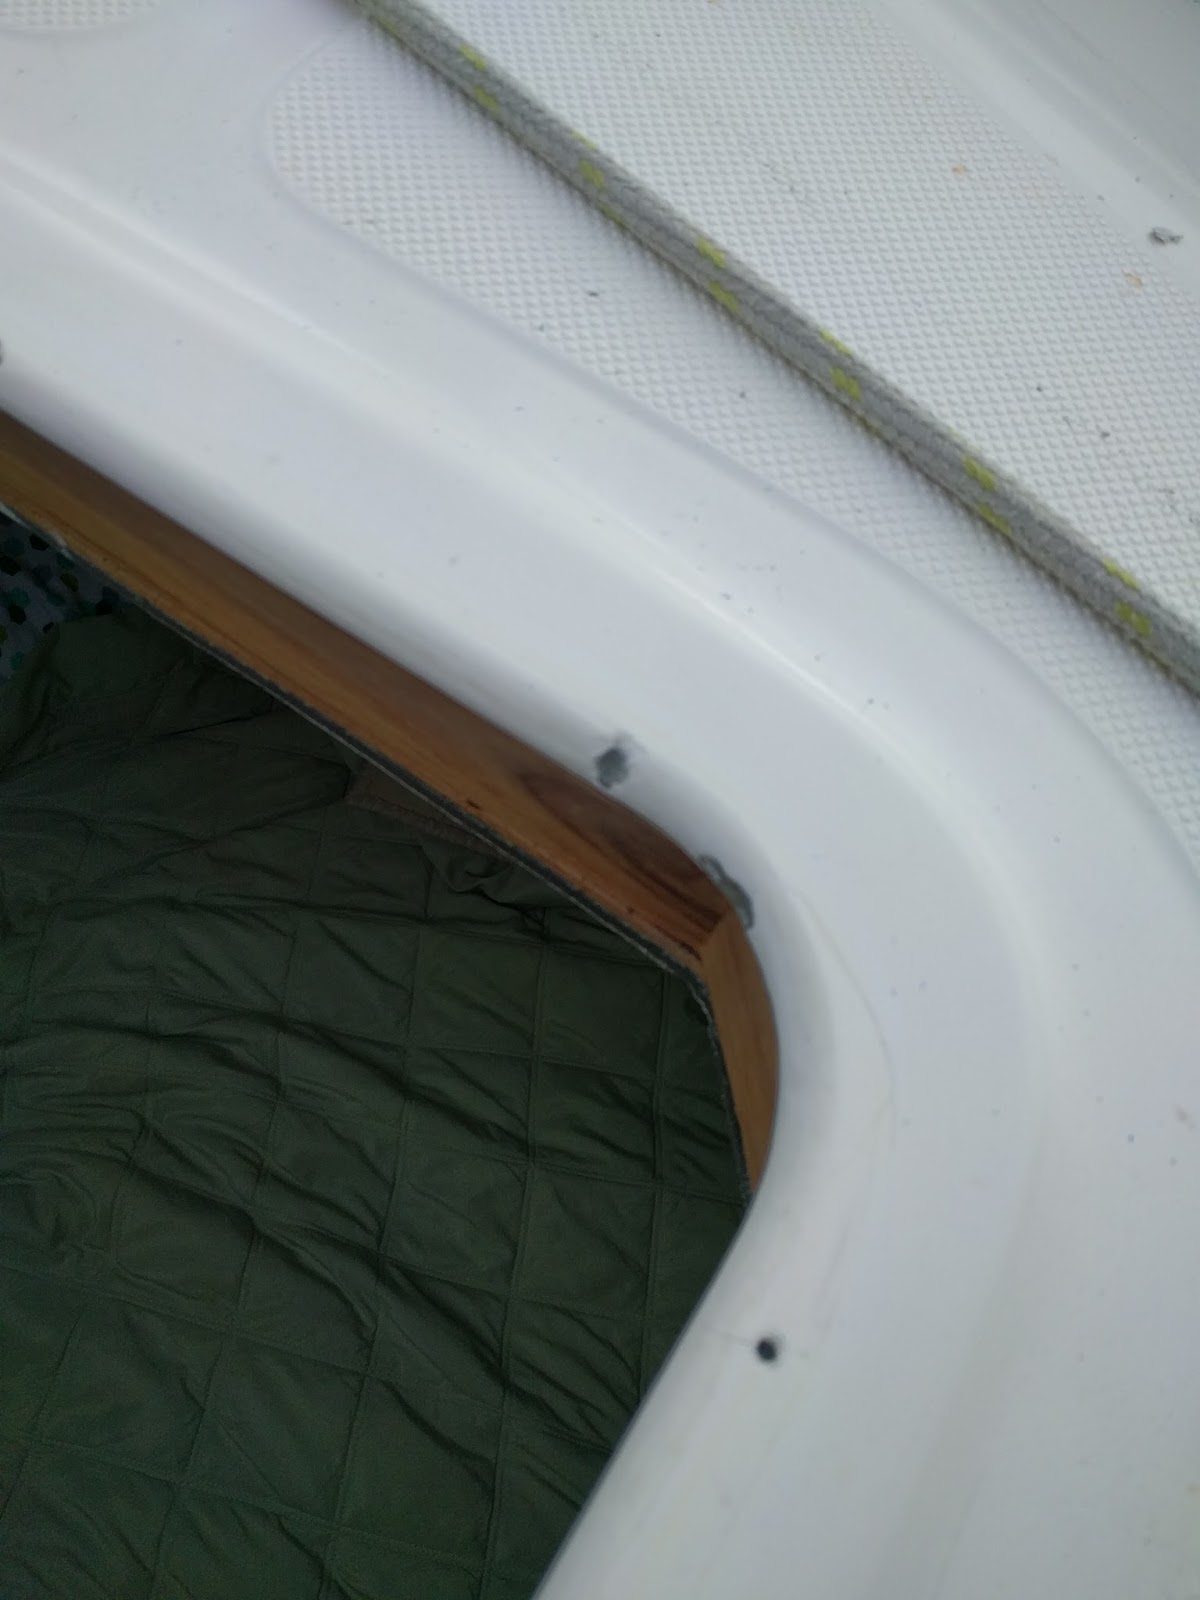
One of the holes that the screw barely caught
Rick (the neighbor) recommended Marine Tex to build up the mounting area for the screws, so off to Marine Exchange I go. Back to the boat I mix up a batch, insert screws in the holes apply the epoxy. Then I wait. The next day I test fit the hatch and put in the screws only to have the Marine Tex fracture. Oops, guess that isn’t a good solution. So I turn back to my initial plans to use fiberglass resin with loose fibers.

Before chipping off the Marine Tex and replacing it with fiberglass
I built up a pocket for the material, so that the epoxy wouldn’t run all over the place. Mixed the resin, filled the holes and pockets with a good amount of fibers and epoxy. Then I wait.
The next day I was able to sand the fiberglass rework to make a smooth surface for the hatch. The hatch was re-installed (no 4000 UV yet) with most of the screws inserted so that I could tap the holes for in the new fiberglass repair.
Feeling pretty good with myself I pulled out the screws and applied a liberal amount of the white 4000 UV to the hatch and carefully placed it in the opening. There is only about 10 minutes before the 4000 UV gets clumpy so I had to work fast to insert all 19 screws (I went with all new stainless screws), slowly work them down, skipping around to keep the pressure equal, until they were all in nice and tight.
Then came the fun job of cleaning the excess adhesive. Again, I turned to a razor blade to get the majority of the material. It was a bit of challenge to keep the deck clean and not drop bits of adhesive but with plenty of rags and acetone it wasn’t too bad. Then I wait.
A few days later, armed with a powerful hose, I held my breath and gave it a good test. Whew, no leaks and a good looking hatch install. Still, I hope that the other hatches hold up for a very, very long time.
No Comments