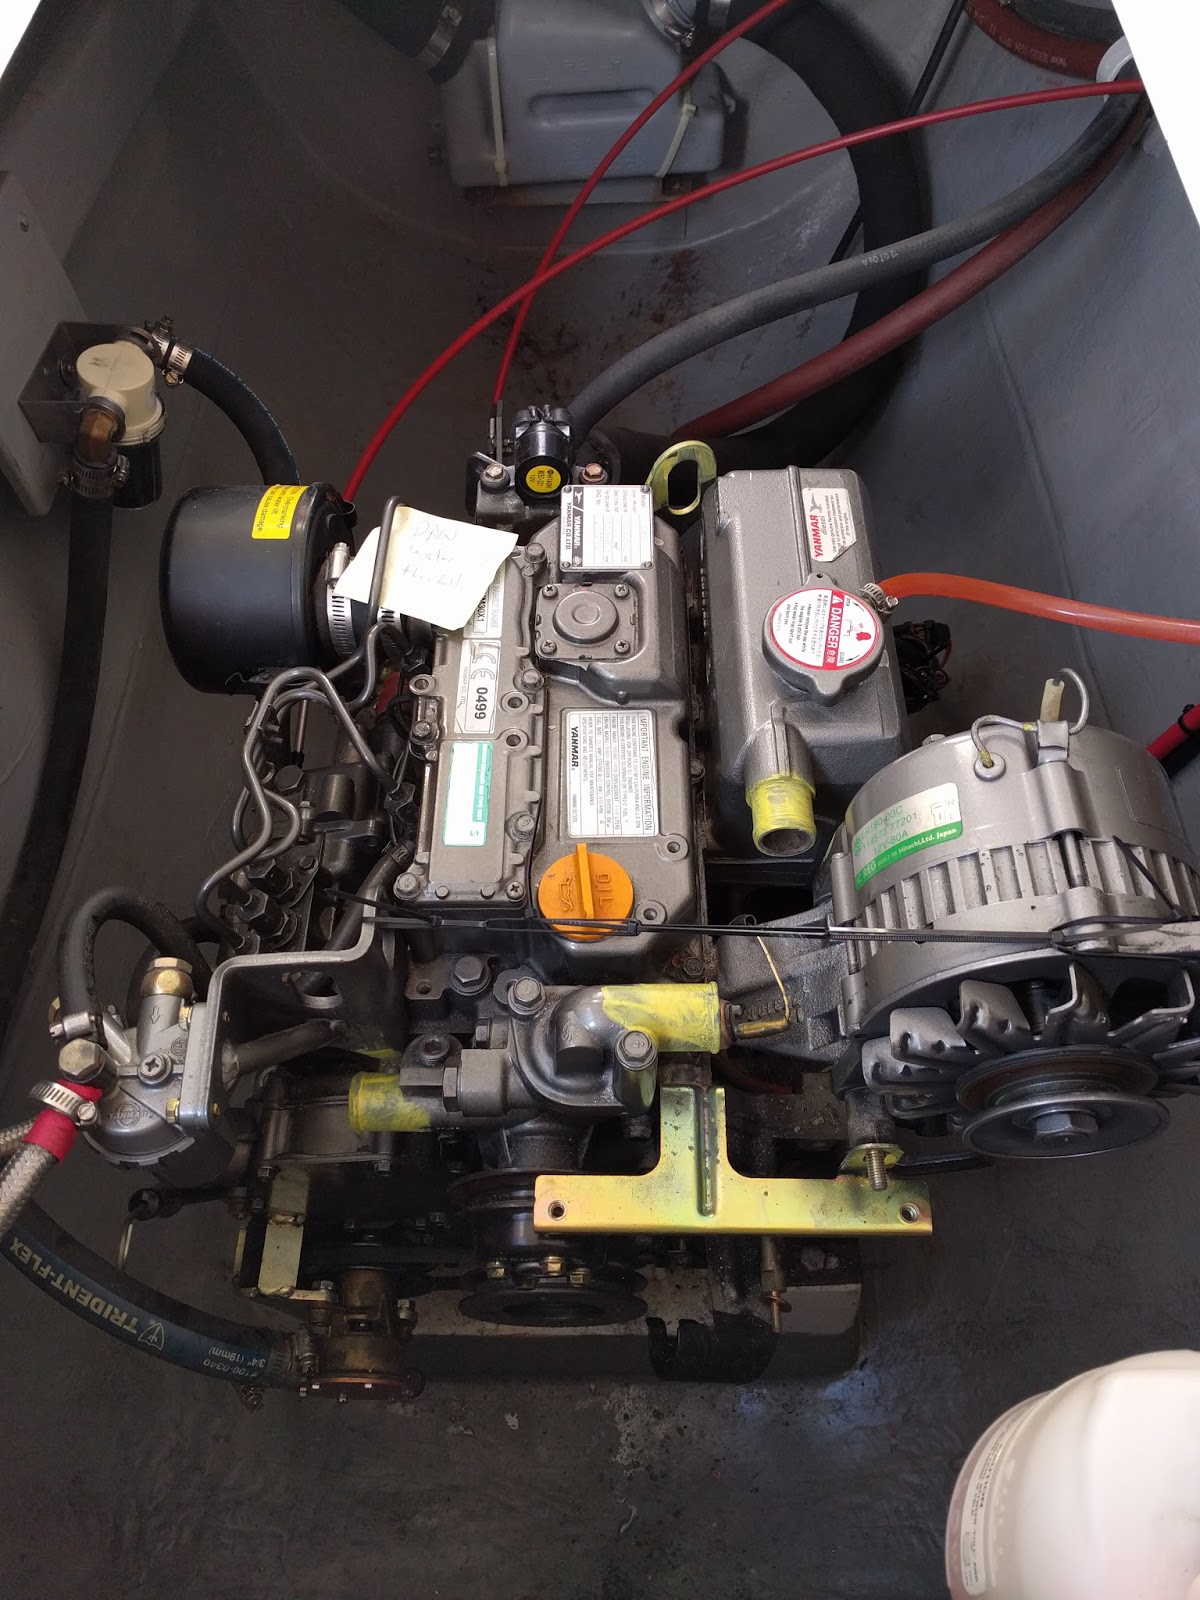
Two engines means two chances to get it right. Or to screw it up…
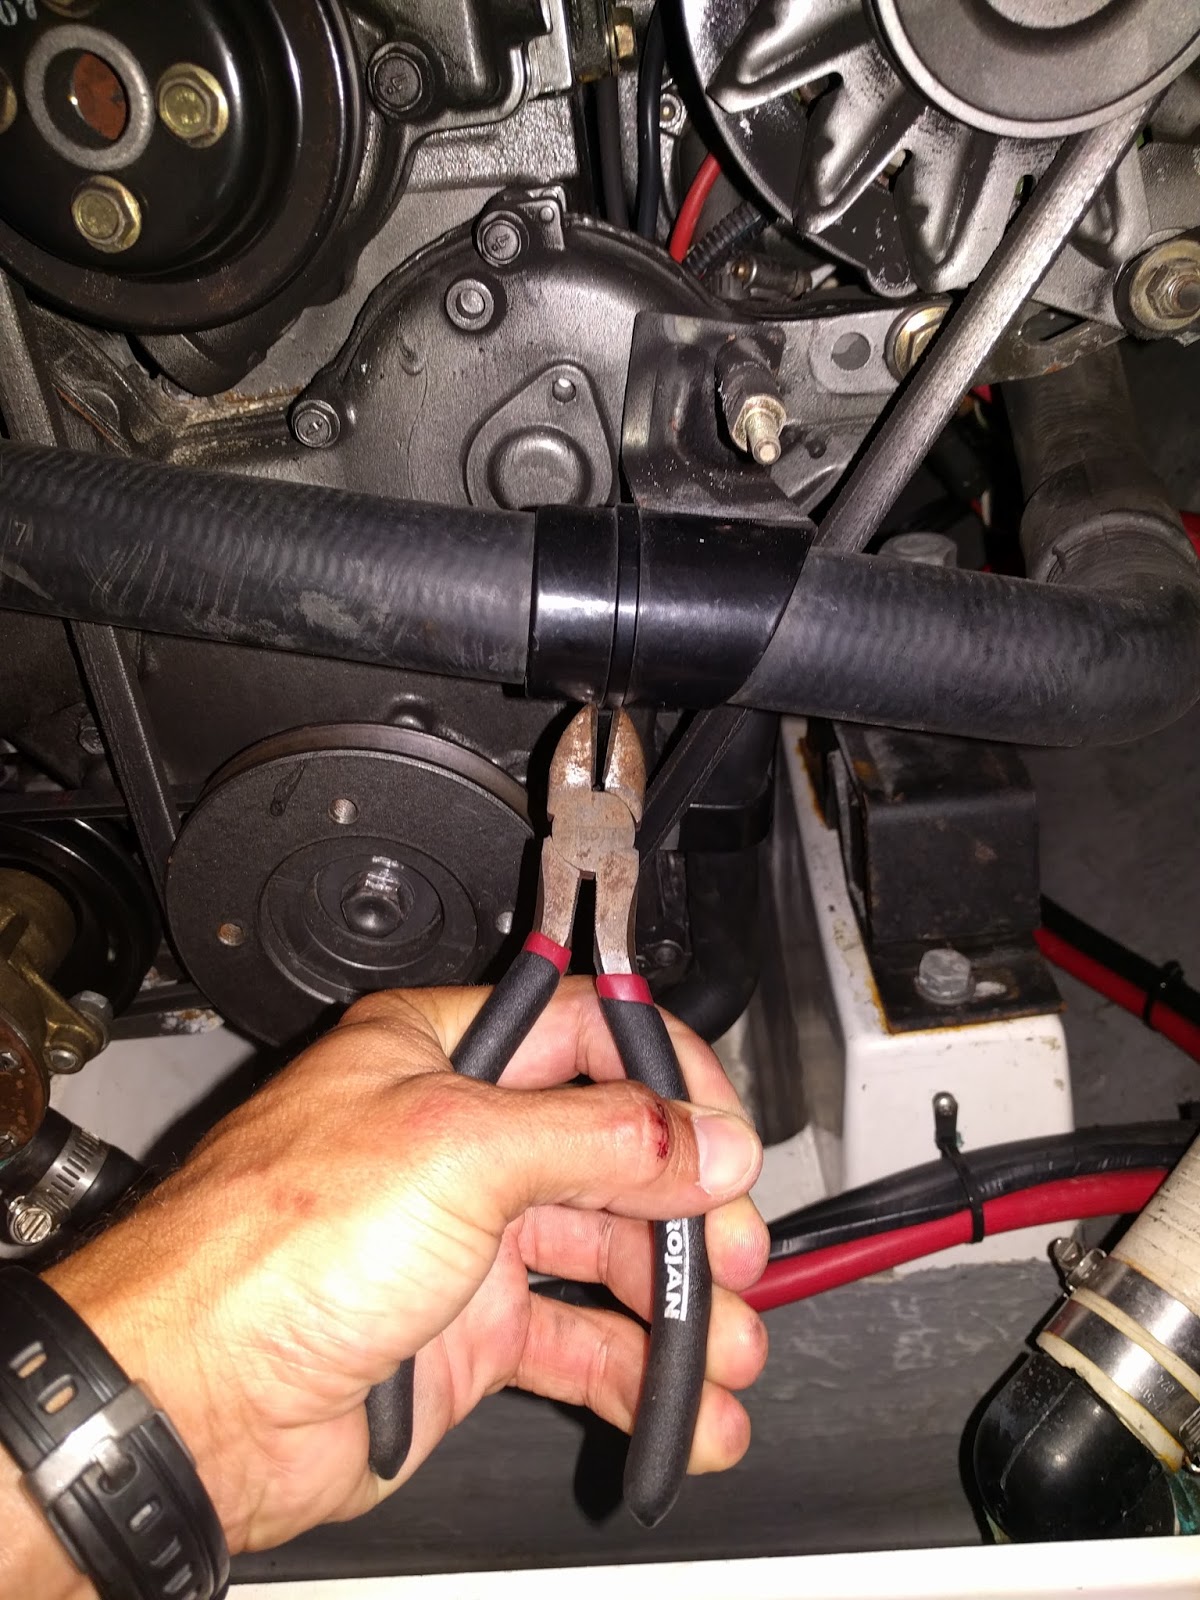
Clip the zip tie holding the coolant hose
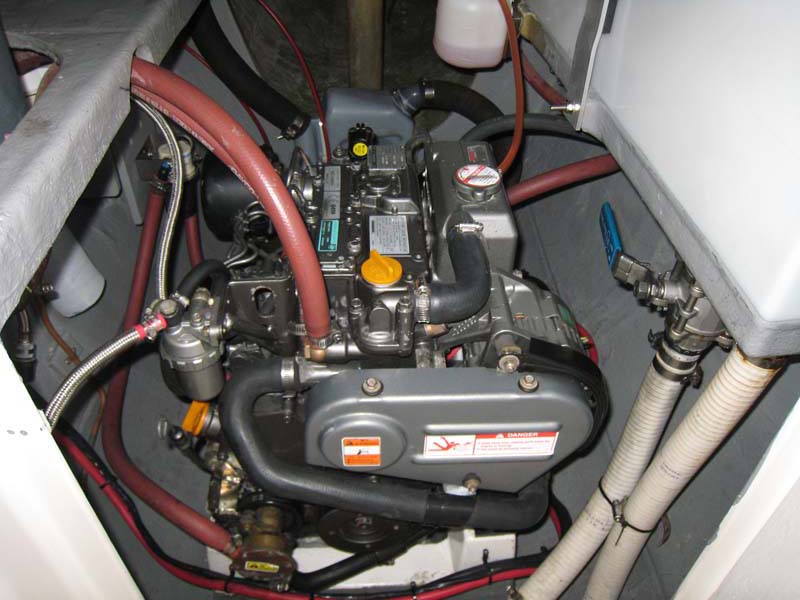
Remove the alternator belt guard
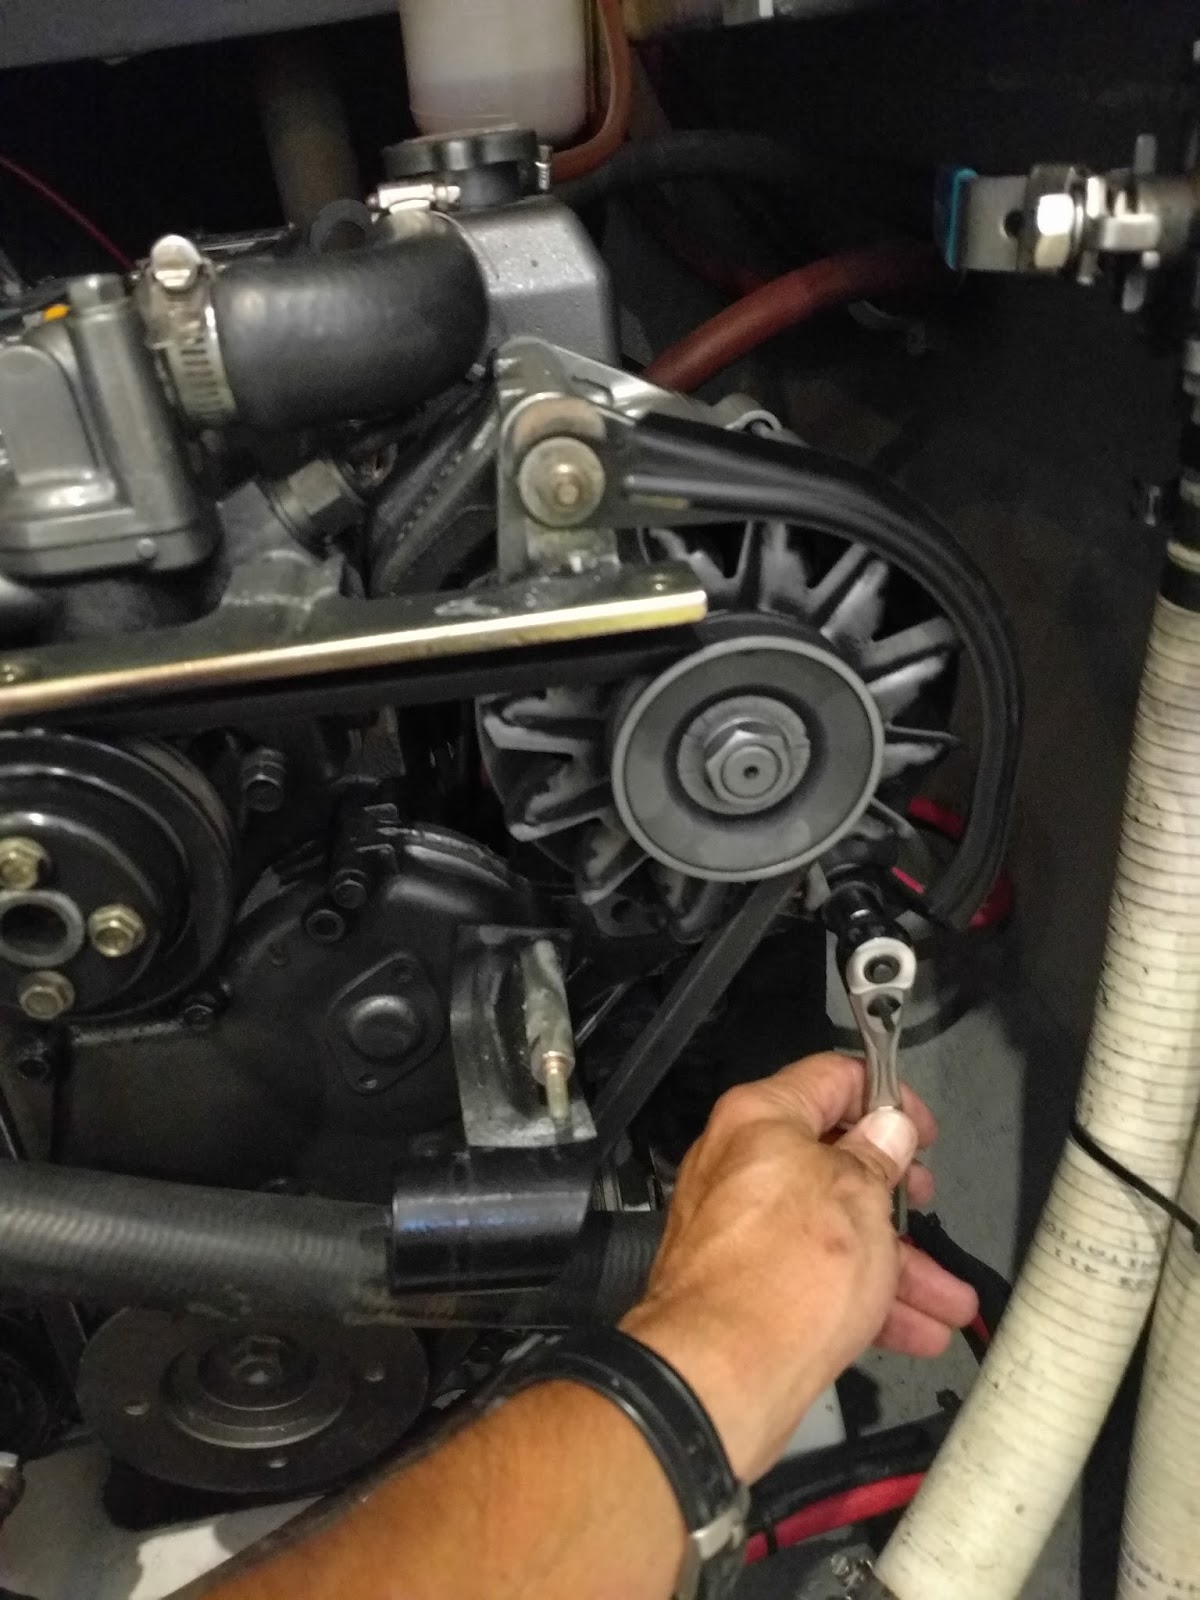
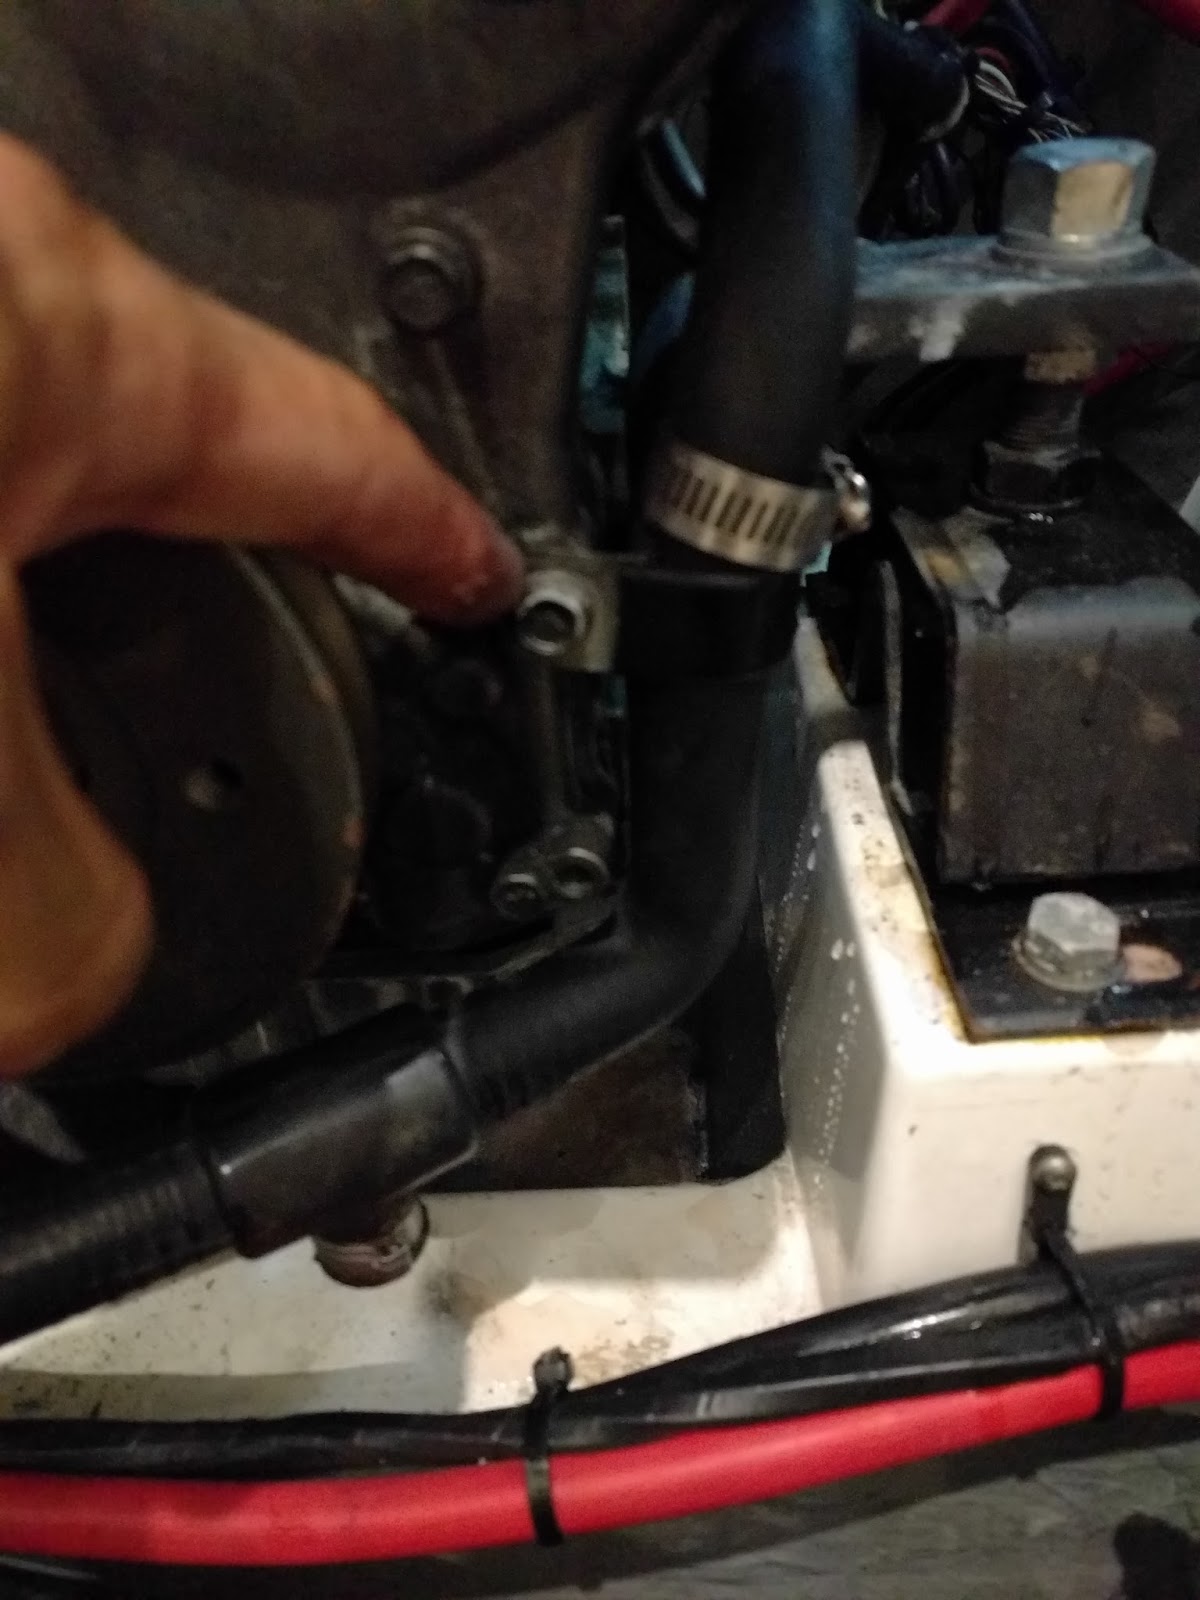
Remove the lower bolt from the back side of the alternator

Loosen both the front and back bolt holding the alternator
Remove the alternator belt
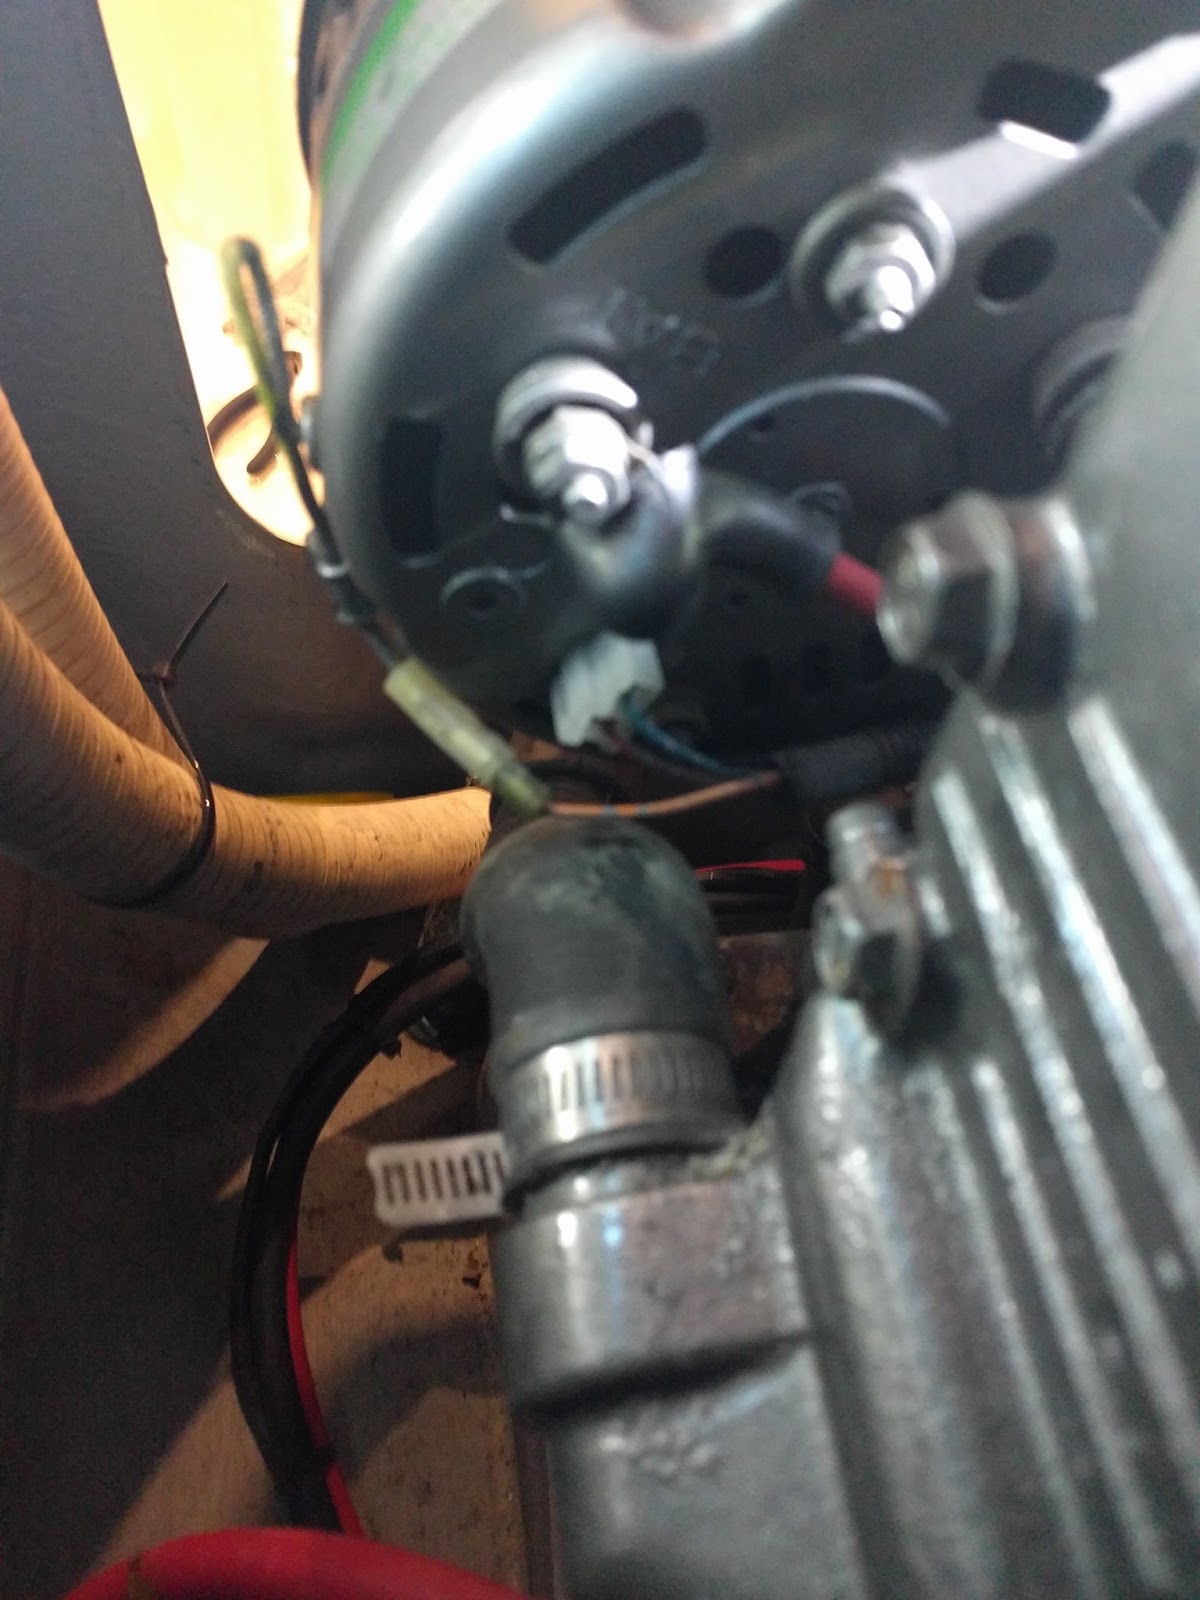
Remove the alternator cables
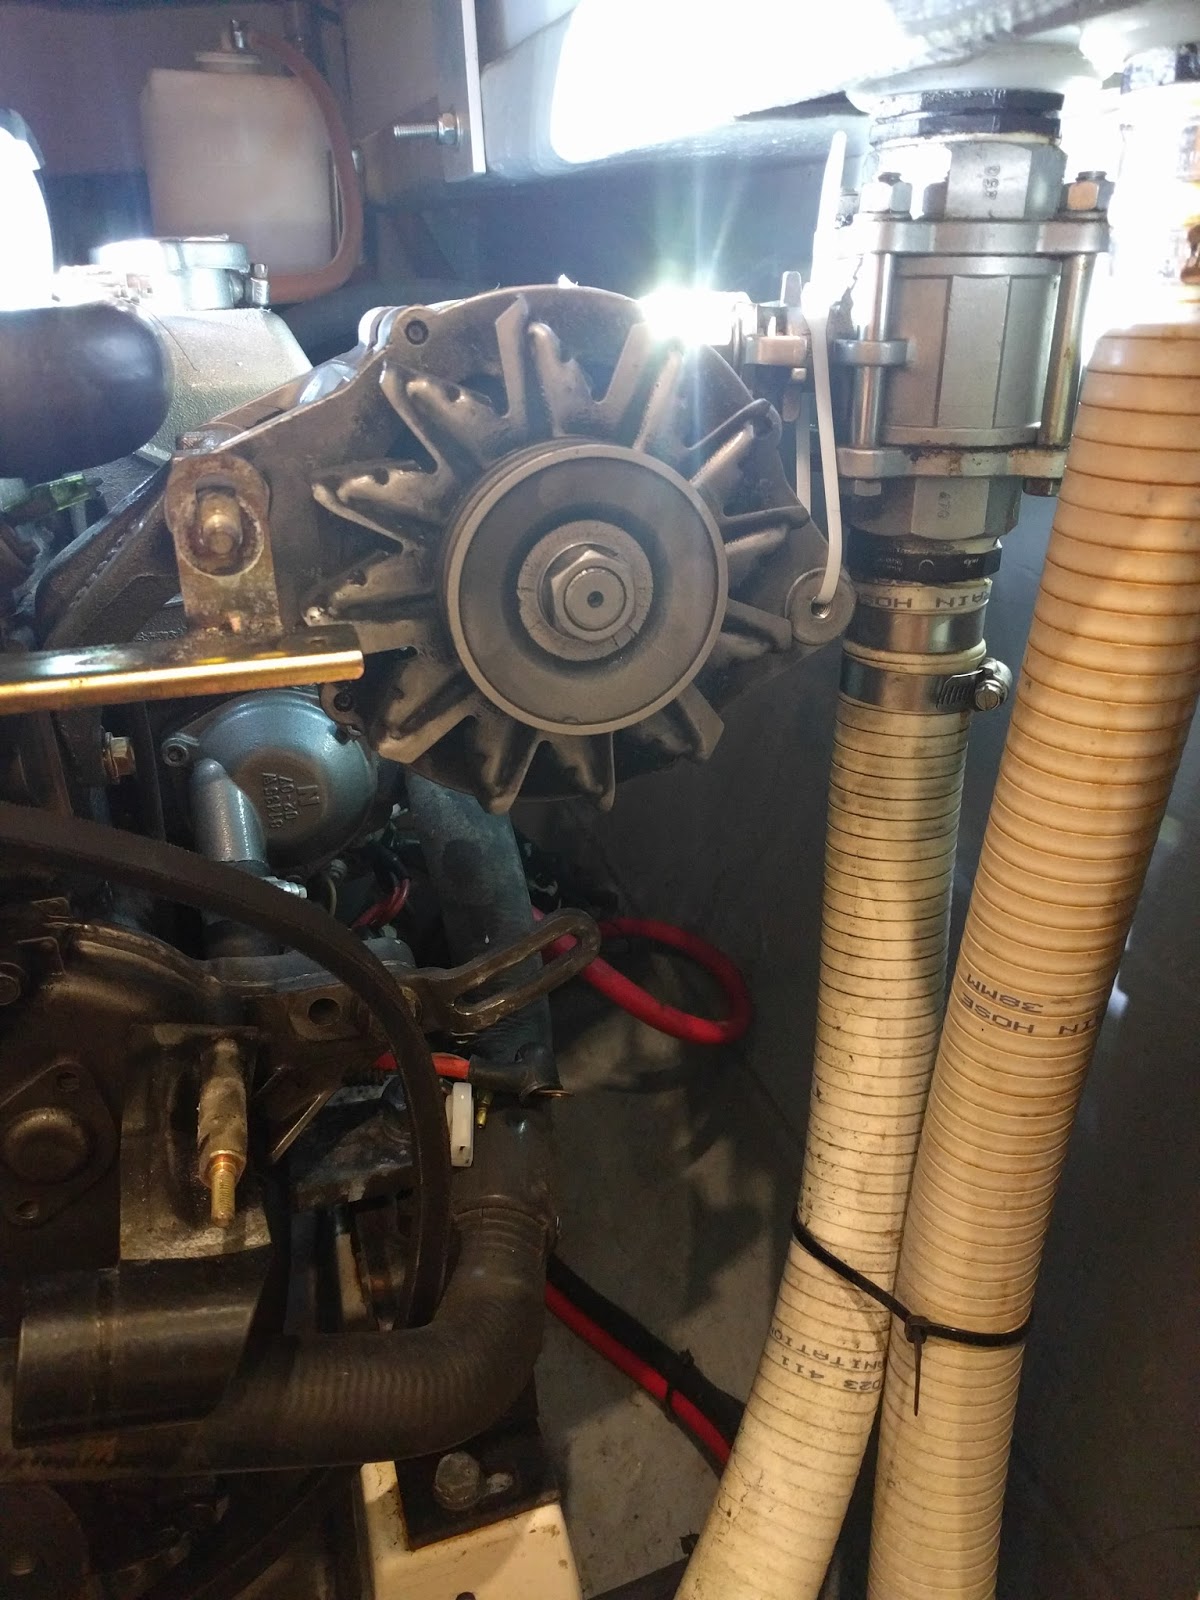
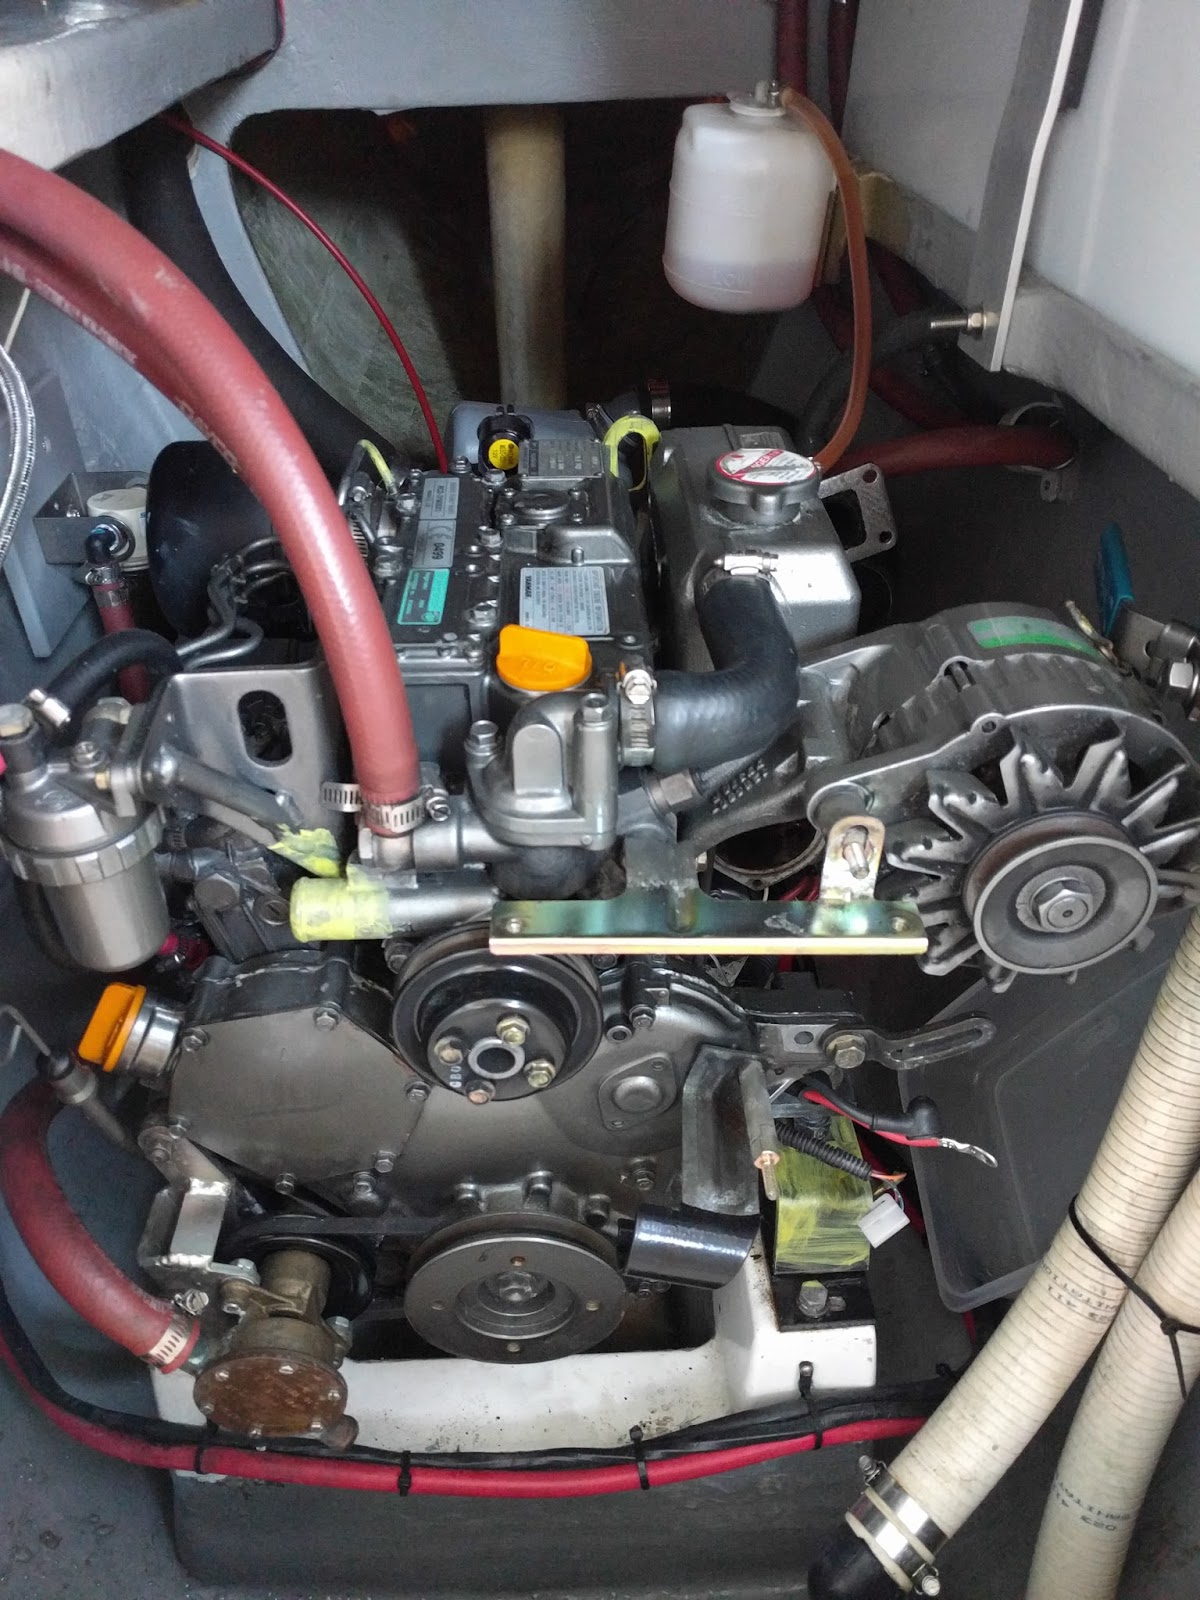
Zip tie the alternator up to get access to the heat exchanger

Place a bucket under the rear coolant line, where it exits the heat exchanger
Unscrew the hose clamps and remove the rear hose letting the coolant drain
Close the raw water thru-hull (on the saildrive)
Remove Raw water hose clamp
Loosen the Raw water hose clamps and remove the raw water hose
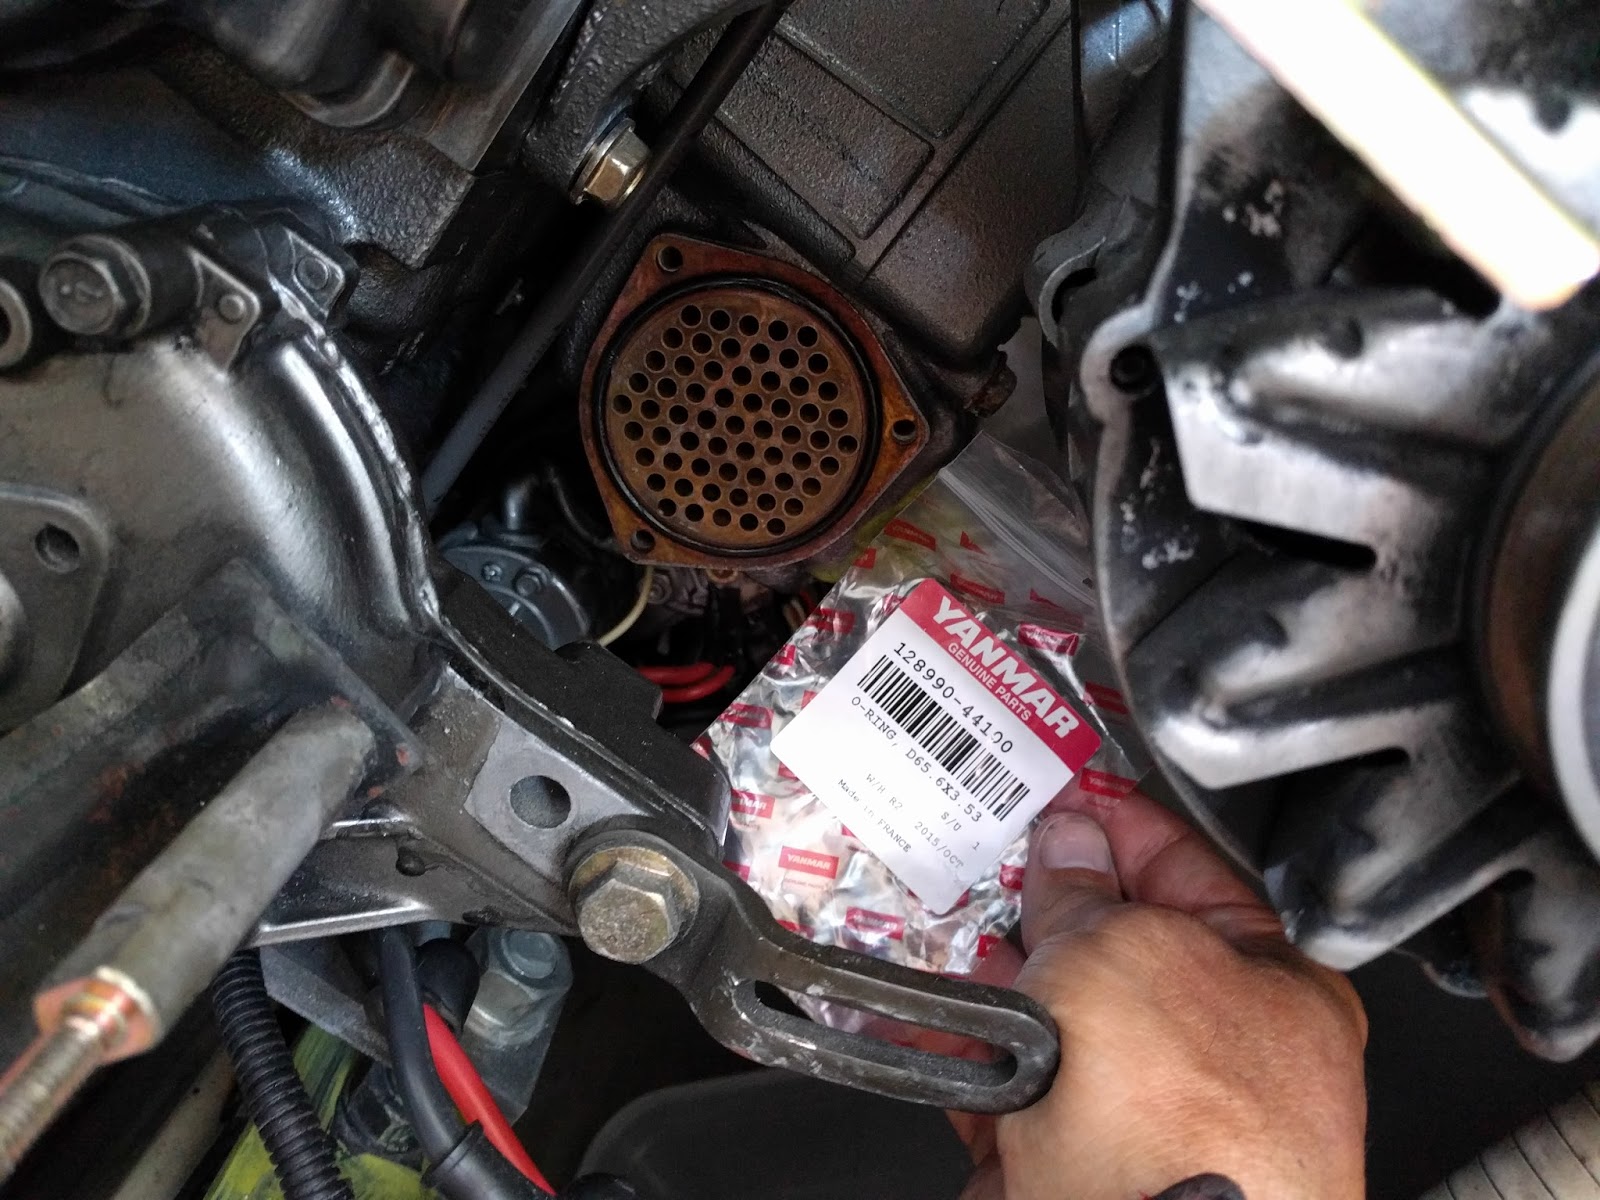
Remove the three Allen head bolts that hold the cover on the heat exchanger
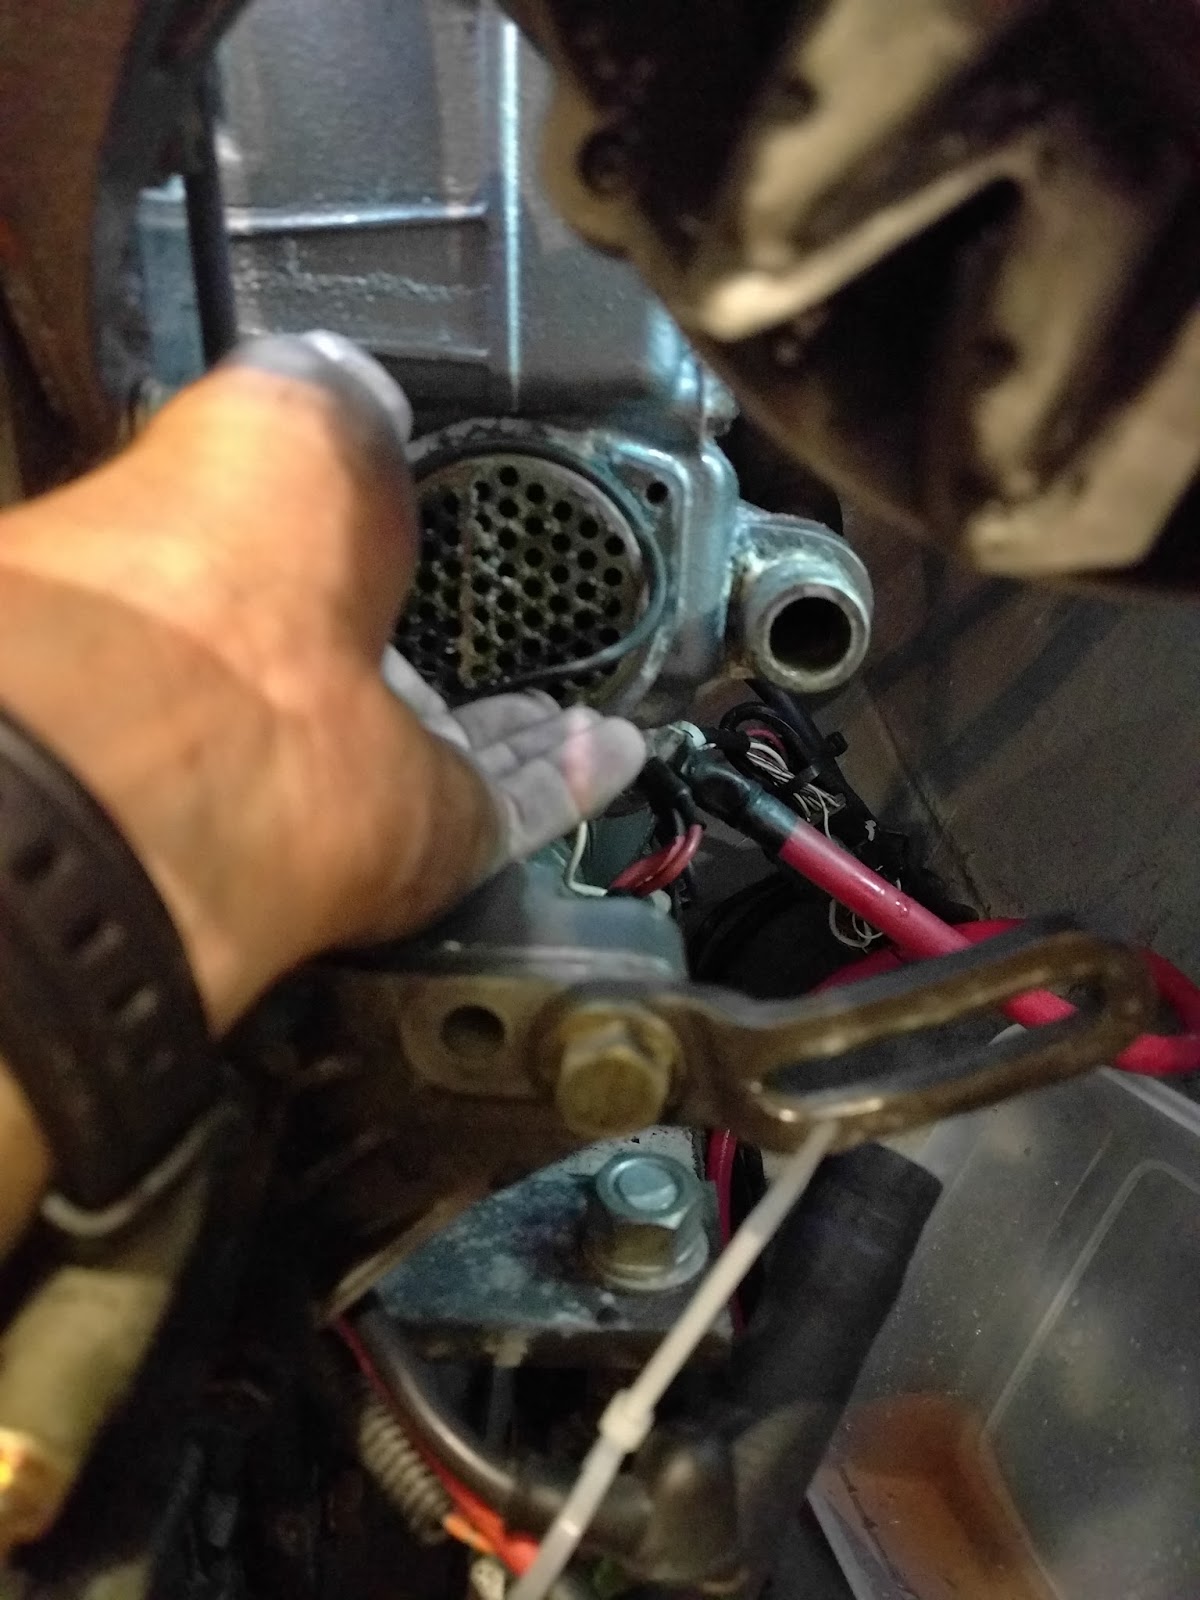
Remove the o-ring on the heat exchanger
Unbolt the Exhaust Mixing Elbow (four bolts)
Rest the Elbow out of the way
Remove the three Allen head bolts that hold the rear cover on the heat exchanger
Using a block of wood and a rubber mallet, gently tap the heat exchanger from the FRONT
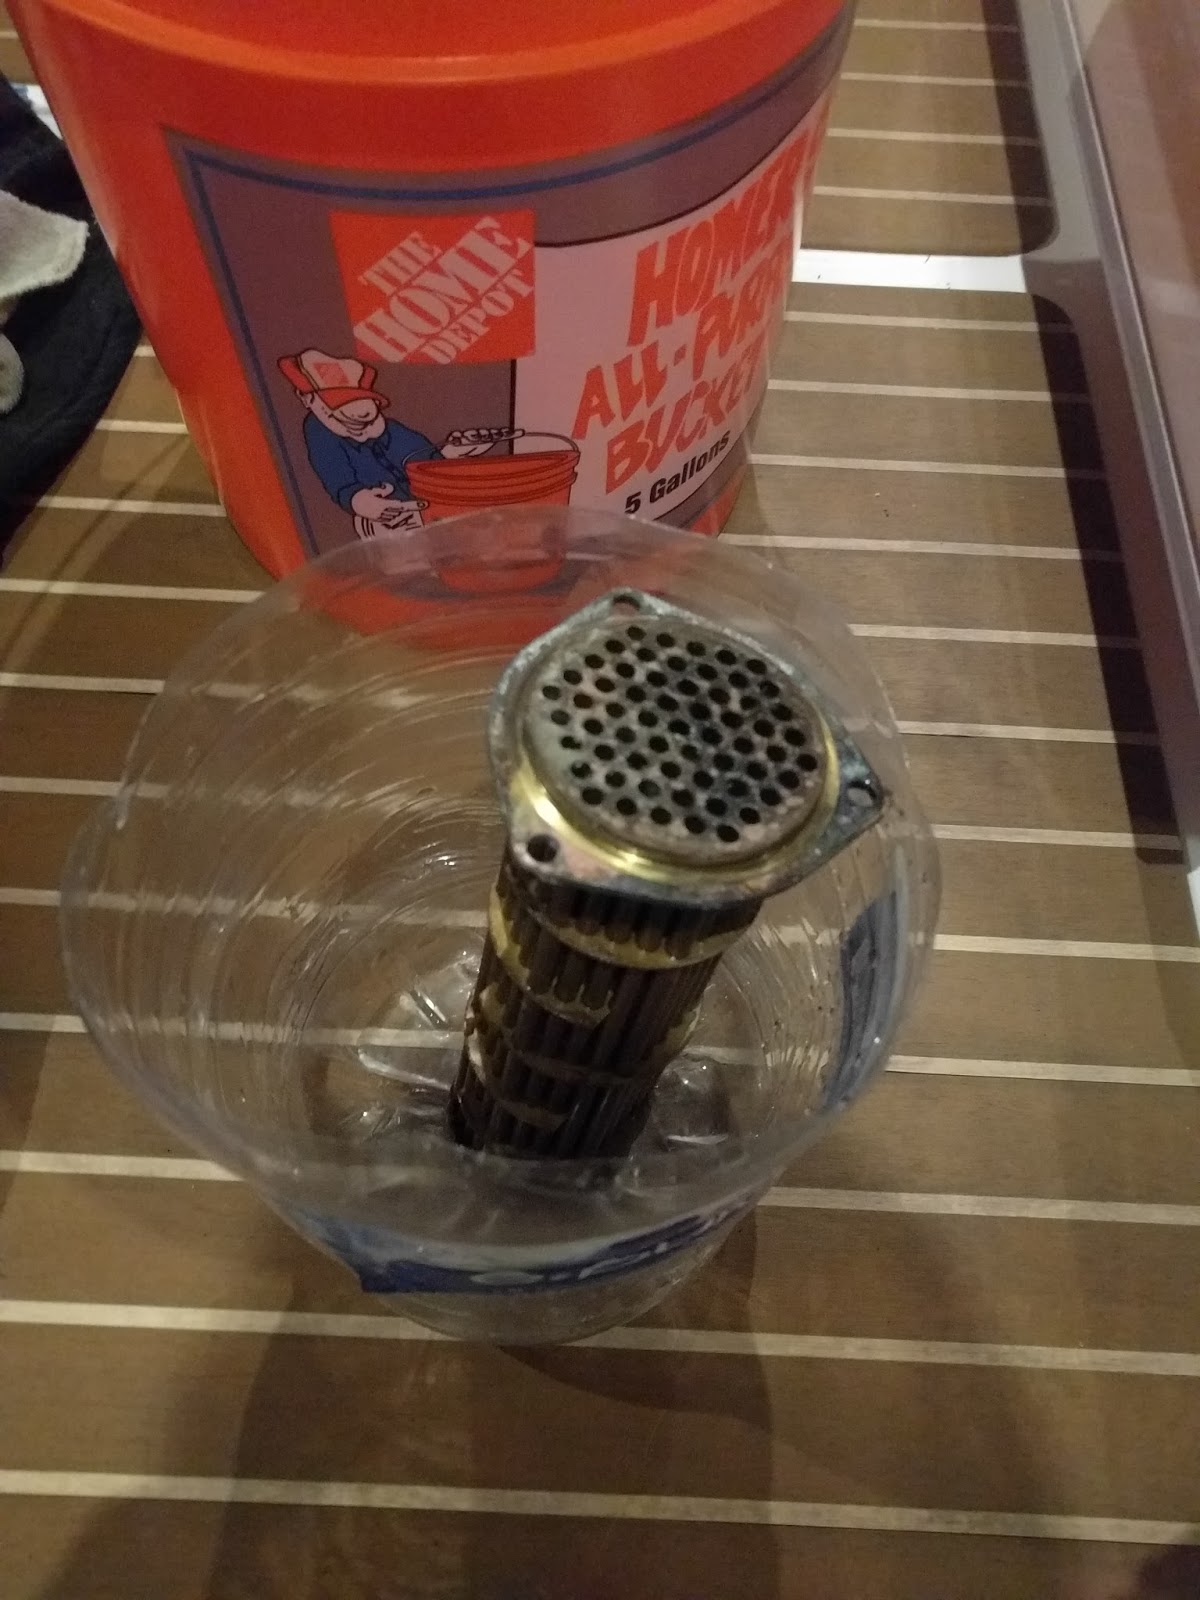
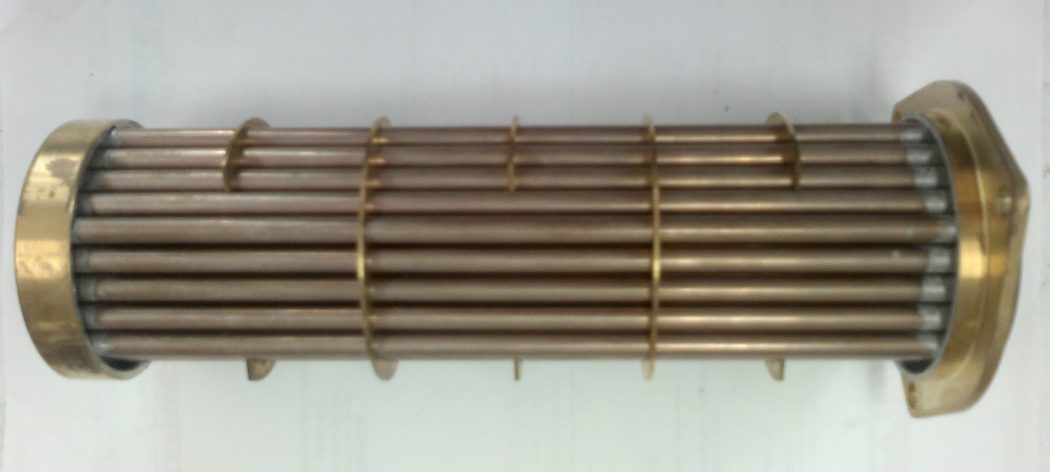
Place the Heat Exchanger in a container and soak in CLR
The scrub the Heat Exchanger and use a brush to clean the tubes under clean water.
Soak hoses in CLR until they stop bubbling and rise with plenty of water.
Treat any corrosion – sandpaper down to bare metal, wipe with acetone, primer paint, and finally engine paint. Wait 24 hours between each step.
Primed and ready for engine paint
There are 4 o-rings for the heat exchanger. Best to use new o-rings and coat with Sil-Glyde lubricant.
Be sure to use a new exhaust mixing elbow gasket and use a razor blade to clear off the old gasket material on both the elbow and the heat exchanger.
Reassemble in the opposite order
Fill the coolant with AC Delco Cool Dex and distilled water (4.6L)
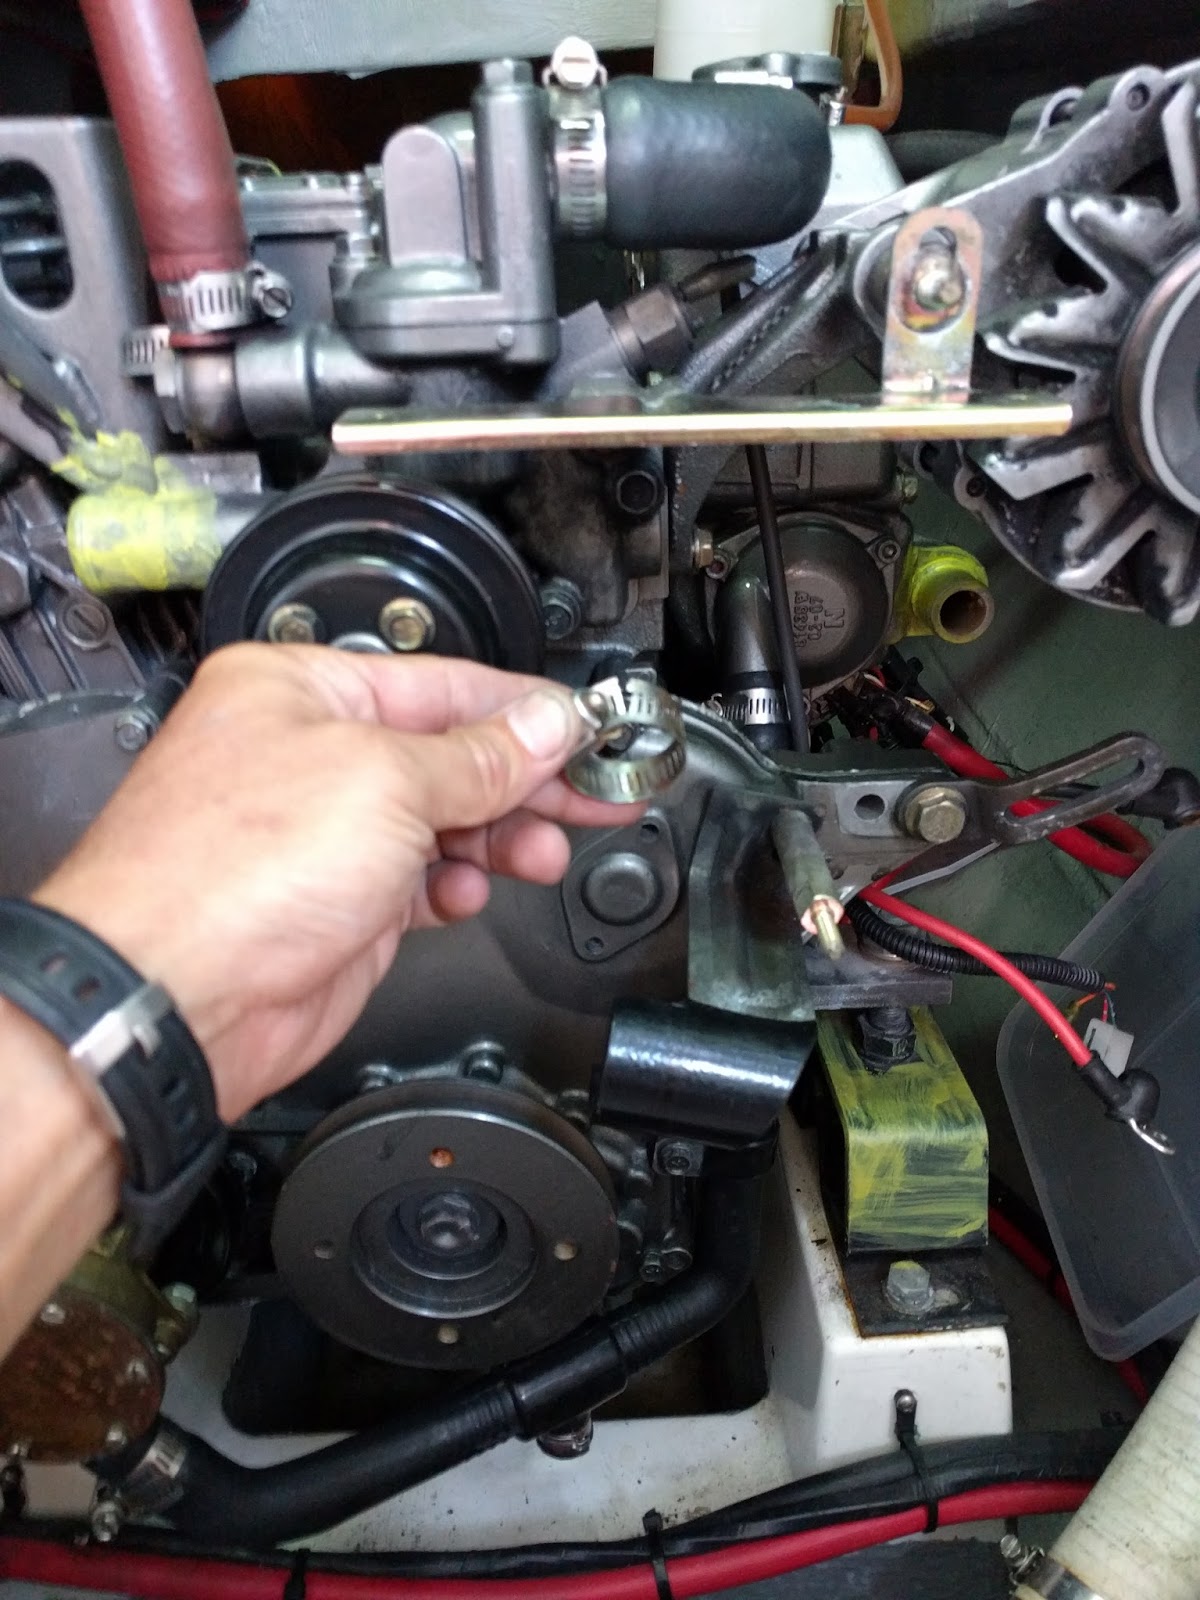
Check those hose clamps. Stainless or not they can fail.
I took my time, didn’t rush, and this job took about 6 hours start to finish per engine (excluding waiting for paint to dry…).
Now I have a nice clean engine, ready for many more hours of happy operation!
was this preventative maintenance? or did you loss cooling?
Jim Hanson
s/v Imagine
Seawind 1160, Hull #34
ps. love this web site, just found it
Jim, really appreciate the praise, thank you. It was more preventative maintenance. However, it seemed like there was a bit of steam in the exhaust so I was concerned. I did however notice a slightly increase amount of water after cleaning them.
Hello Chris,
I had a total blockage in my cooling system on my 3MY30 with only 200 hours on it over 4 years. I started with the heat exchanger. It was the first time for me doing this. Your step by step guide with fantastic photos was an invaluable help. As it turned out the heat exchanger was pretty clean (did clean it though) but I had to replace the exhaust elbow. For that, I took it to a shop as I do not have a torch and a vise to take it apart from the mount. . All is well now and I have more water than I have had for some time. I was fortunate as I just had finished motoring up to Ventura, CA from Ensenada Mexico with no issues. My 3My30 is in a 1980 Bristol 35.5 (fixed Keel). Thanks you did a great job on you article A+.
Steve, I’m very happy that my post was helpful! And that you made it to Ventura.
Chris, your article helped me greatly and is well appreciated. I had a total blockage in the water cooling system on my 3YM30. I had not done the heat exchanger cleaning before. As it turned out the heat exchanger was pretty clean but the exhaust elbow was totally blocked. I cleaned the exchanger and took the elbow to a shop to have it replaced on the mount. It was hopeless. AS this was the first time doing this your great and well illustrated articles was an invaluable help. Thanks so much. My Yanmar 3MY30 is in a BRISTOL 35.5 is in a 1980 Bristol 35.5 with only 200 hours over 4 years. I did not follow the ten percent full throttle for helping to clean things. will do in the future. Thanks again for all your effort in posting this
Just what I was looking for. Great discription and photos! Last fall as I motoered up Narragnaset Bay to put my boat to bed for the winter I noticed more steam and less water coming out. I have bought a new elbow etc, and wanted to see how best to get to the heat exchanger. This is great. Looks straight forward. As it is still cold out I paln on fininsh this up in the next month.
Curious, looks like my access is easier to the heat exchanger from the stern/rear of the engine and it has the same hex nuts. Do you know if you can remove as easy for the back as you have shown from the front of the engine? Then can you reove it in the same fashion?
Thanks
Jeff,
You are correct, the rear is the same hex bolts. To remove the heat exchanger you need to remove both the front and back. The is a flange on the heat exchanger and it can ONLY be removed from the rear.
Great!, thanks for the response!
I had a leak in the aft cap of the heat exchanger. Removed the aft 3 bolt cap and there is only 1 (one) O-ring which I intend to replace. Are all other 3 o-rings on the other size of the exchanger or am i missing one??
Val, There are two o-rings on the front and two o-rings on the back. There is a metal plate on each side of the heat exchanger with one o-ring on each side of the two metal plates.
Hi Chris. It looks like you are using a zinc chromate primer. But I only find these in spray cans. It looks like you brushed yours on. What primer are you using? Cheers, Jeremy
Jeremy, you are correct. I would spray the zinc chromate into a small container on the dock and then quickly run onto my boat and paint it on with a brush.
HELLO CHRIS
YOUR COMMENTS ARE EXCELLENT BUT ONE QUESTION, I UNDERSTAND YOU DRAINING THE RAW WATER DOWN BUT CAN YOU LEAVE THE FRESHWATER CLOSED SYSTEM NOT DRAINED WHEN REMOVING THE HEAT EXCHANGER.
I believe you are asking about the coolant loop (you called it freshwater), no the coolant loop must be drained. Also the raw water (sea water) needs to be shut off to prevent flooding the engine compartment as it will be partially drained as well.