Whew, this is a job I am extremely happy to have behind me. I can’t say it was fun.
The removal, with the proper procedure, wouldn’t be that tough and would take a maximum of two hours. The installation, well that is another story. But I’m getting ahead of myself.
In my communications with Seawind I found out that there are different sizes of stainless rudder tubes so they recommended I fabricate the bearings myself based on measurements taken from my boat. Their guidence was:
- The bearings need to be machined to a friction fit on the rudder shaft.
- If rudder shaft is 60.1mm bearing should be machined to about 60.3mm.
- Friction fit fit means tight enough to slide over the tube and turn with some friction (not freely).
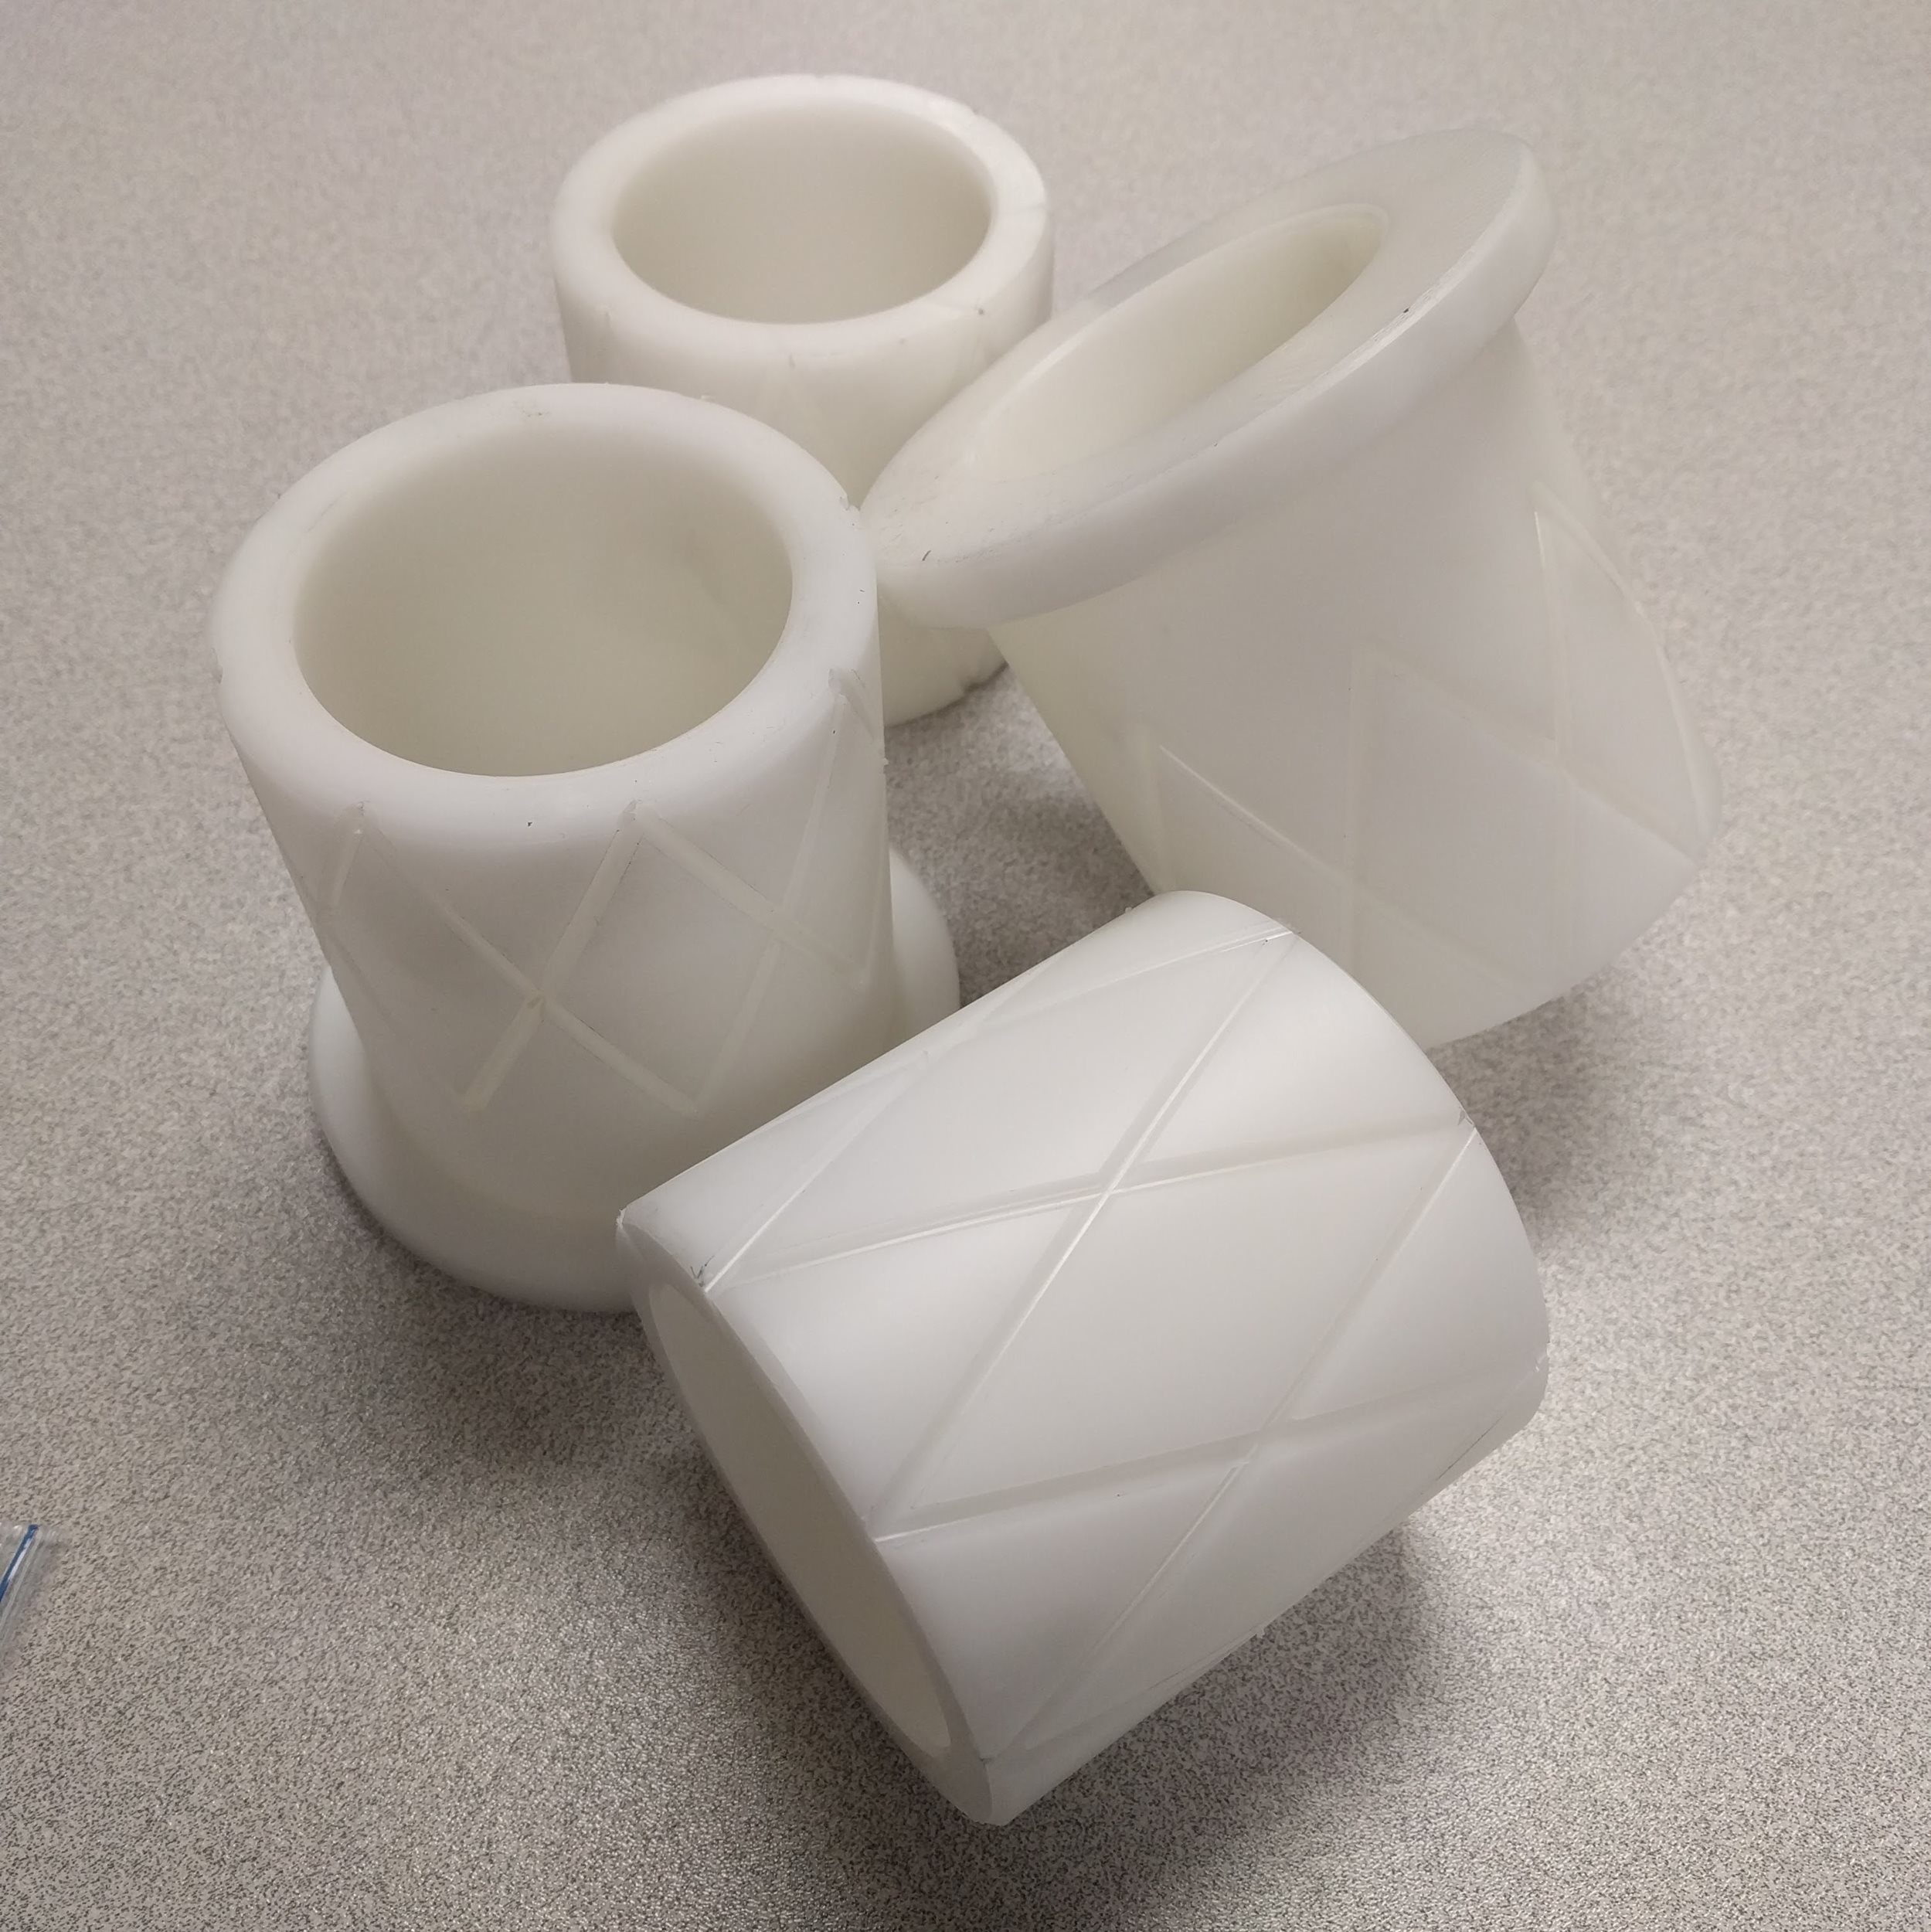
Getting an exact dimension of the rudder tube was a little tricky but I settled on 60.0mm, which resulted in a bearing ID of 60.2mm. I had the original bearings and the drawing provided by Seawind (current design which is slightly different). I considered upgrading to Teflon impregnated Delrin but with the cost being five times as much I stuck with the stock Delrin. My cost for material and machining was $370.
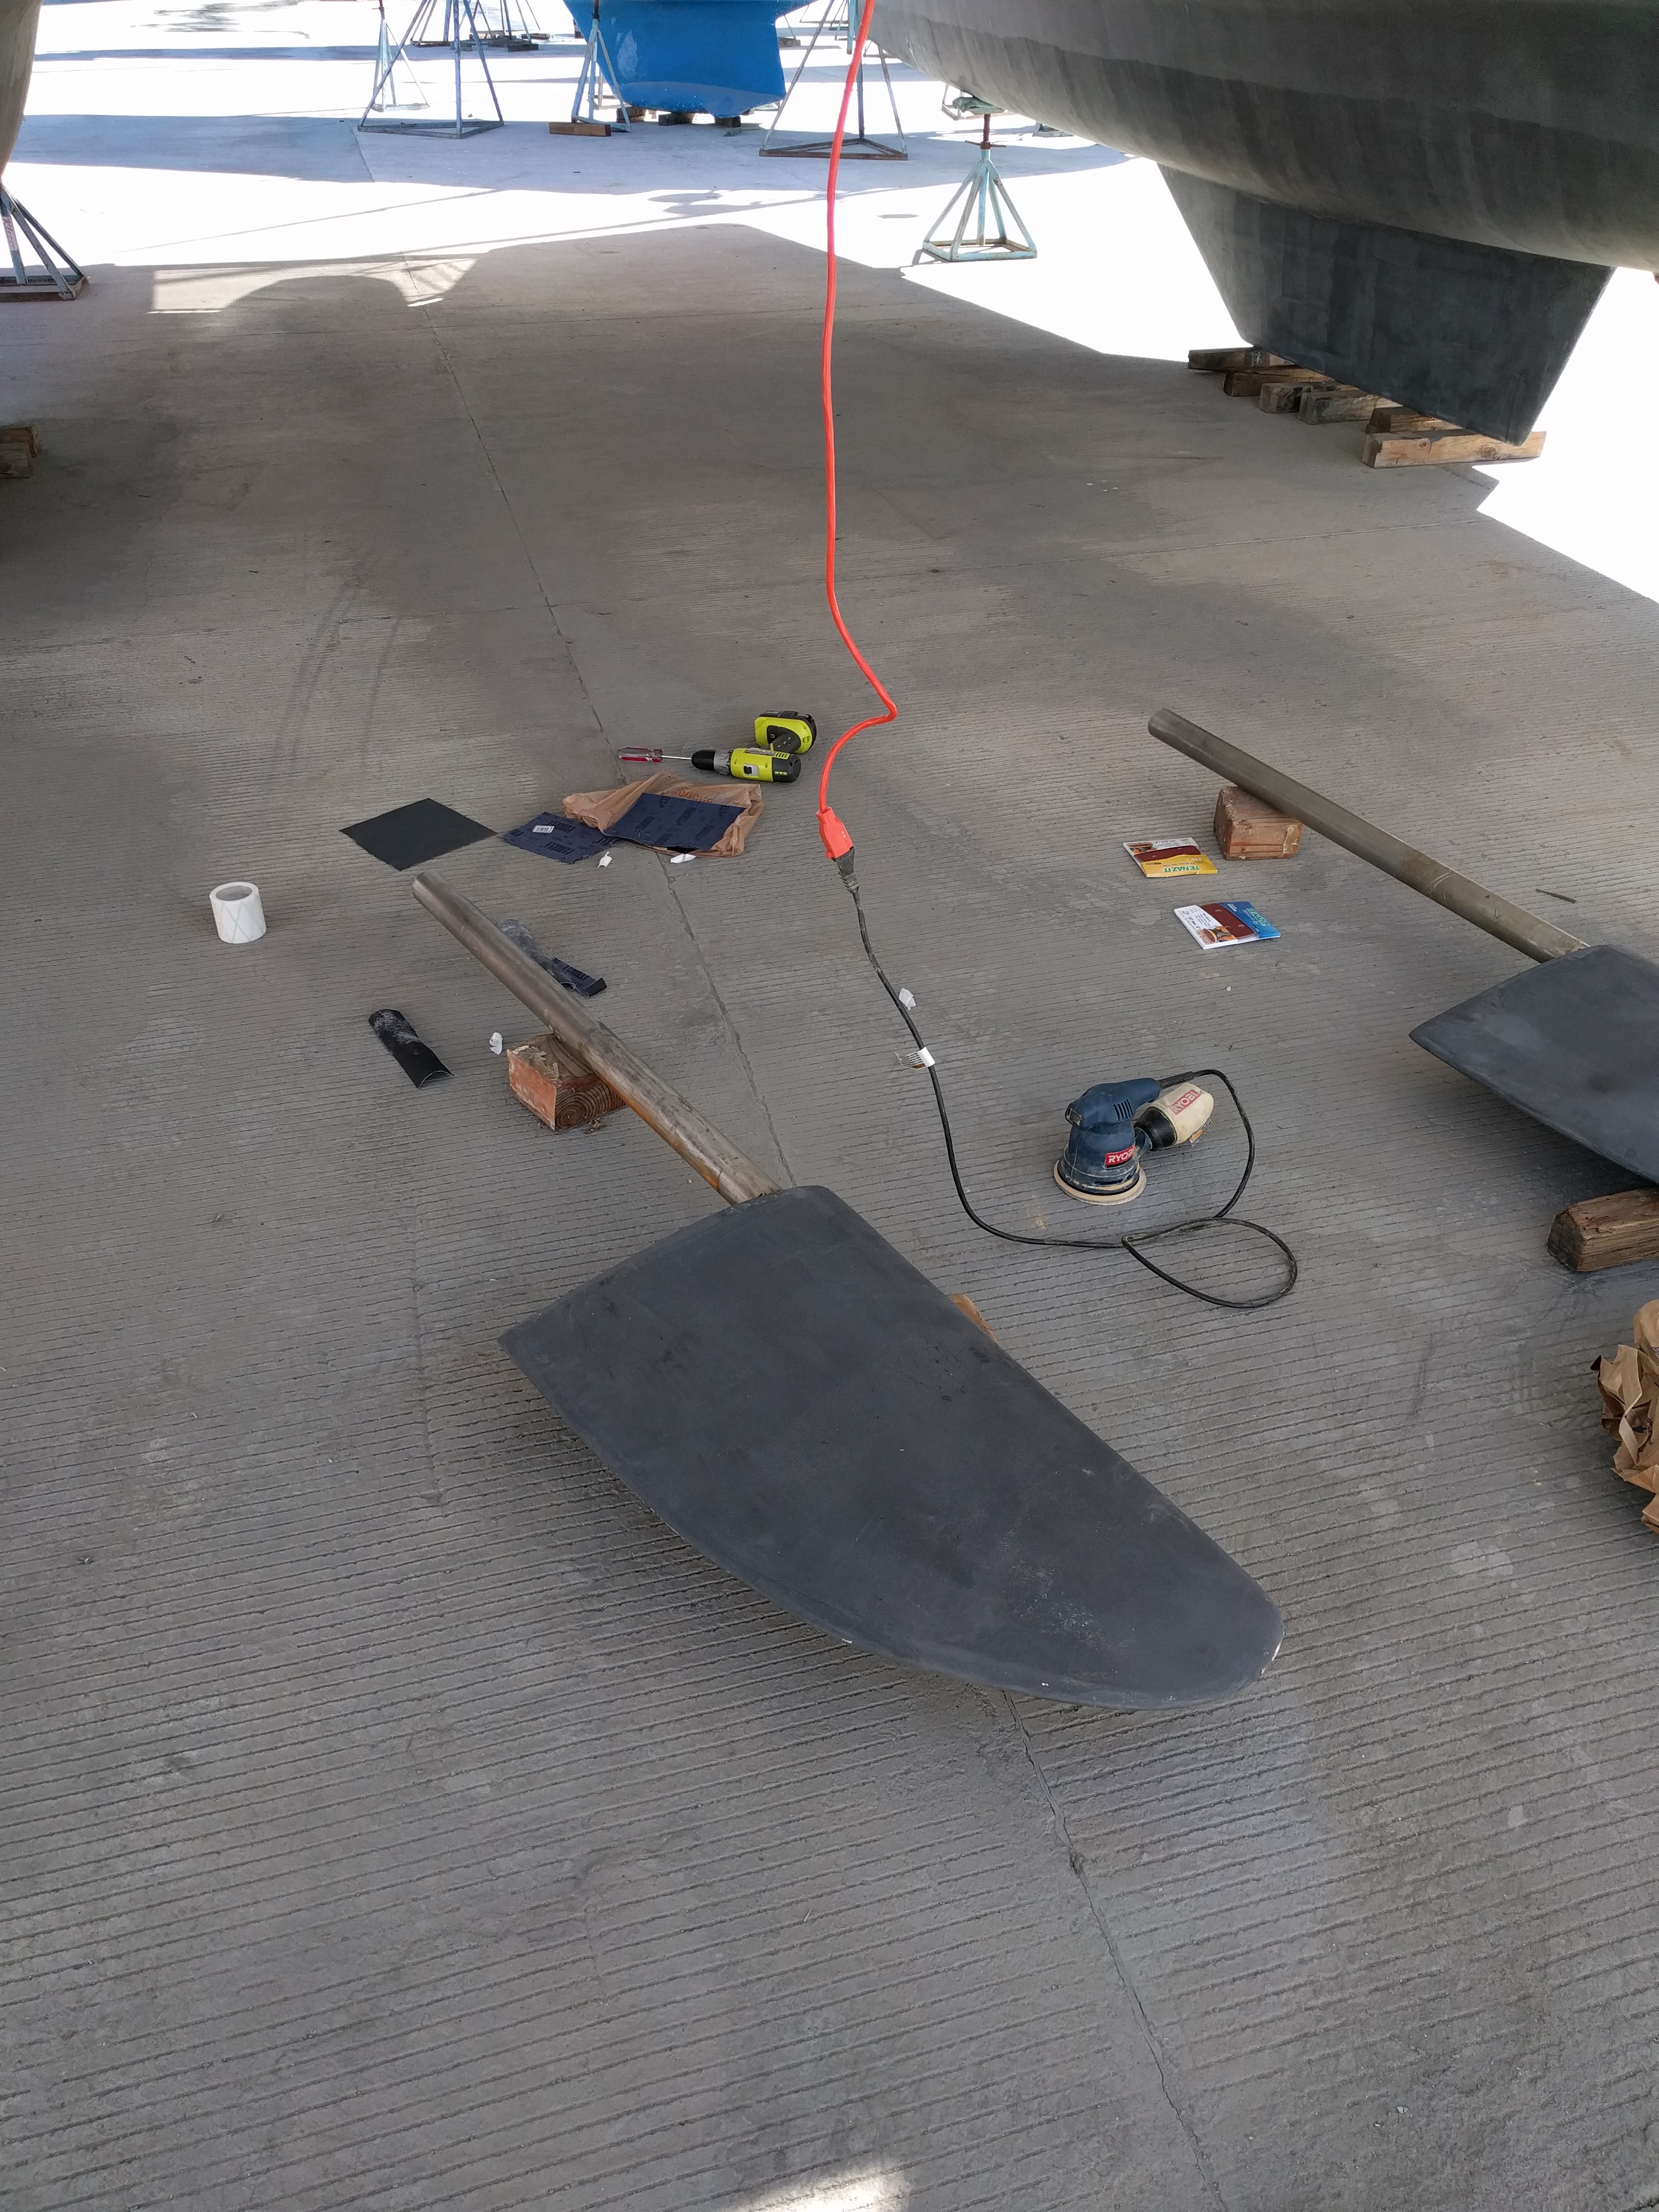
Back on the boat it was time to go about the installation. I am not going to lie, I was very nervous. To start, I worked on chipping away the epoxy grooves left from the original bearings (1/4 inch wood chisel). Followed up by sanding using 50 grit sand paper. Initially it was a very tight fit and I became worried about sliding the heavy rudder while pressing the bearing into place. So I put in some more time sanding resulting in just a little pressure to push the bearing into place.
Inside, the top fiberglass rudder tubes were a bit more challenging due to the lack of space and odd angles. Get ready to pretend you are a contortionist. This part of the project was the shittiest, between the four fiberglass tubes I would estimate I spend three to four hours hand sanding, the majority on the top tubes. Oh, I almost forgot. The top bearings were too long (made to match the Seawind drawing and not removed part). Panic set in before I befriended a yard worker who helped clamp and hold the bearings so that I could use my Sawzall to cut it down. Turned out to be a non-event but it was an unneeded curve ball.
I took to sanding the stainless rudder tubes to remove any corrosion and crap that had build up. An orbital sander (150 grit) made quick work of it. The only slow down was the yard manager telling me I wasn’t allowed to use power tools. I played dumb and got away with the final three or four minutes of sanding. This was followed up by cleaning the metal shavings with a rag and isopropyl alcohol.
Ah the rudder bearings… Of course those didn’t fit either. Which is probably a good thing since loose bearings would make this all for nothing. The inside diameter of each bearing had to be sanded to fit the rudder tube. I worked out a system where I used a jack stand post (about 1.5 inch diameter) with a piece of sand paper laid on top to sand against. I would use a mix of up/down and spinning motions. Also I would flip the bearing, working to keep the sanding even inside the bearing.
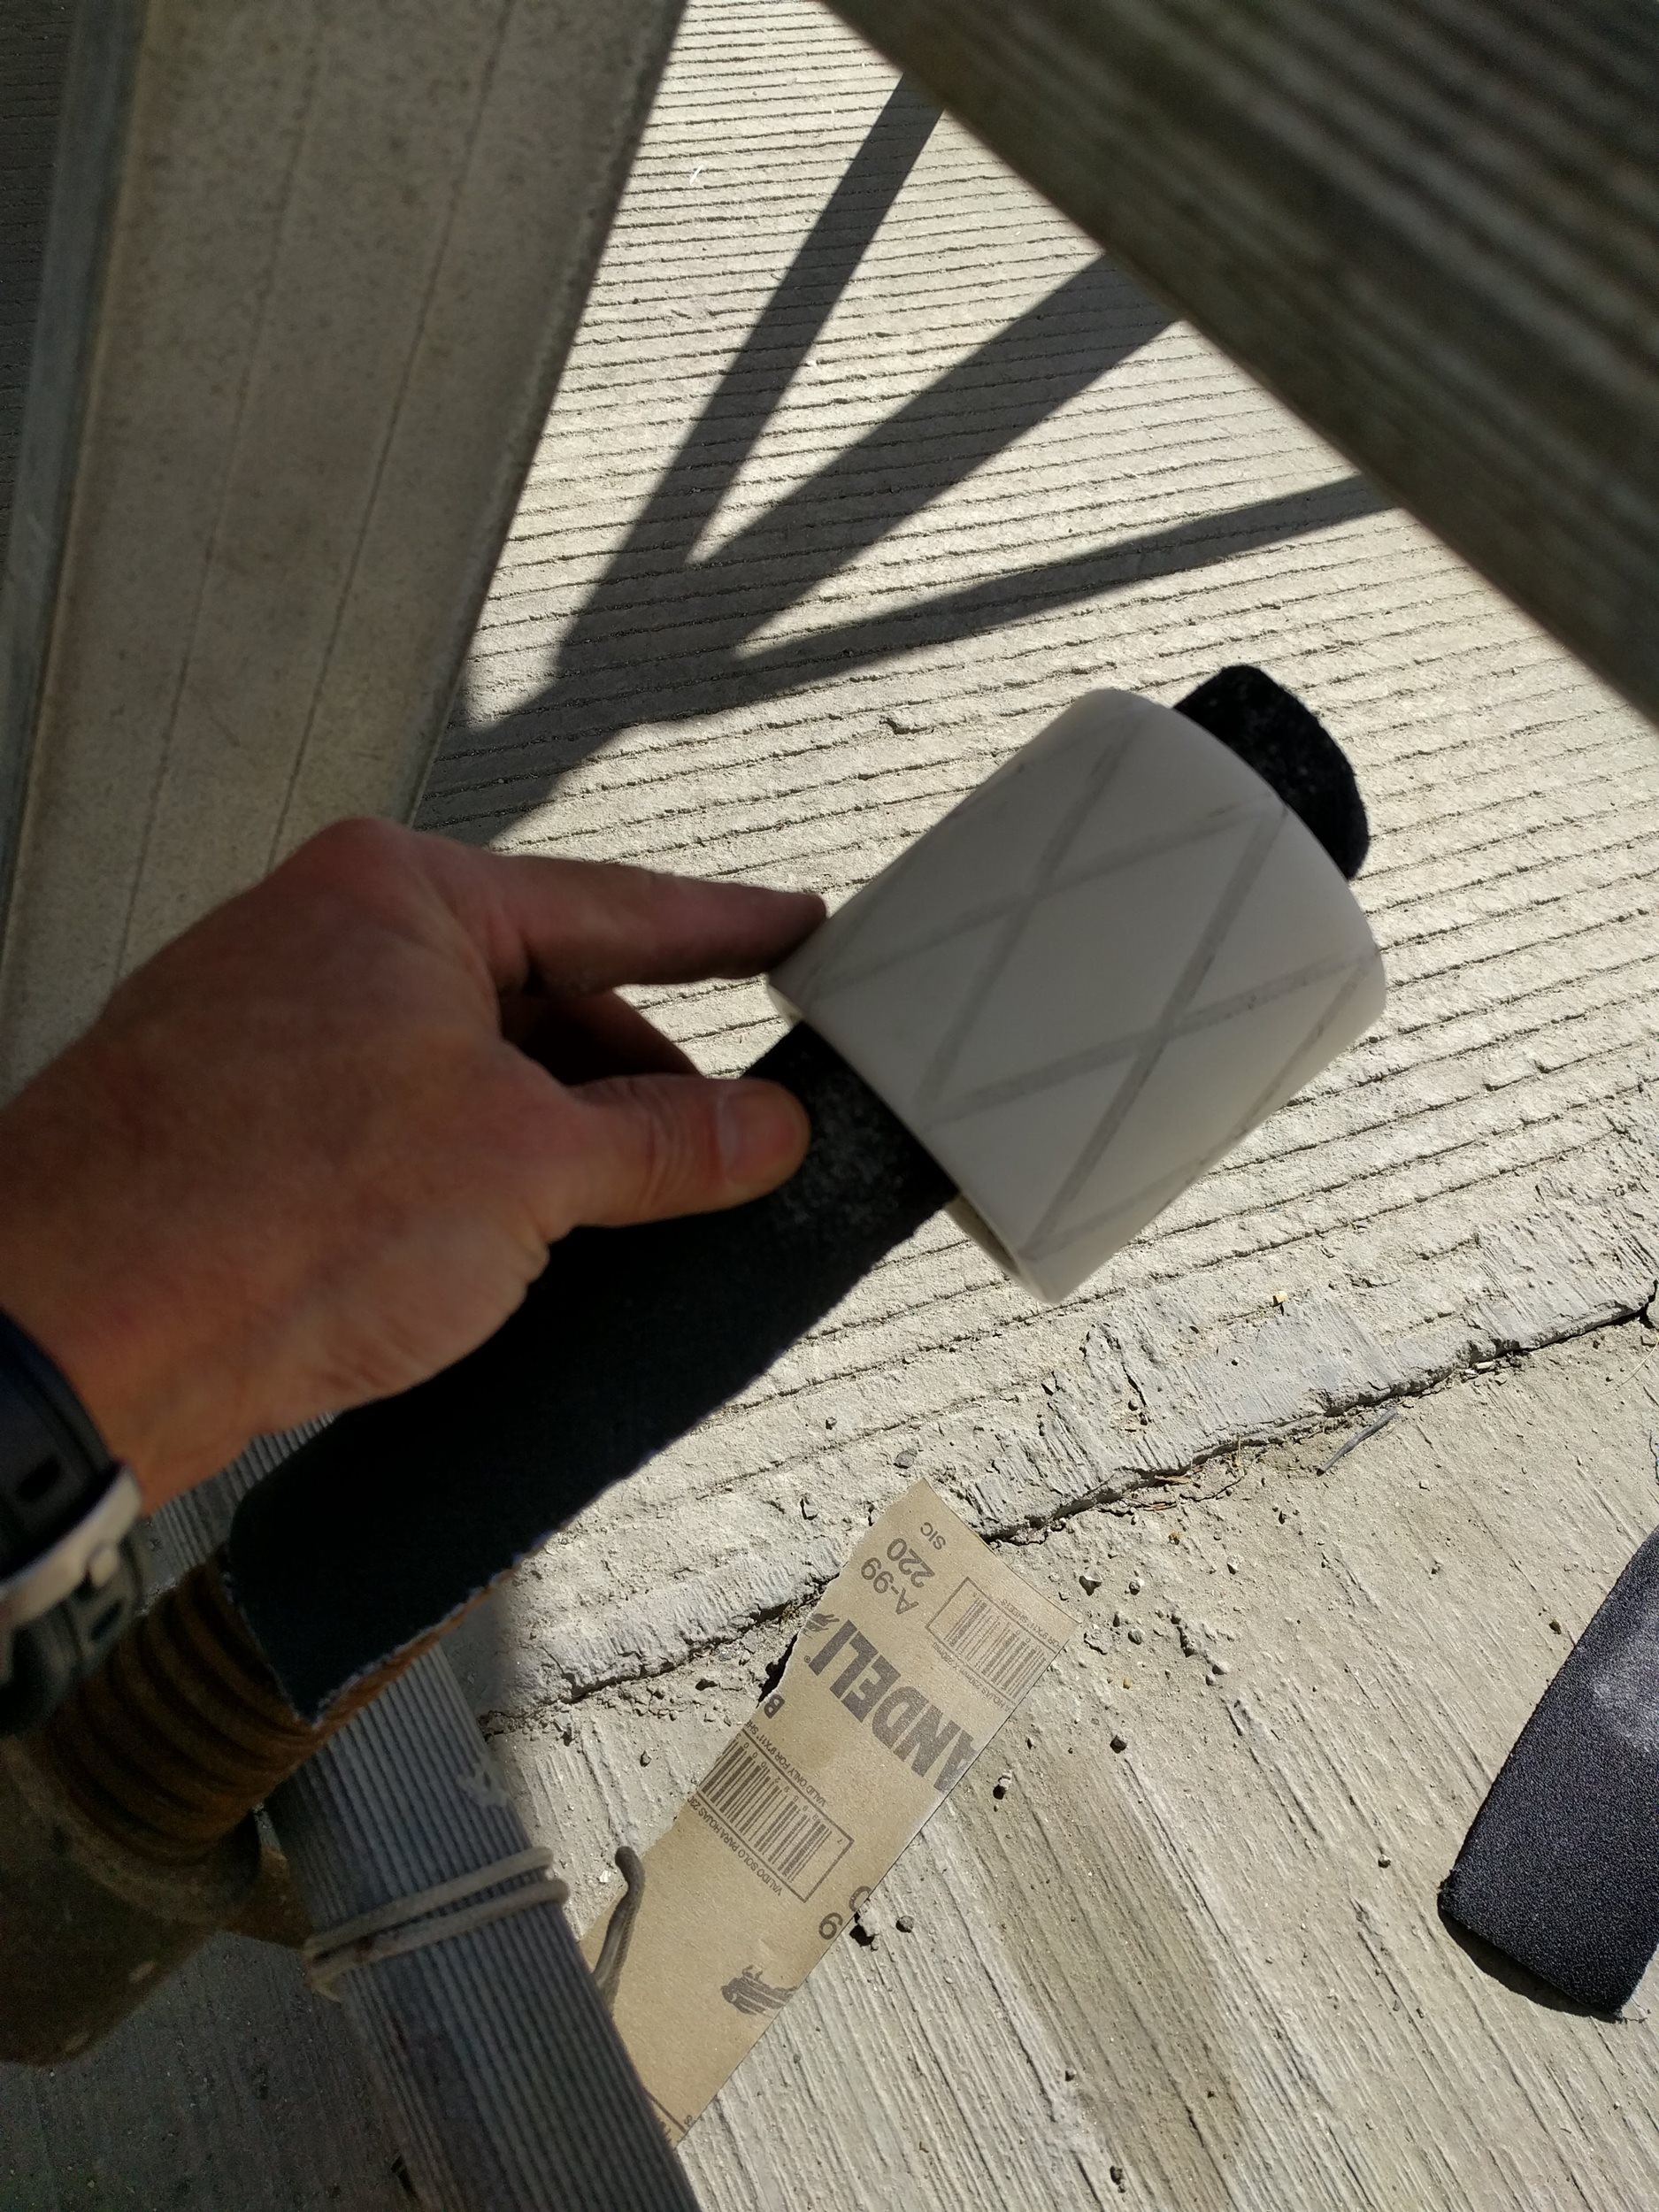
The process would go, 50 grit, 80 grit, test fit. And repeat. And repeat. And repeat. And repeat. I decided to install the rudder tubes with the bottom bearing already slid on, sanding gave me lots of time to plan the installation process… My hands took a beating due to the sharp edges on the cut grooves. And this was a pretty miserable job. All told, I spent about five hours sanding, test fitting, and swearing.
End of the day and I was beat. Even more worried that the install wouldn’t go smoothly, did not make for a good night’s rest. 6:30am the next morning I was back at it. Checking out my work from the previous day I was devastated to find the bottom bearing was seized on the stainless rudder tube. Evidently the cold overnight temperatures caused it to shrink more than the tube. The realization that if it had been installed, it would have been very bad sent shivers down my spine. Out comes the heat gun, the bearing releases, and it was back to more sanding. Just over an hour this time. But the result was four bearings that fit.
Final test fit and remarking the stainless tube for the bronze collar
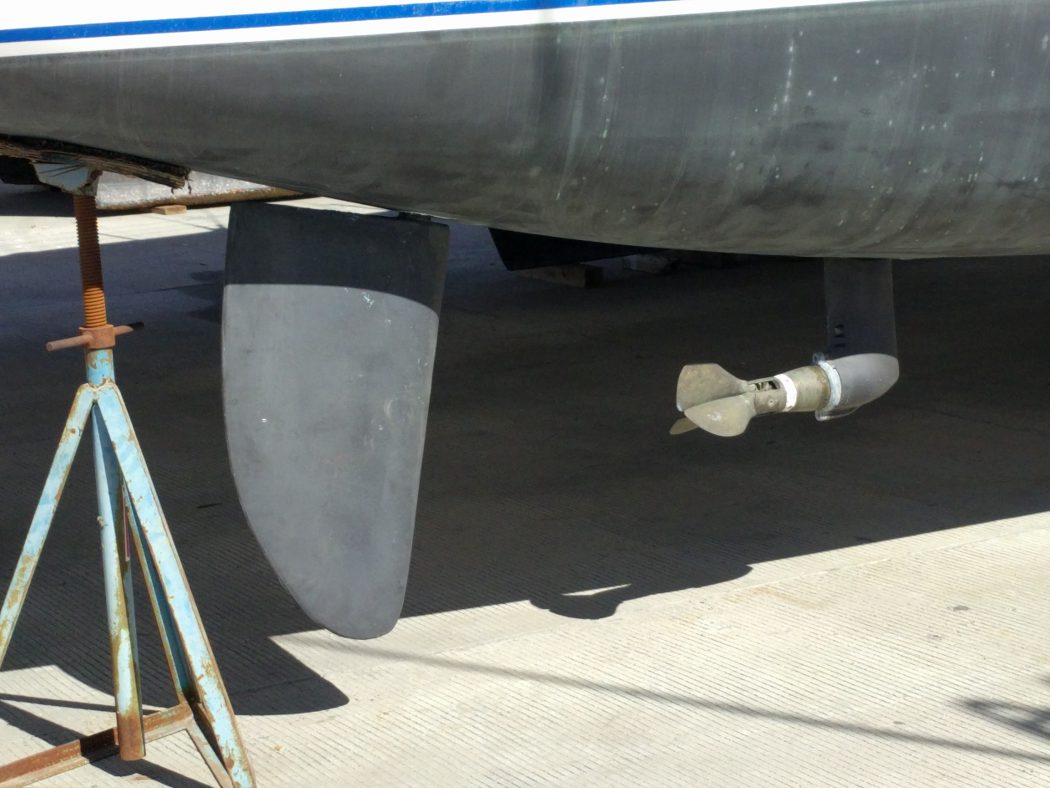
Now came the moment of truth. The travel lift arrives, the boat goes up (about 4 feet off the ground), and the rudder tubes slide back into their home. The tubes were guided while the operator lowered the boat back down so that only eight inches above the bearings was exposed. Once there, I apply 3M 4000 UV to the grooves and we pressed the bearings into place. Lifting the rudder, we placed blocks to hold it while I climbed aboard to glue and slide on the top bearing.
A holler down to the guys below to lift the rudder exposed the marked location for the bronze collar. Cranked down the Allen screw and the rudder was back hanging on the boat and pressing the top bearing into place. Whew. One down.
The second rudder was a bit more challenging, just because it was the port side and I had to climb over the engine and work around the rudder interconnect bracket. Not terrible but probably took twice as long. Then the 24 hour wait for the 3M 4000 UV to cure before reattaching the rudder interconnect brackets.
All told I figure this project (reinstallation only) took about fifteen hours. Wiggling the rudders now has zero play and light drag. Man, am I glad to have that behind me.
[…] Updated Rudder Bearing Installation […]
Chris,
I know this is many years old, but I have one question if you remember. by the way your posts on rudder bearings were really the best r&r guide I have seen. I have a Maine Cat 30 and am doing a similar job. I was wondering if you used 3m 4000 instead of an epoxy glue or in addition to? I am trying to figure out what to use to ‘glue’ my replacement bearings in place. I am hoping to make it easier to take apart in the future if need be. If you only used 3m 4000, I’m curious if it held up ok?
thanks!
Chuck
Chuck, thanks! I used only 3M 4000 UV (no epoxy) and it held up great. No issues.
Chris,
another question, what were the symptoms to lead to replacing these bearings?
Unrelated: We’re thinking of designing a sun share to cover both salon hatches and the berth hatches. We want those guys to be in the share and ideally still open in the rain. Have you or another 1160 owner done anything like this?
Thanks
Jim
There was a “thunking” noise when motoring. Sometimes it would rarely happen and other times it would be frequent. When out of the water, I was able to wiggle the rudders and feel a bit of play. It could very well be normal but it bugged me. On the sail down the Pacific to La Paz it seemed to get more frequent. We haven’t added any additional canvas but it would be nice to get more afternoon/evening shade. The only added canvas I have seen on any other 1160s has been a covering for the sides of the cockpit.