Let the fun times begin! Destruction must come before there will be progress.
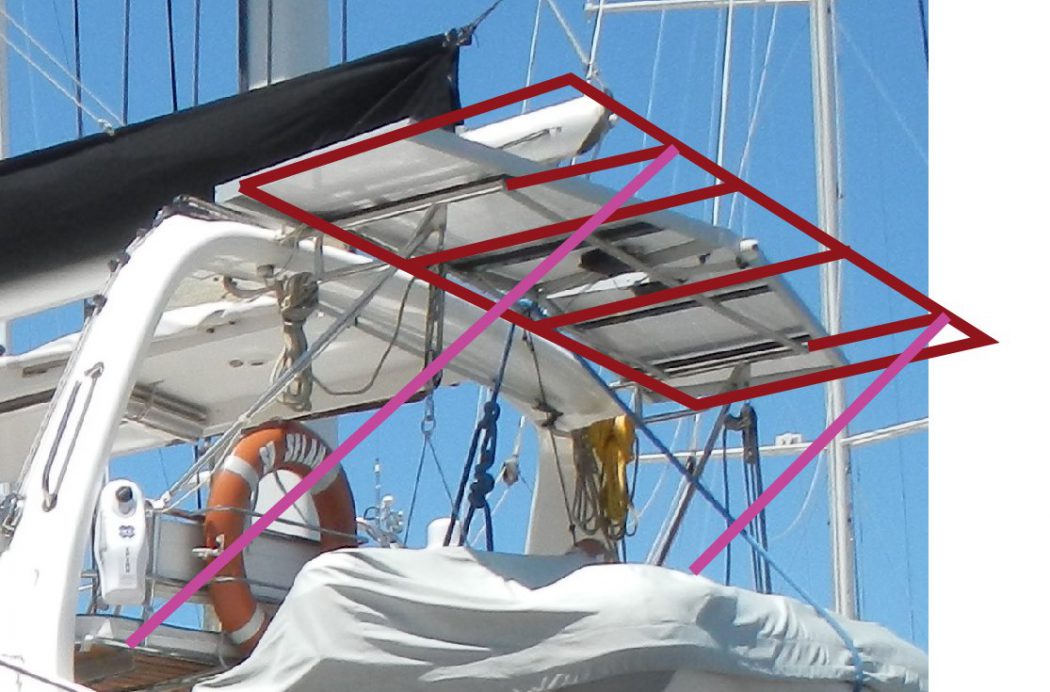
The first step in my power upgrade would be to increase the size of the solar arch. The arch was a good starting point, but sized to fit small 125W BP panels it just wasn’t going to cut it as is.

Arch with BP panels
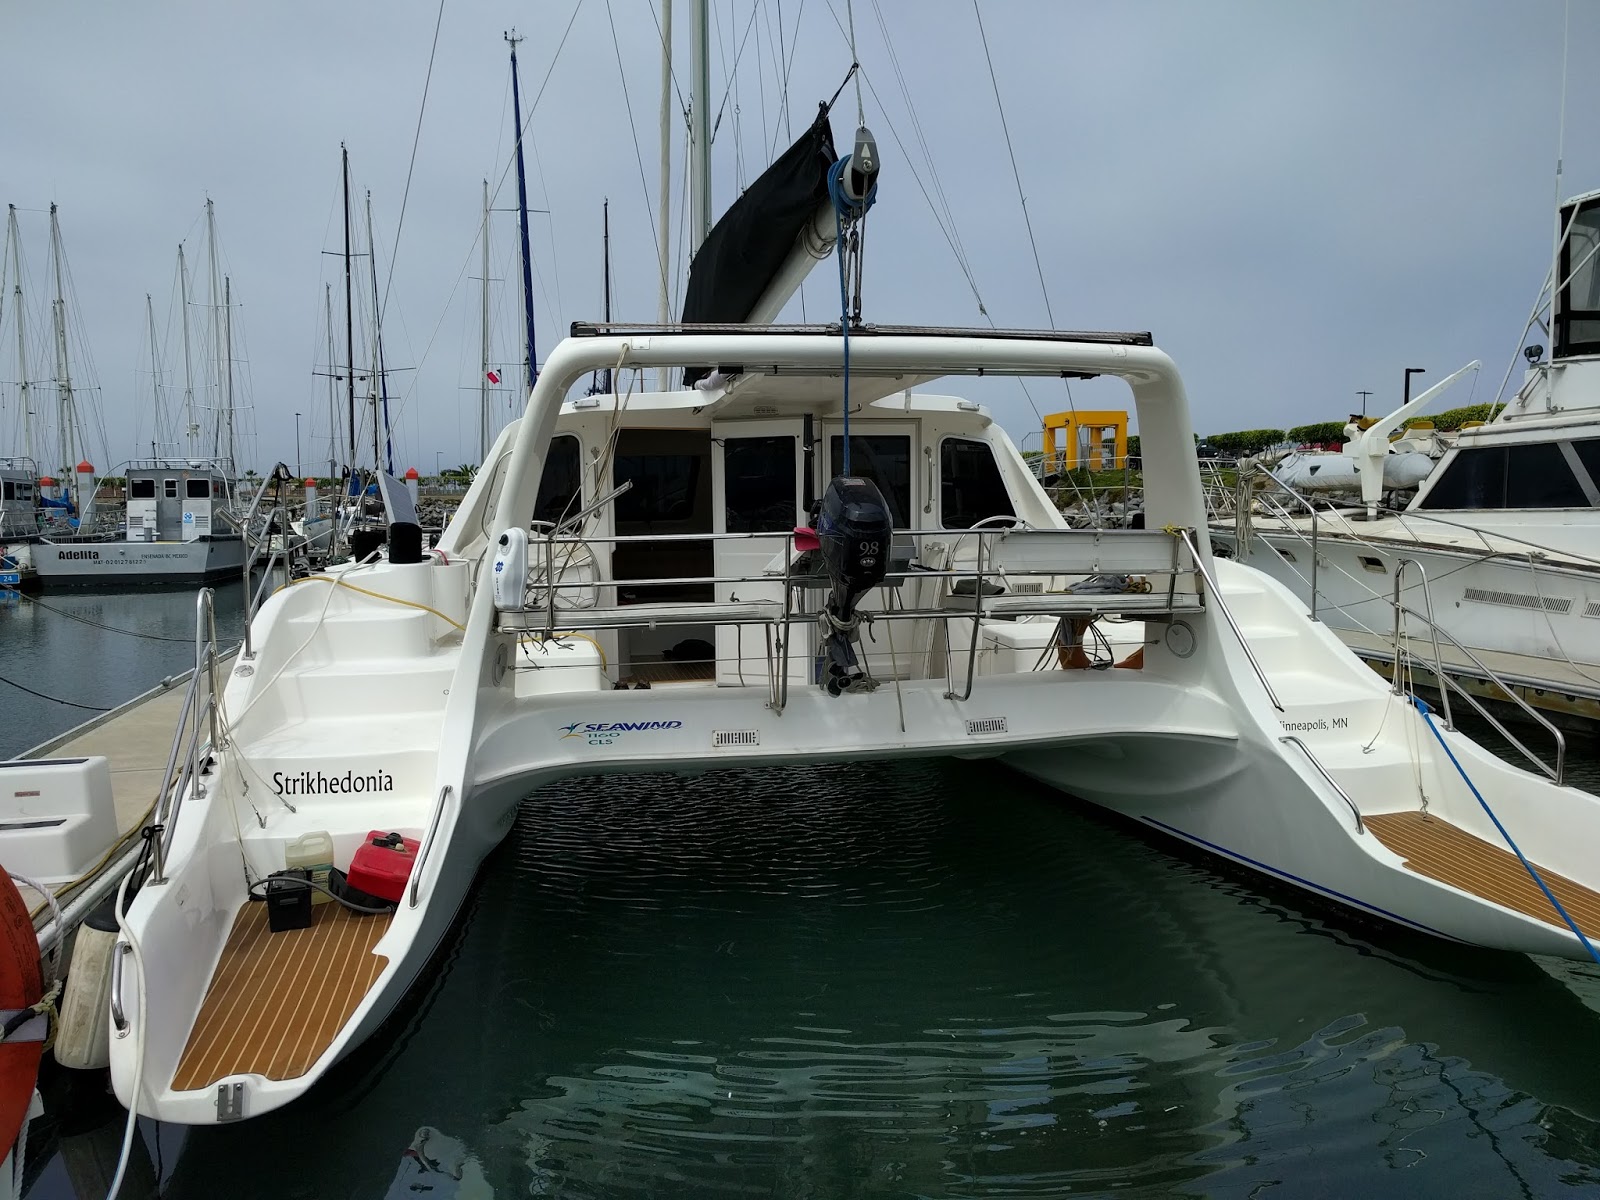
The first and most difficult step would be removing the Tohatsu 9.8HP outboard. I’d be removing the dingy and outboard for about six weeks and was concerned with laying the outboard on it’s side for that length of time. The Tohatsu manual wasn’t clear but seemed they only recommended vertical storage, unfortunately Strikhedonia doesn’t have a outboard mount so an alternative location needed to be found. Looking around the stainless seat back looked to be a viable location.
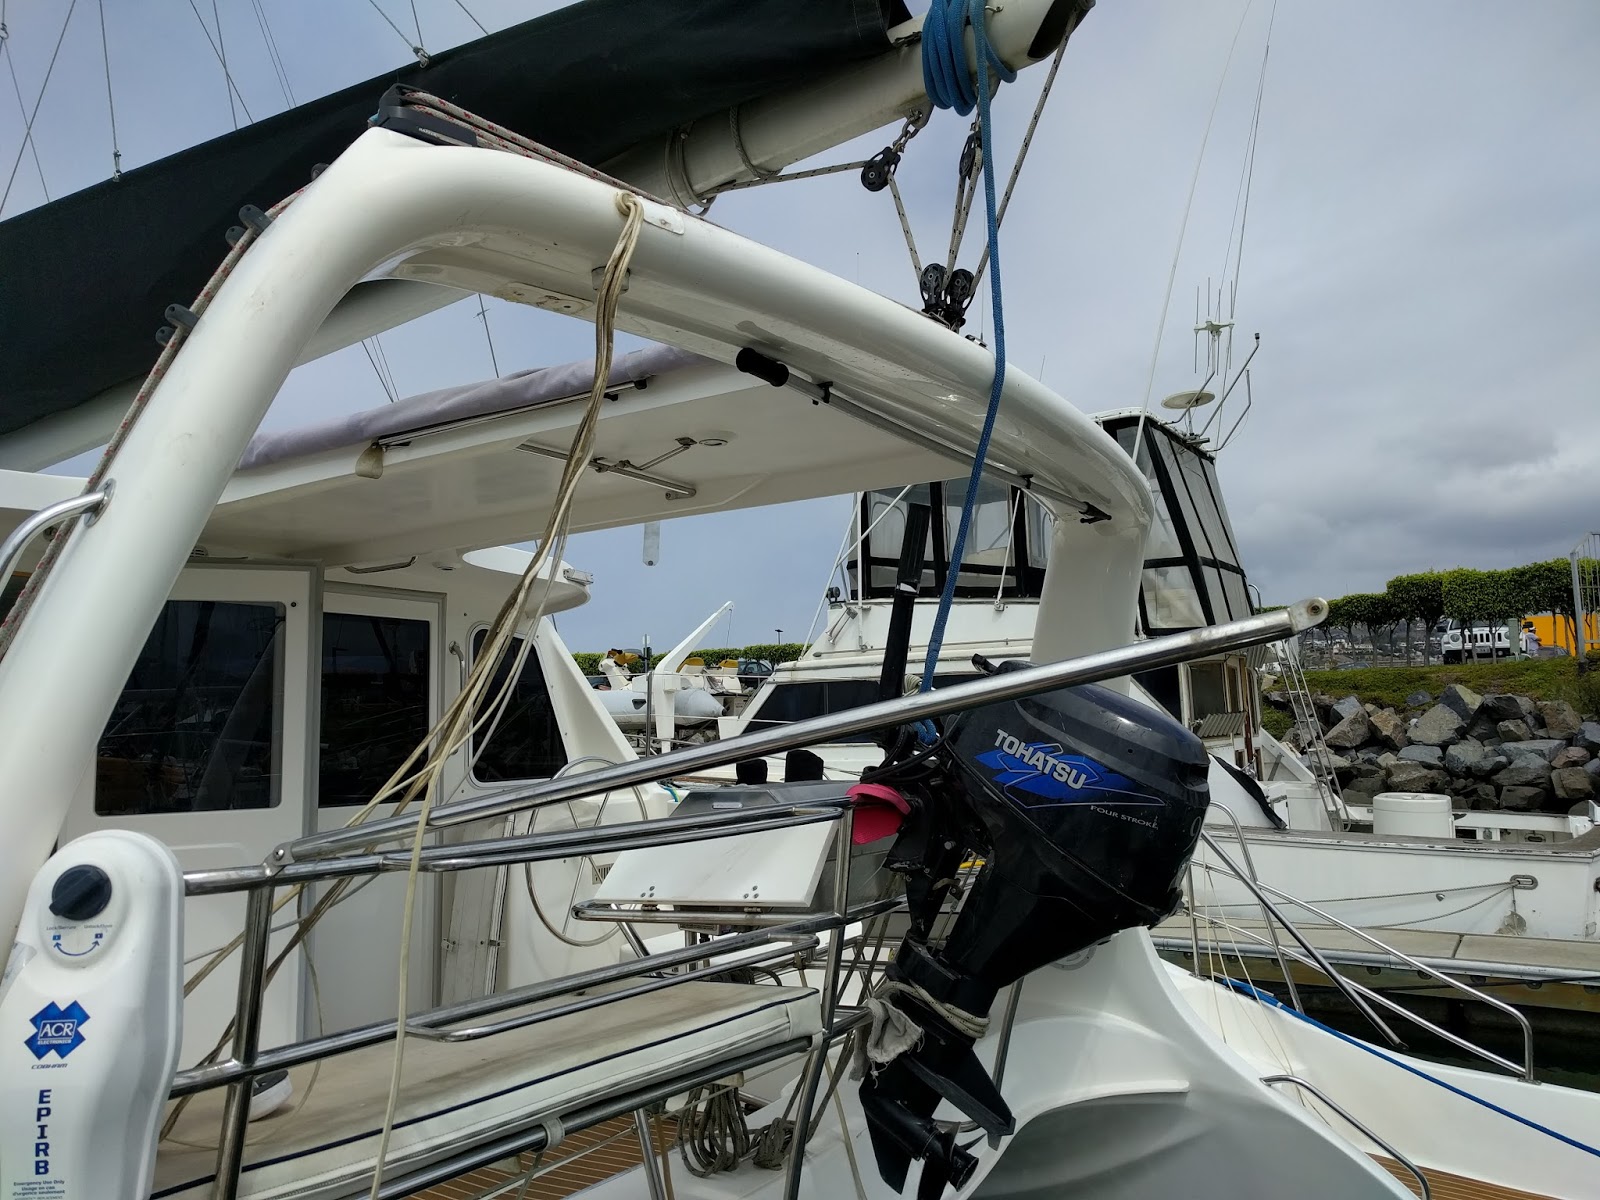
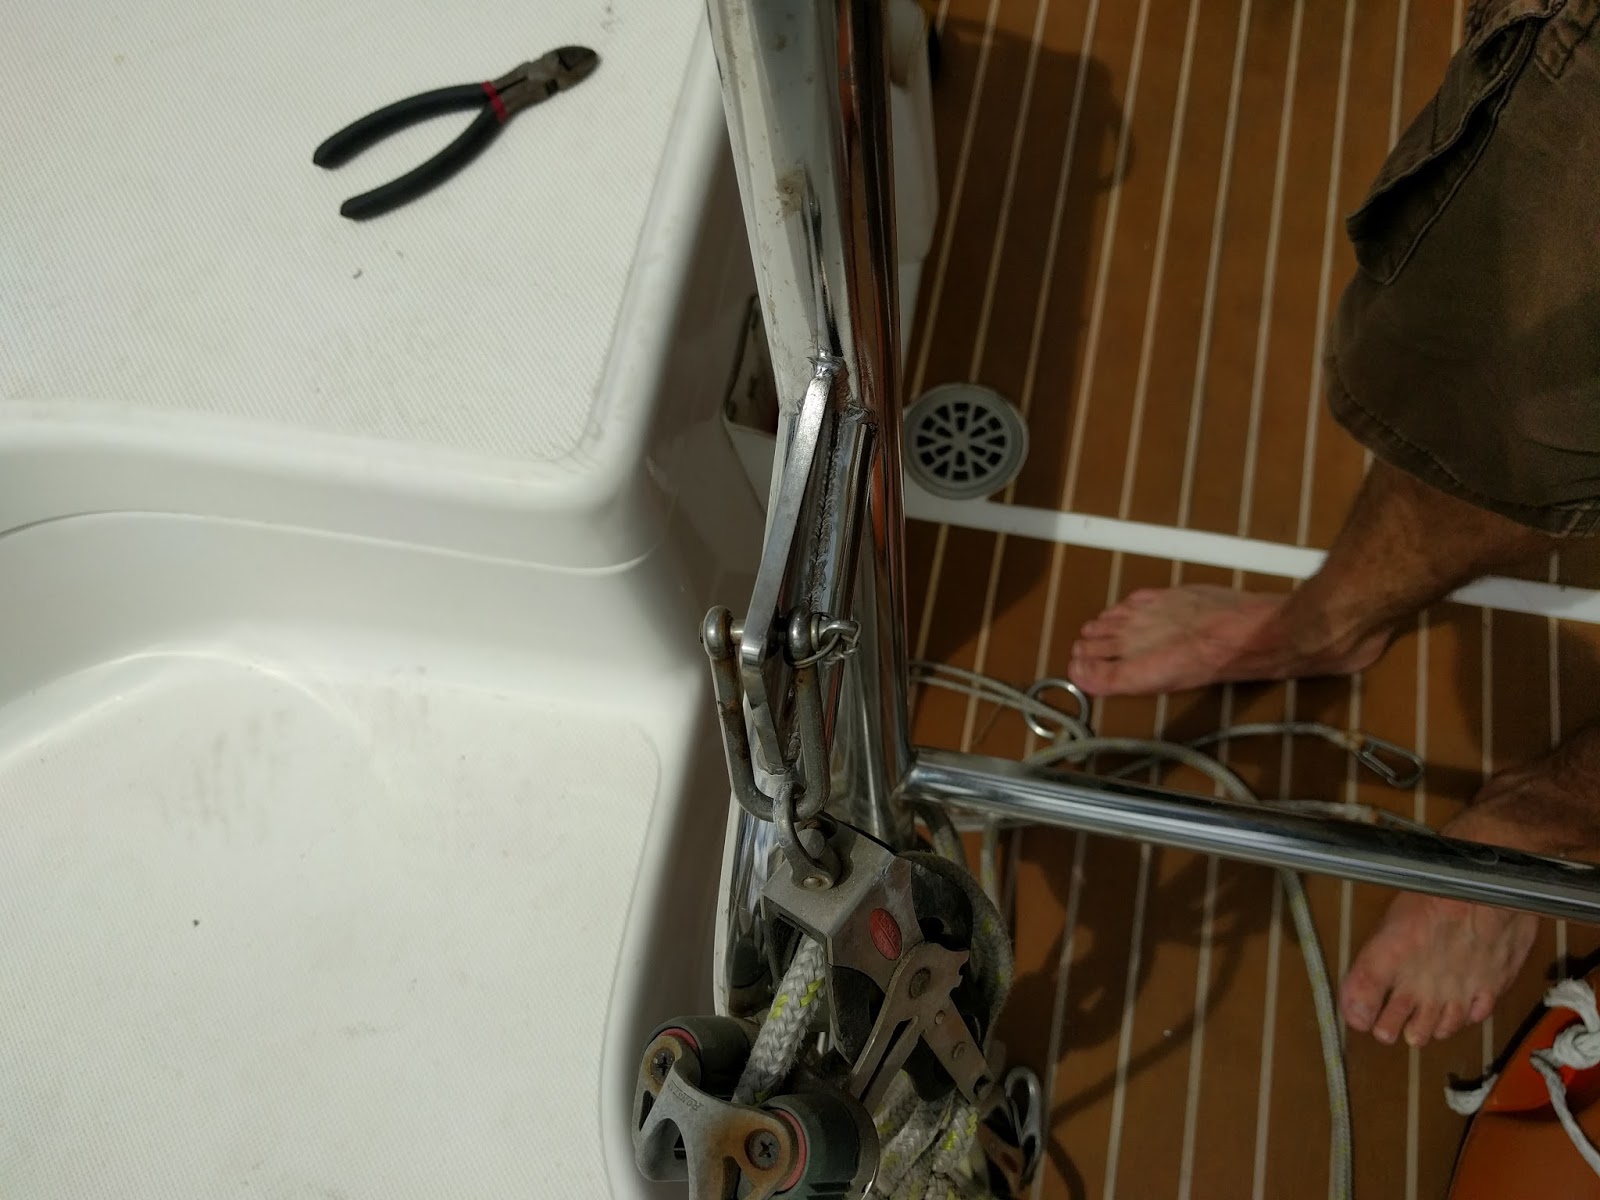
After dropping dingy I was able to lift up the outboard with a dingy davit. Did I mention I was doing this solo? Yeah, that adds to the challenge. A mixture of the topping lift and both dingy davits left me not quite able to get it up and over the rail. I finally succumbed to asking for assistance from my French dockmate, Gerardo. Even with two of us it was a battle of wills to get the awkward, unbalanced outboard on the rail and secured. Whew. One hurt foot and twenty minutes later we could stand back and relax.
Outboard with support from the boom/topping lift
To reduce the stress on the stainless railing I tied a line off the boom and used the topping lift to support most of the weight. Thankfully CruisePort doesn’t get much surge and there shouldn’t be any bouncing or risk of damaged.
Another lesson was learned in removing the solar panels – the aluminum panels were installed with stainless hardware. While spacers were used to separate the panel from the frame, the bolts still had contact which fused the metals together. Out of 10 bolts, two required Dremeling the heads off, four the heads twisted off and the remaining four came out with brute force. Maybe the outboard removal wasn’t the most difficult step…
Panels off, I was able to use the screecher halyard to support the frame while unbolting the eight bolts holding to the hardtop. A couple more screws to detach the two supports and it was free and safely on the deck.
Off came the two support shafts and everything was ready for the stainless fabricator.
Based on recommendations from other cruisers in the marina, I went with Alejandro for the stainless fabrication. A few days earlier he had stopped by and we discussed the design and he took measurements. I offered to pay half up front and he seemed hesitant to take any money up front. A bit surprising but it made me feel good about the work he would do if he would trust me to pay only after seeing and approving the finished product.
Alejandro suggested having new larger stainless tubes that slide over the existing mounts to add rigidity and a seamless transition. In addition to the frame supporting the three LG 315N1C-G4 panels I also added a bump out for the GPS antennas (AIS and chartplotter).

I was never comfortable with the single small hole supporting all of weight of the dingy and outboard, so Alejandro is going to double the thickness of the support and add a second mounting hole on each side. This will allow for a redundant anchor point to the dingy. Hopefully reducing the chance of major drama in a storm if the dingy tried to break free.
Single failure point on the dingy davit
Still to come; Bolting on the new solar arch, mounting the new solar panels, installing the new MPPT solar controller, upgrading to lithium batteries, and cleaning up the wiring.
No Comments