The plan had been to cruise down to Ensenada and jump right into installing the solar arch. A long lunch and a few cocktails with friends put an end to those ideas. But Alejandro was flexible and agreed to come the next morning. Which was a good thing, since it took a lot of effort to scrub the original 3M 4000UV marine adhesive from the fiberglass arch.
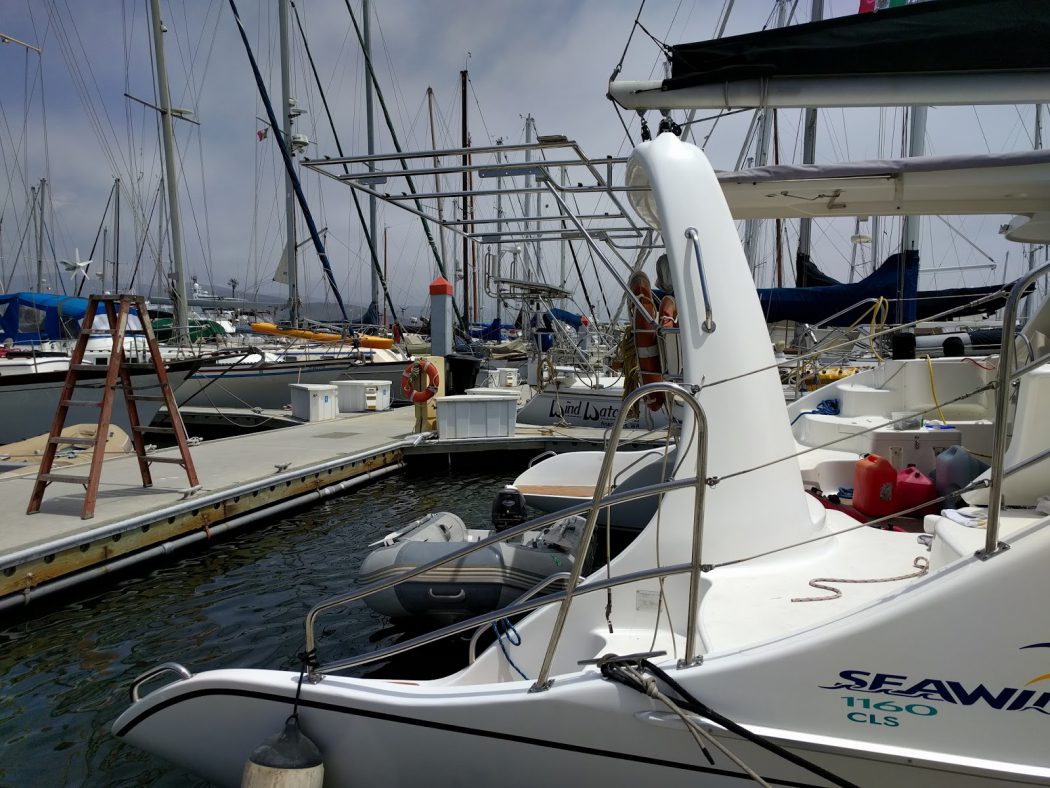
Cleaned and ready to go, once Alejandro arrived we quickly loaded up the mounting plates with fresh marine adhesive and slid the solar arch into place. More adhesive to fill the various gaps and it was clean up time. My friend Jeff took the port side and took the starboard. Thirty minutes later and we had it looking pretty good.
Alejandro went back to his shop to finish the two new outside supports after checking the length and angle. He came back to test fit but we found that the support tube was hitting the solar arch. Alejandro felt it would be okay but I protested and he agreed to add more material to provide a flat surface to bolt the support tube to the frame. Back to the shop he goes!
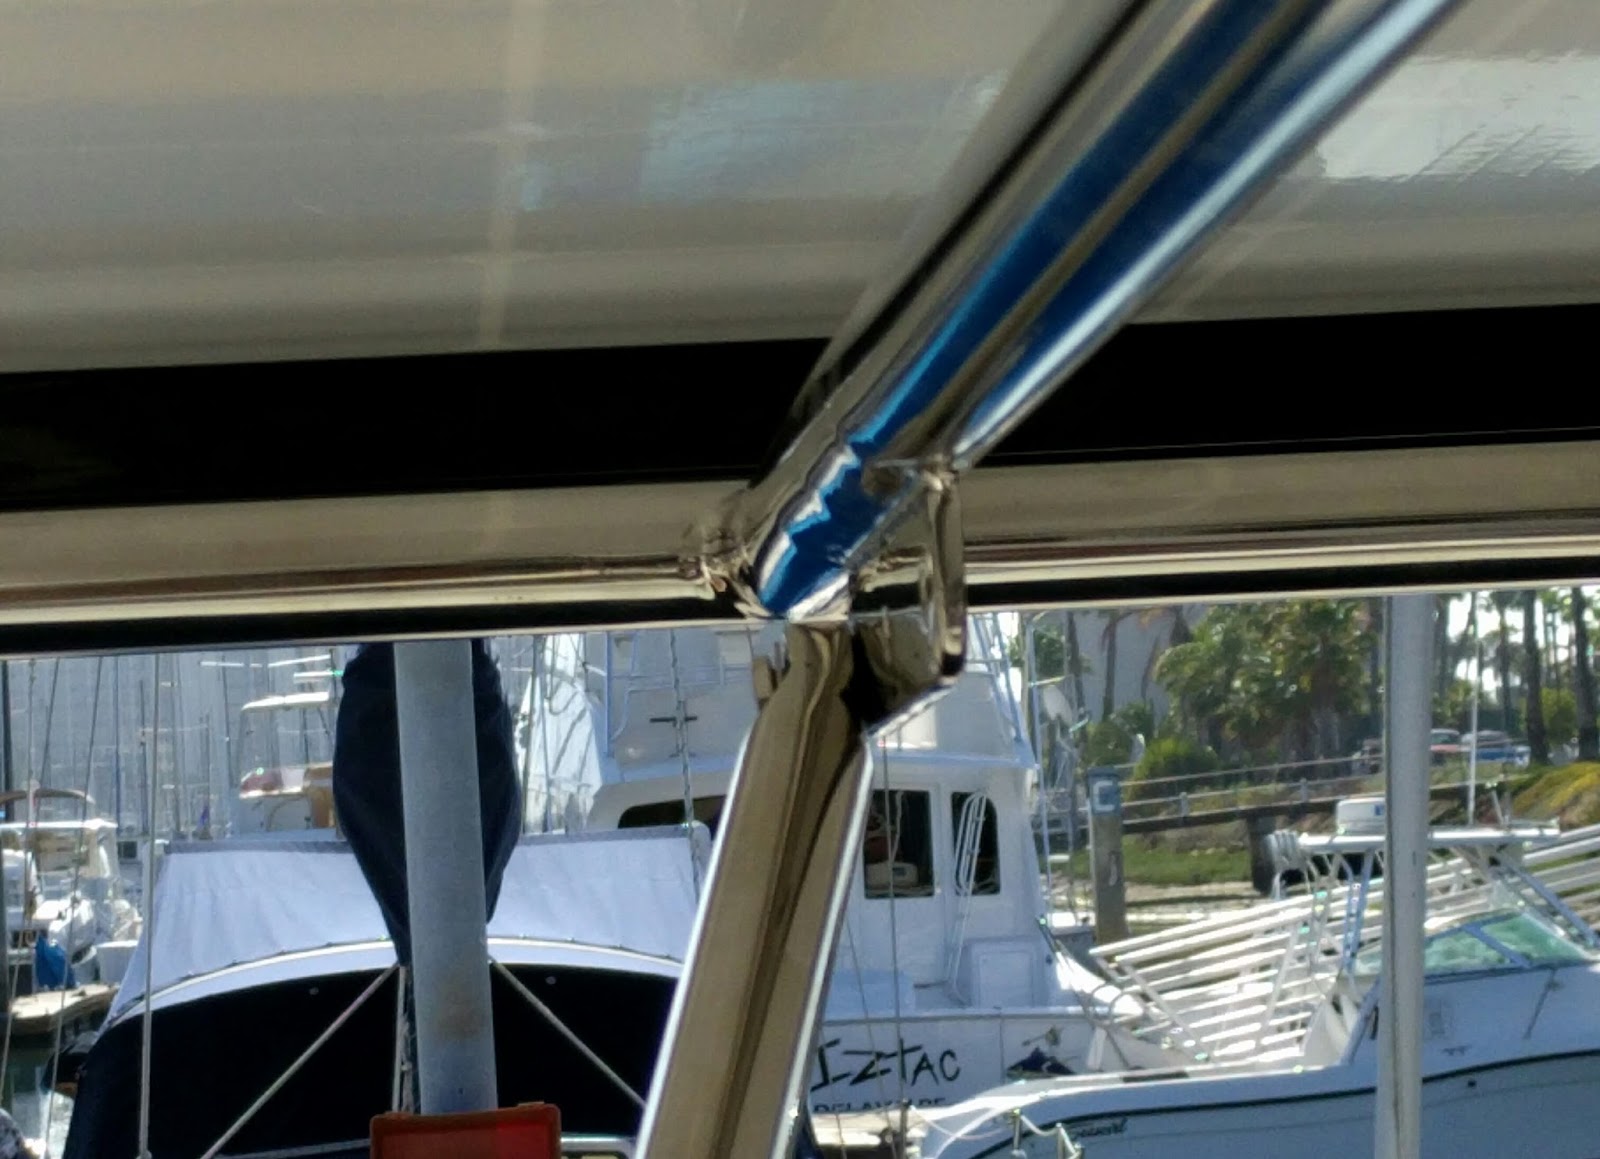
Added material to make for a nice, tight fit
A final fit and we tighten the temporary bolts that will get the arch to San Diego where I can install the solar panels. The arch looks good (a few ripples and rough spots, imperfect support tube angle mounting to the jaw slides, and a couple minor scratches keep me from calling it great).
The modification of the stock Seawind 1160 frame cost $650, which considering the size and additional strengthening of the arch, I think is quite a reasonable cost.
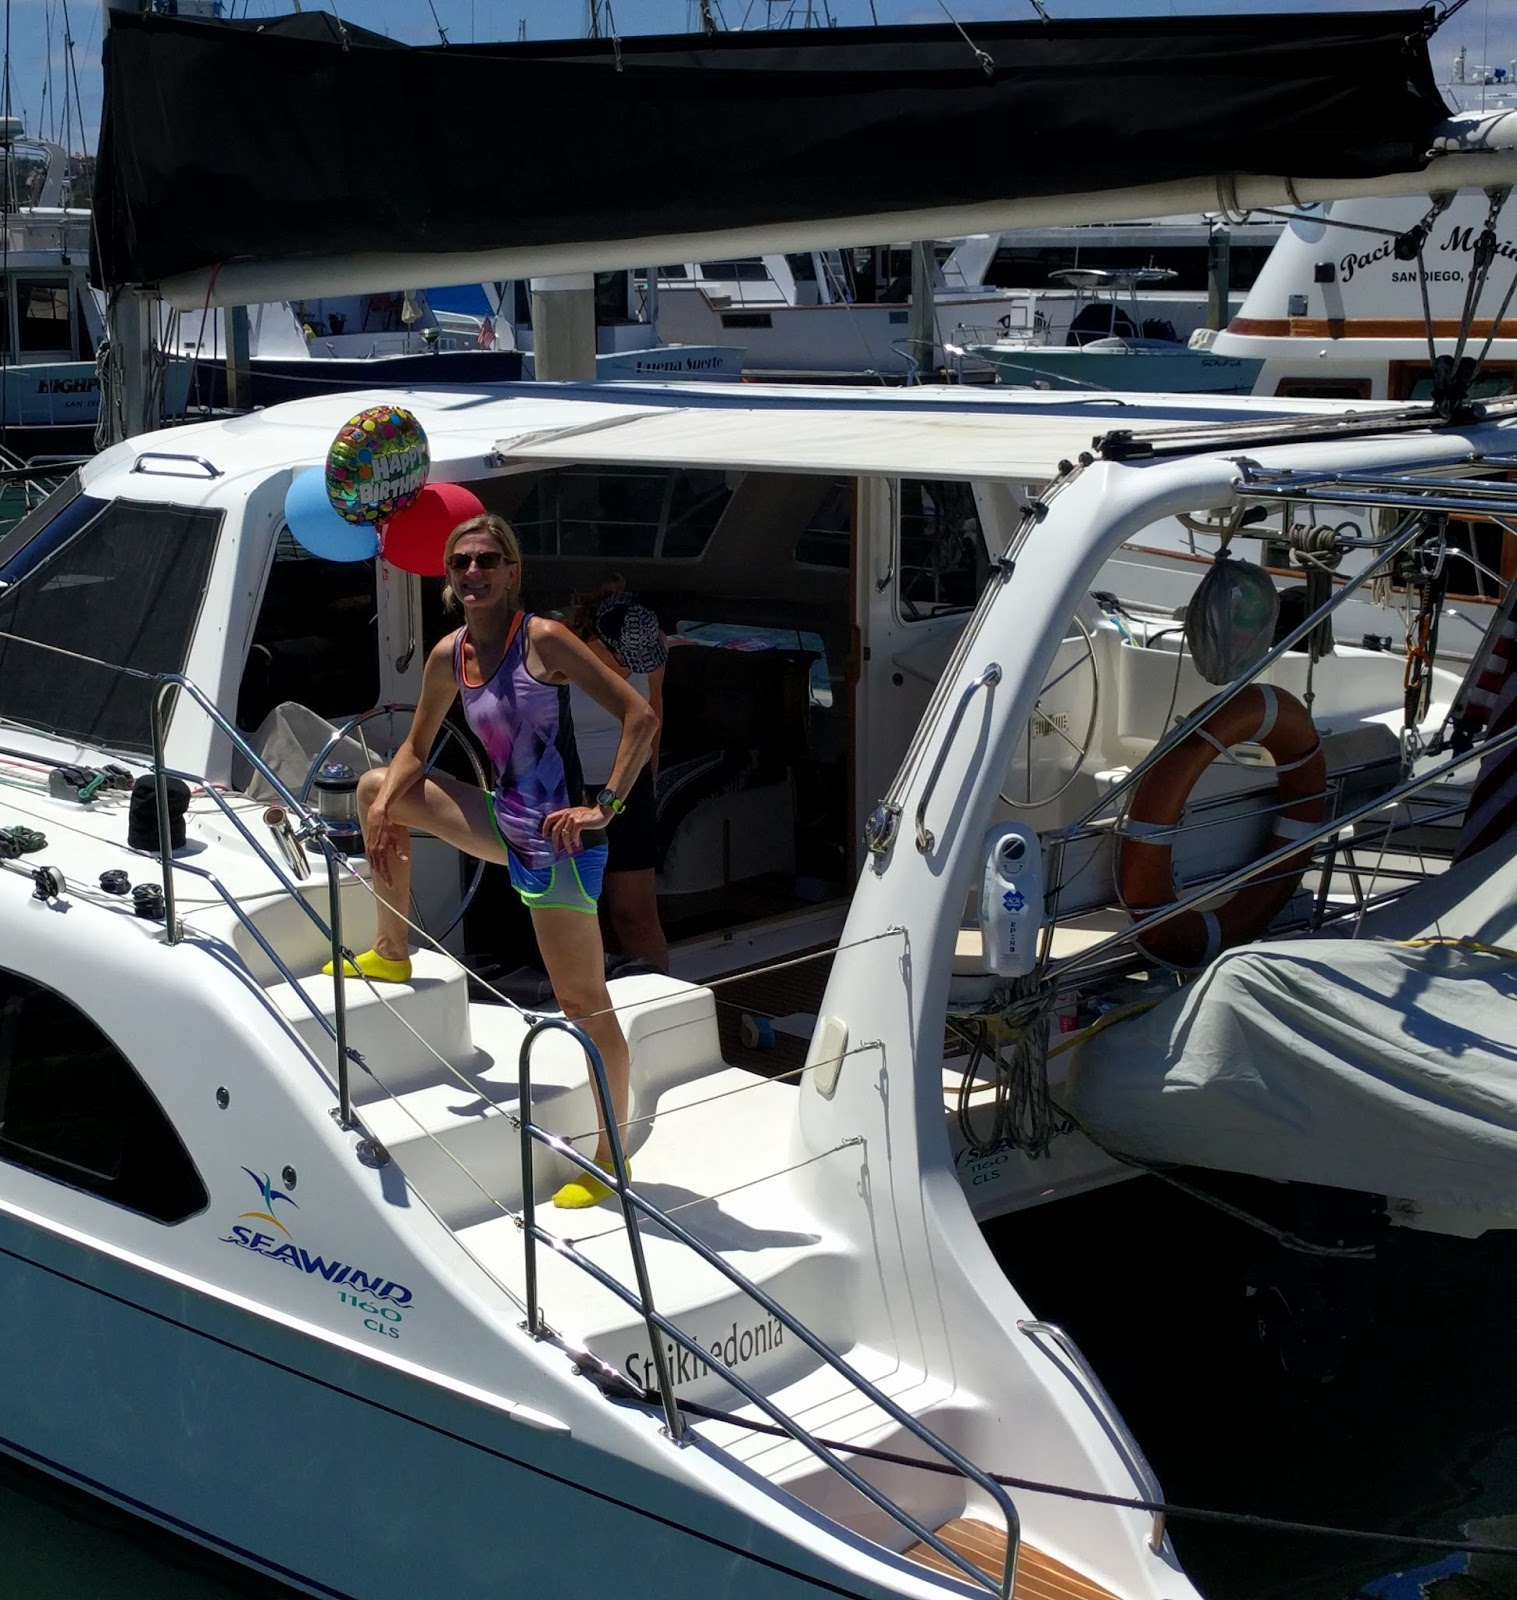
Happy birthday to my beautiful wife!
Still to come; Permanent bolts for the solar arch supports, mounting the new solar panels, installing the new MPPT solar controller, upgrading to lithium batteries, and cleaning up the wiring.
No Comments