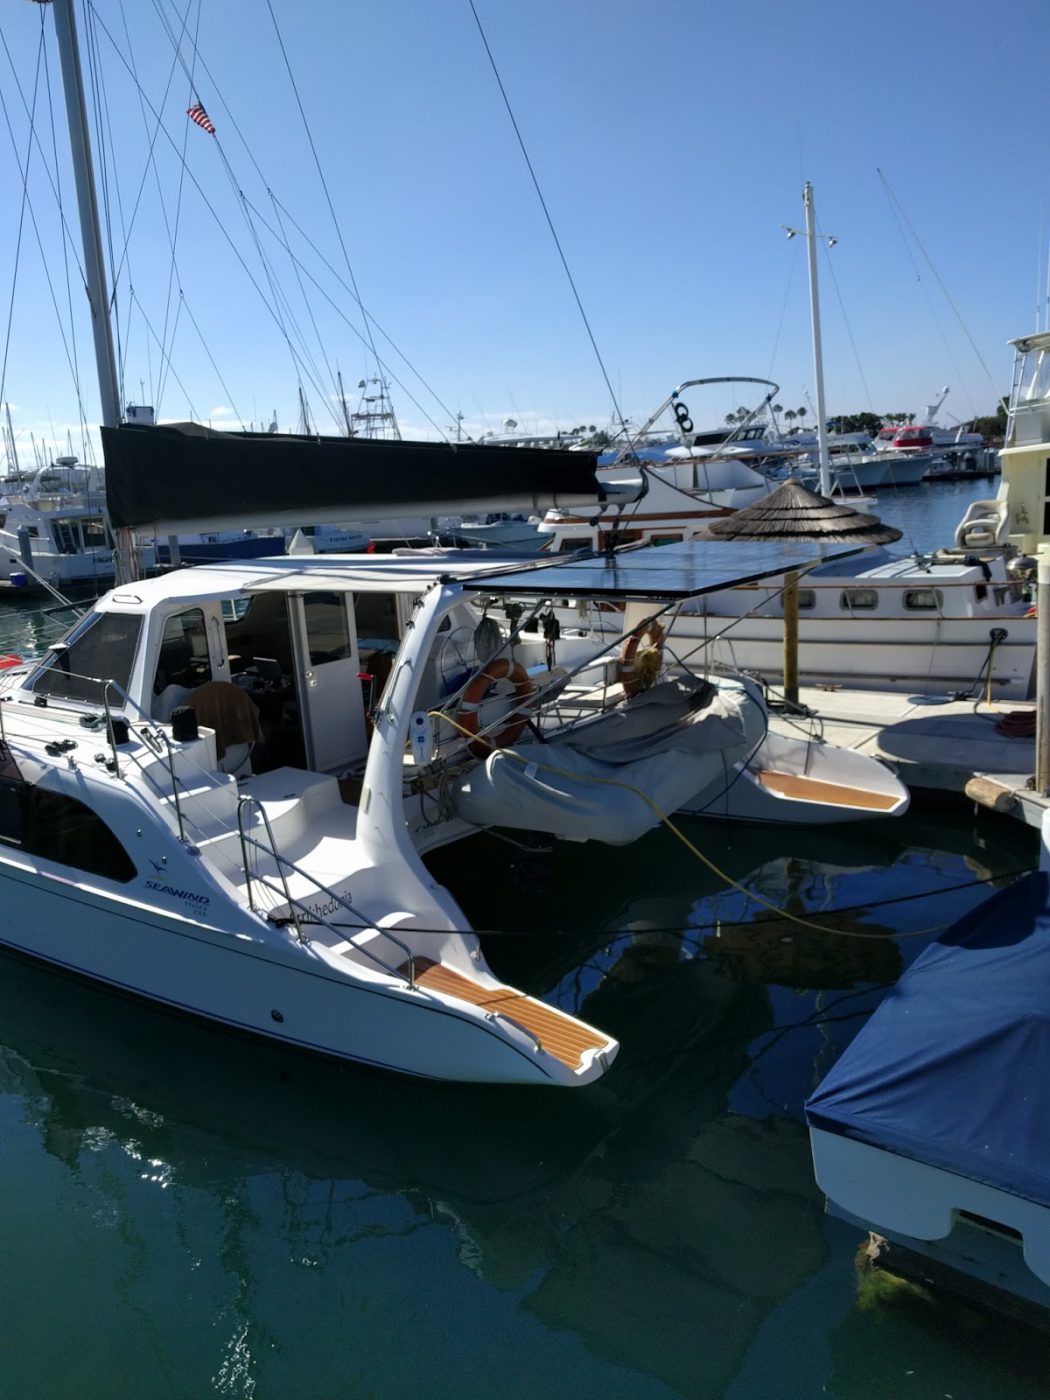
Boat in San Diego, new stainless hardware acquired from Marine Exchange, MC4 crimp tool (and connectors) means I’m ready to go!
Lug the panels to the top of the solar arch and slide them into position. Jump down to start threading the bolts, using the dingy as a ladder, and find that we have a problem…the outside holes don’t line up. No biggie since LG only recommends using four bolts to secure the panels even though there are eight holes available. Start putting the bolt, stainless washer, nylon washer (stainless and aluminum don’t like each other), 1/2 inch spacer, stainless washer, and nylon lock nut. Guess what. The head of the bolt is unable to pass by the solar arch tube. Fuck. Time to brainstorm…
Ultimately I decide the only (and best option) is to use a Dremel to chop off part of the bolt head. Luckily out of 12 bolts only 3 needed this modification.
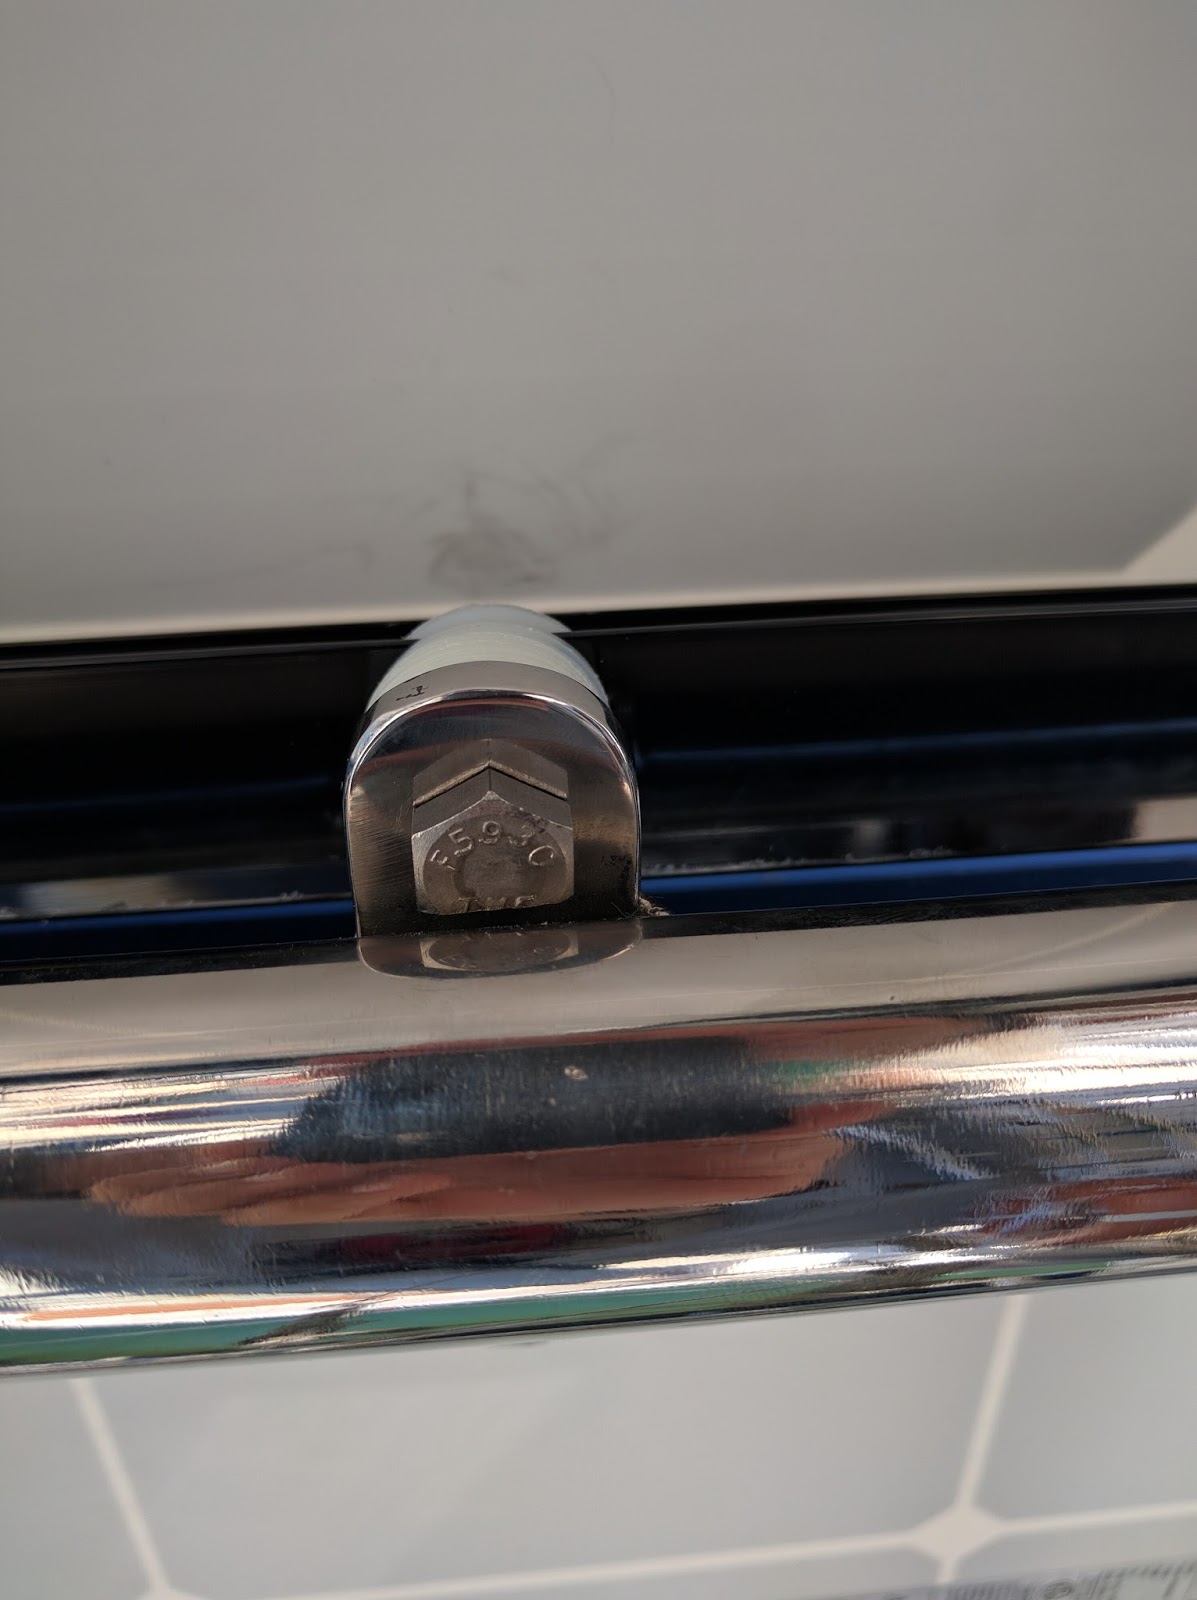
Modified bolt head
Next hurdle, realizing that the arch curves outwards and for the middle panel instead of a 1/2 inch spacer, I needed to add more spacers to bring it up to about 1″ which cleared the arch.
The holes don’t perfectly line up but after a day of awkwardly hanging off the dingy I have the twelve bolts securing the panels.
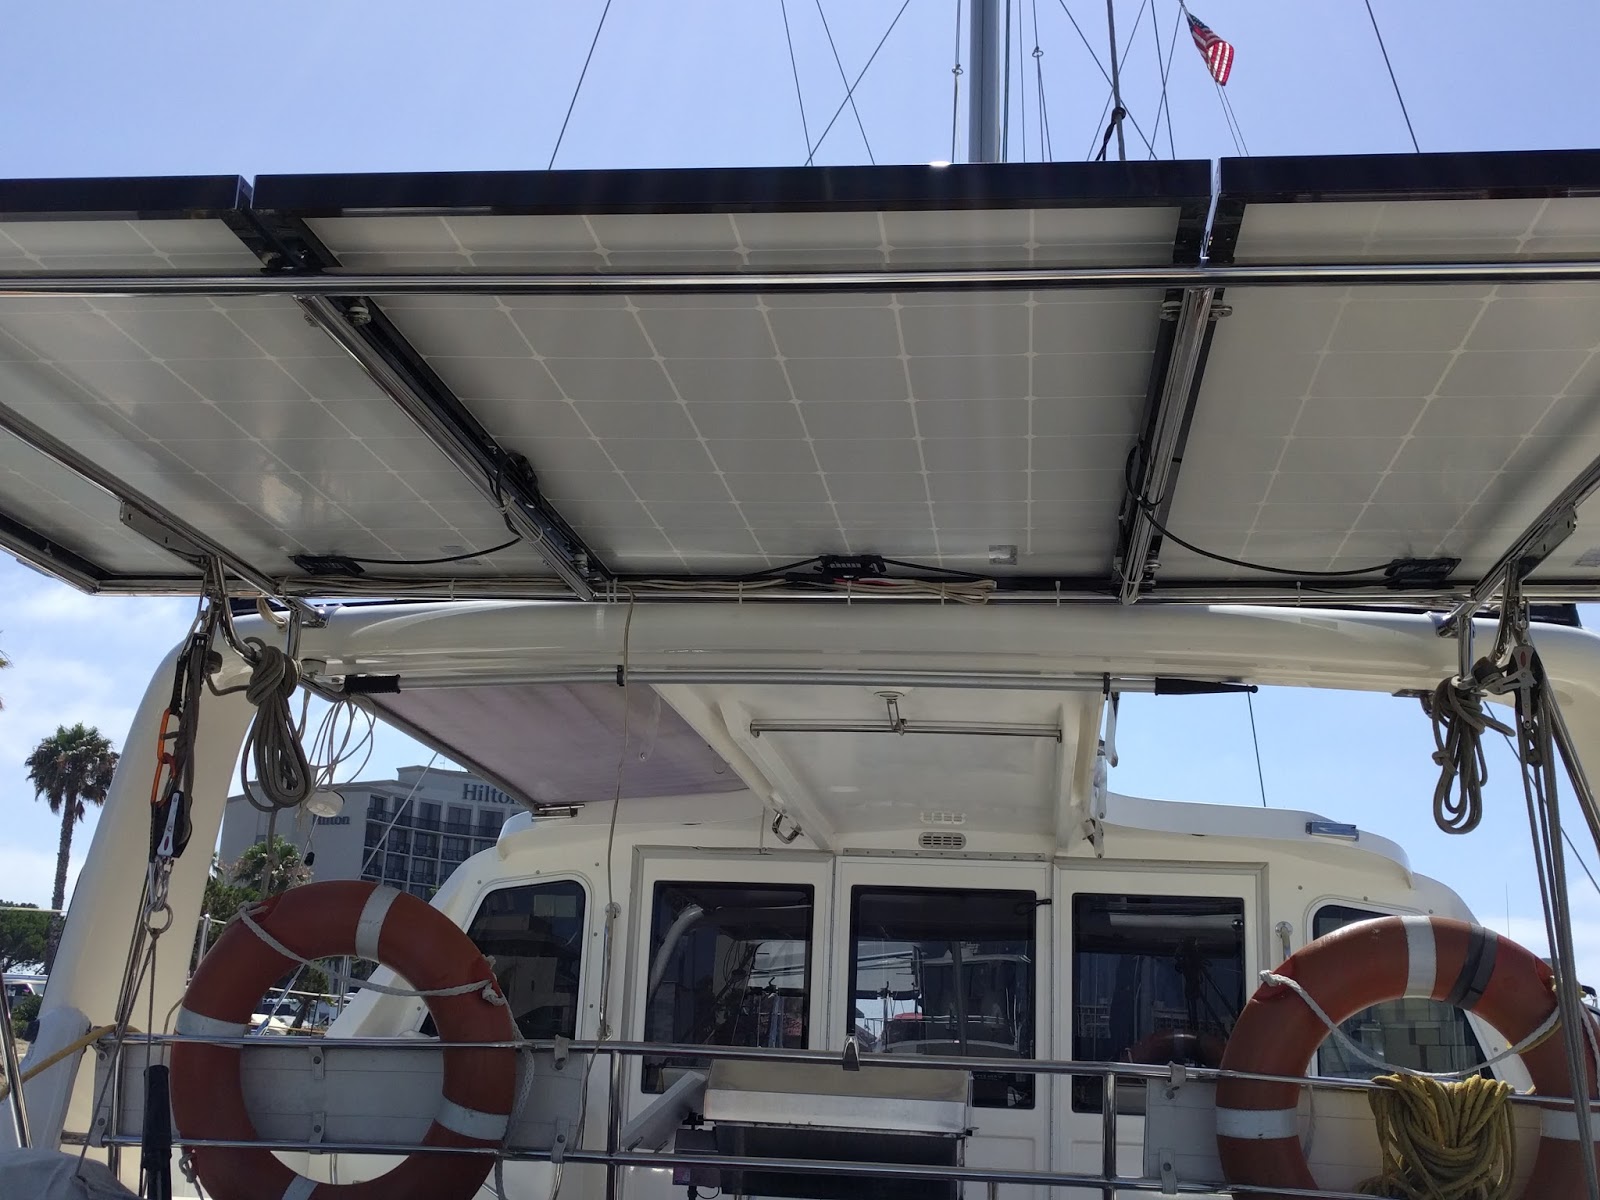
Thankfully the panels are all parallel and in alignment with each other
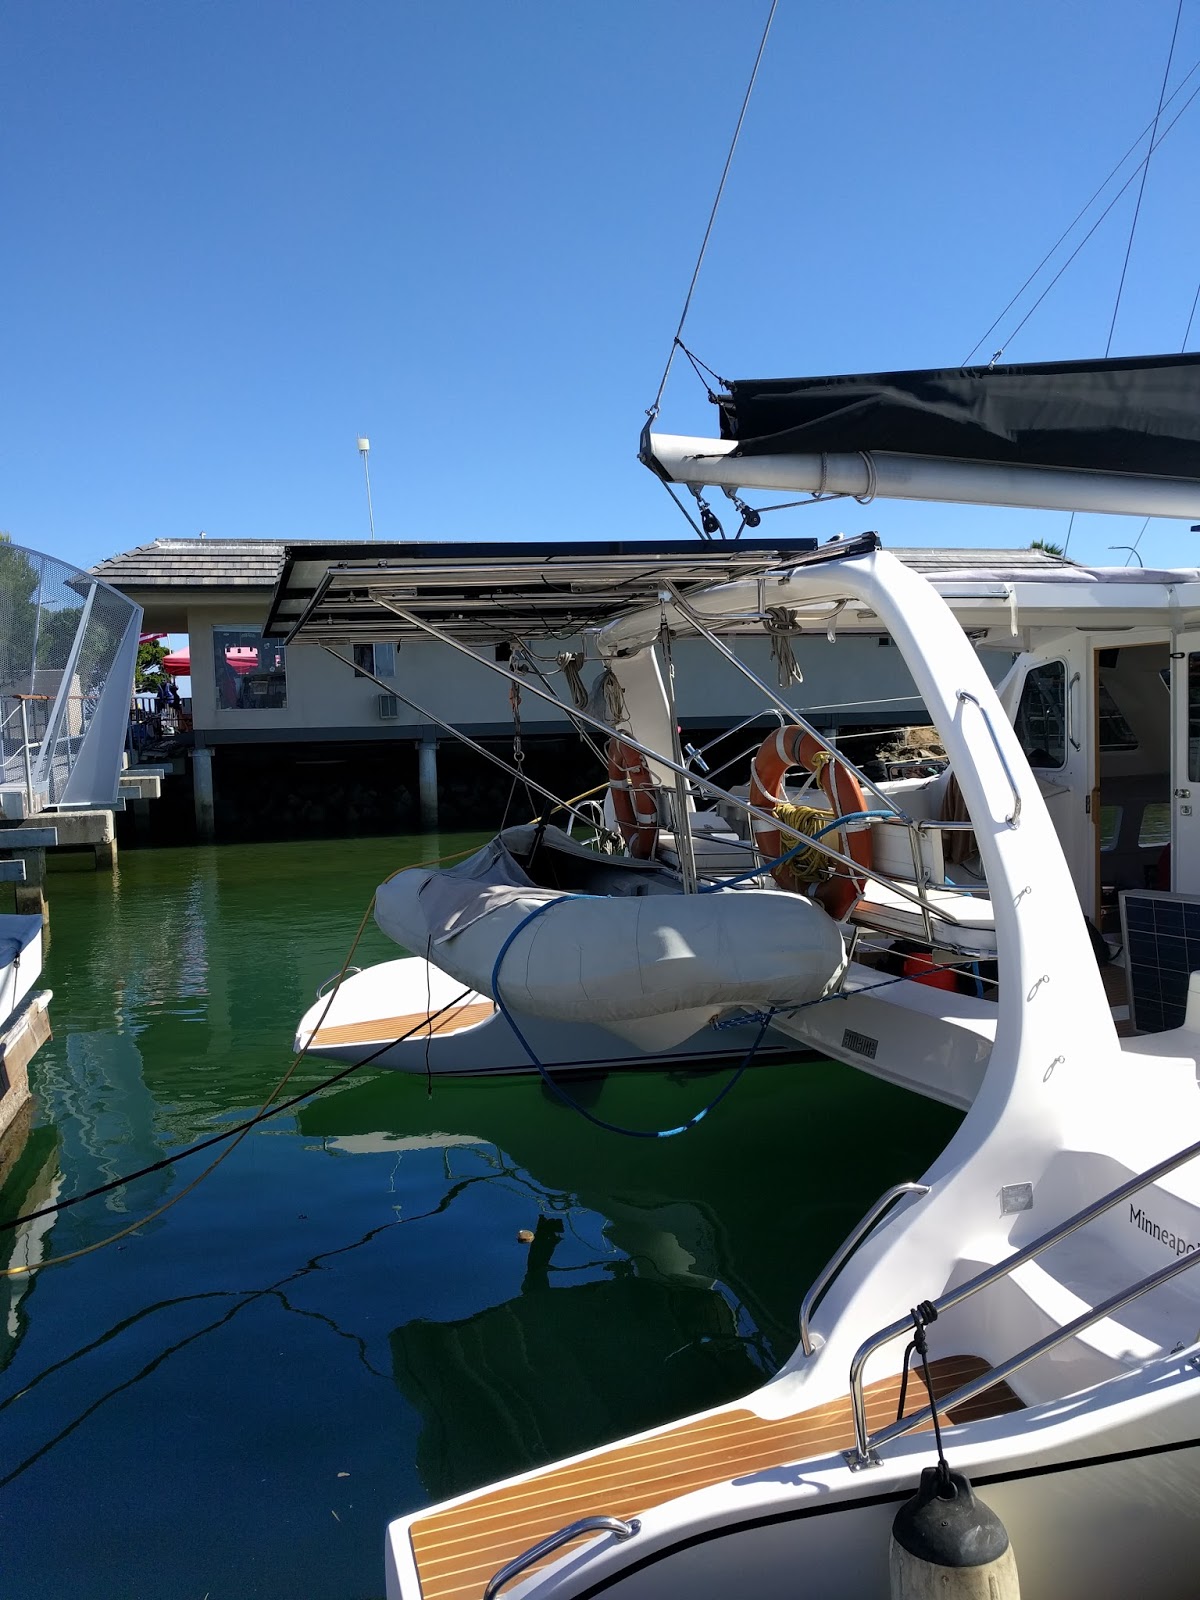
Side view, showing the panels are even with the end of the extensions
Next it was time to terminate the MC4 cables. Seawind 1160s have two 10 gauge 2 conductor cables. I am wiring my panels in series so I added connectors to the one unused cable and secured them inside the solar panel channels to keep water out.
Strange but the two cables are reduced to a single 10 gauge 2 conductor near the saildrive on the port side. Maybe that is specific to my boat, I don’t know.
Terminated on both ends of the cable, all I need is to get the battery upgrade completed and the new Victron MPPT 150/60 Solar Controller installed.
No Comments