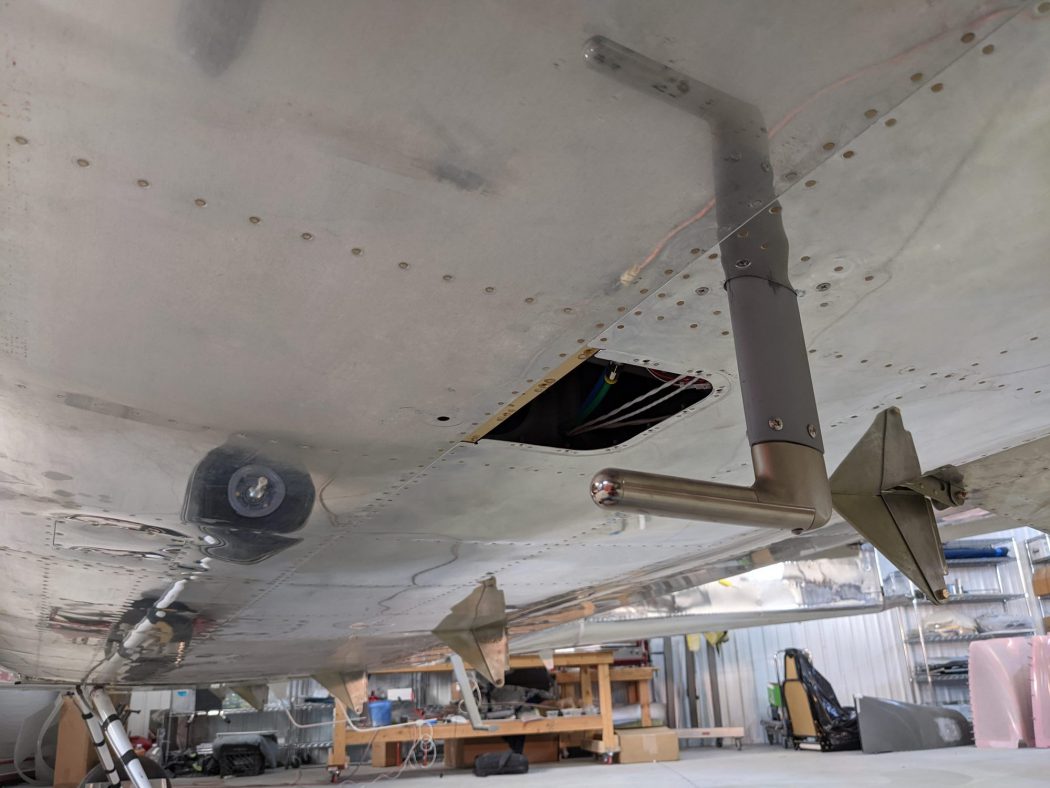
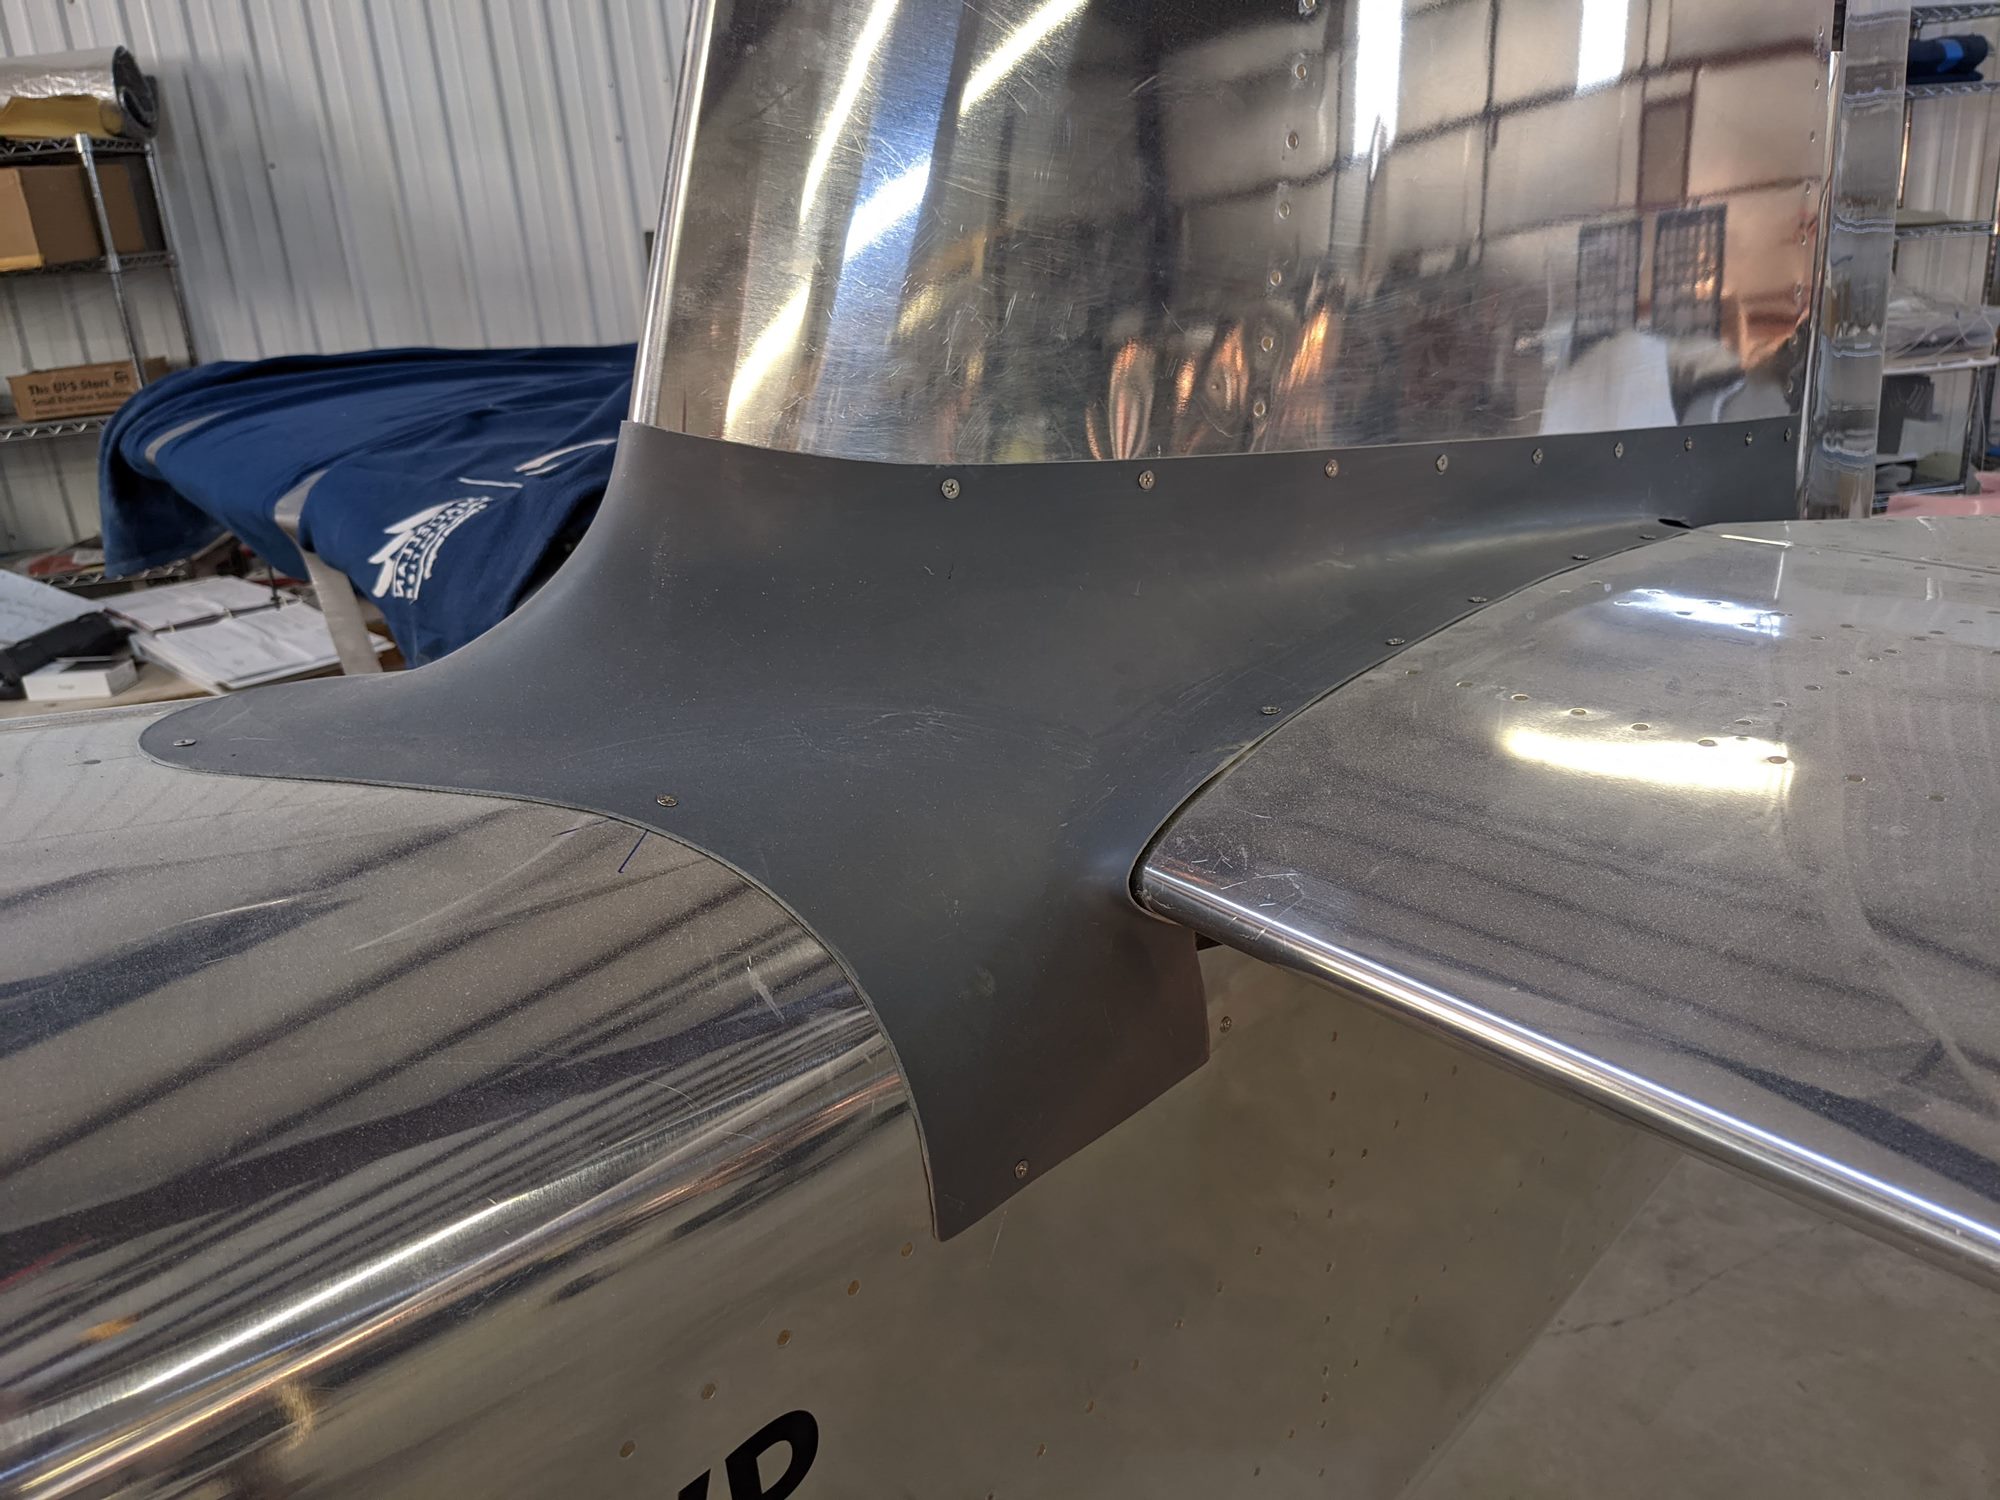
One week left until my inspection and so many little things to tighten up. But if feels good to have the finish line in sight. My day begin with circling back to the Vertical Stabilizer/Horizontal stabilizer fairing. I had drilled the holes but they needed to be countersunk and then the final screws installed. Knocked that out and moved on to mounting the pitot tube mast and pitot tube. Thankfully I wired it correctly and the pieces fell into place for the test run – yep it gets hot.
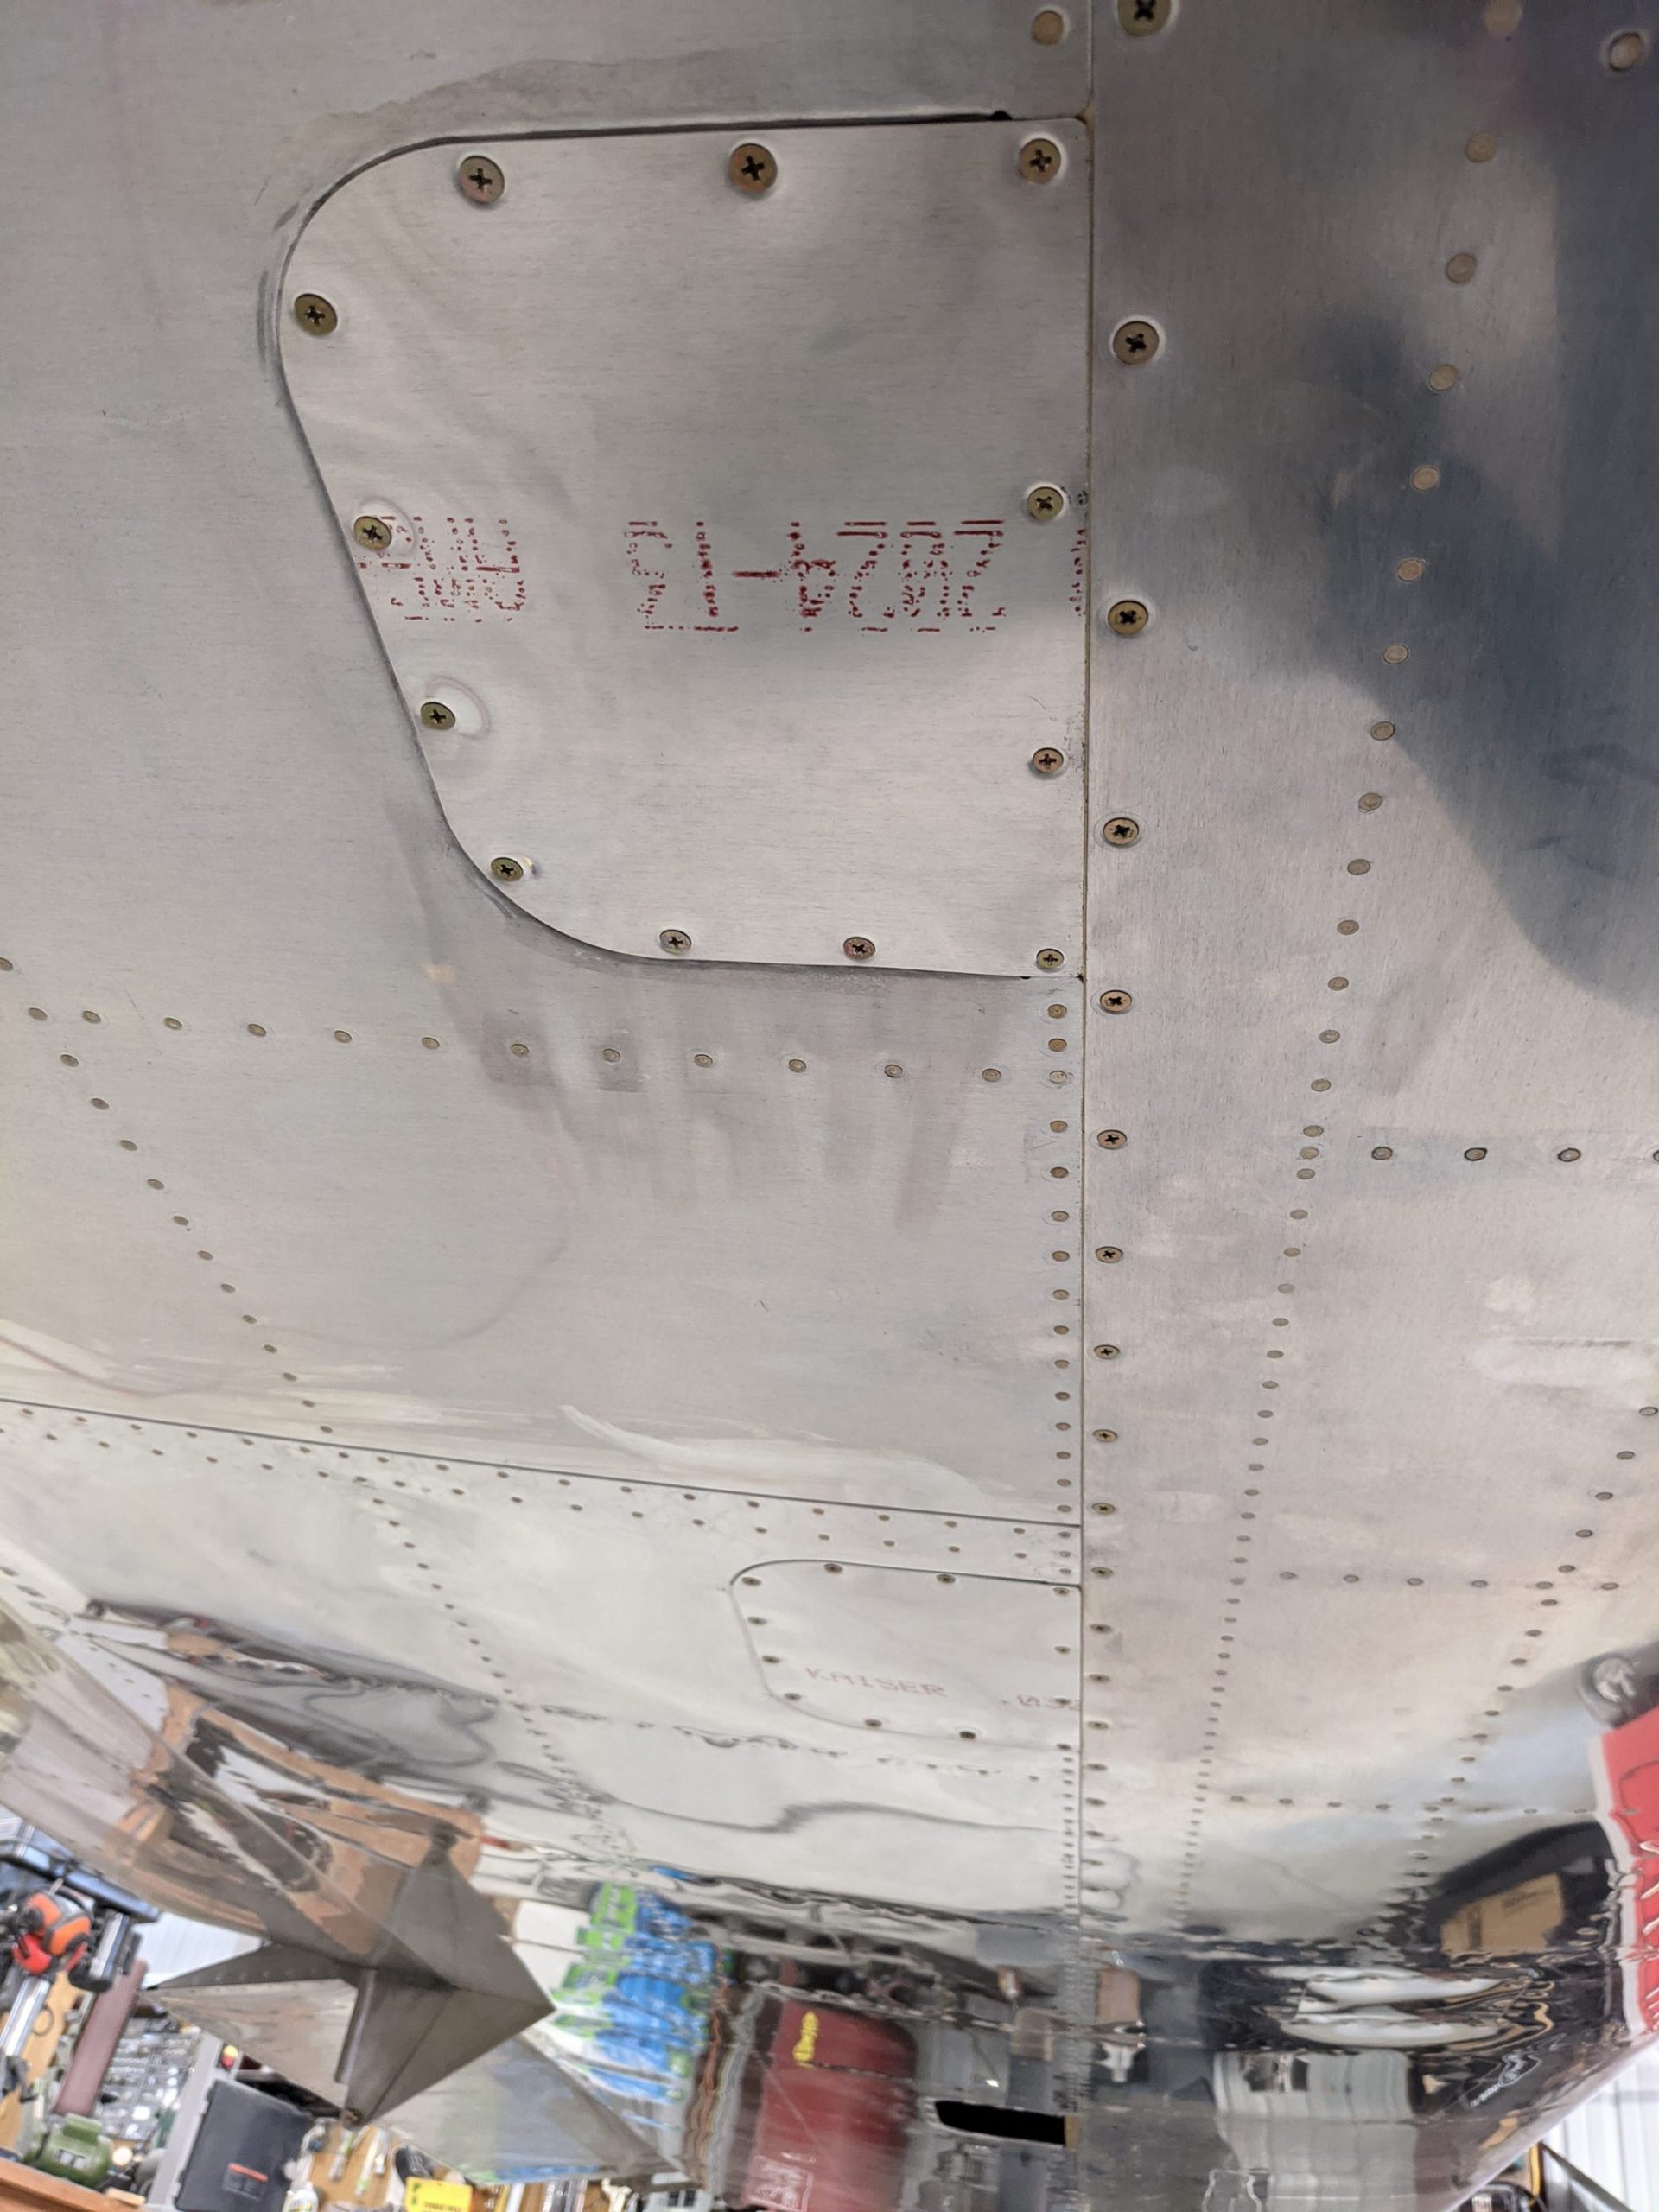
Then it was on to installing the inspection covers on the wing. I needed to leave the aileron bell crank cover off and remove the wing fairings for the next project – adjusting the rigging of the flaps and ailerons. The Van’s manual and even Vansairforce weren’t easy to figure out. The bell crank jig is supposed to be used but with the ailerons set to neutral. But how the fuck do you find neutral with the wings on. An hour of internet searching turned up the answer and the left aileron was spot on, while the right needed a small adjustment. Hopefully that does the trick. I also set the flaps (full up) and then programmed the VPX with Reflex, 0 degrees, 17 degrees, and 34 degrees (the actuator has more range than spec’d by Van’s I might limit it after doing flight testing but for now I am keeping the full range).
I talked to George at Matco, and after our conversation we both feel the brakes are working correctly. A taxi test is needed to confirm. The dragging I felt on the right was due to the piston needing to be compressed, which bouncing wheels will accomplish (if I press on the caliper I can get it to free up). To be continued…
Don stopped by and looked over the engine and gave me a couple of suggestions to increase the life expectancy of a few items. Looks like more clamps and RTV are coming in the new few days…
I tested the roll trim servo and it works correctly but the position sensor is INOP. Probably a couple wires swapped. Left this on the to do list. I also wanted to modify the fuel tank vent line to get it closer to the top of the wing skin, which will allow more fuel in the tank. This required disassembly, cut to get the fittings, and then bending/flairing the new tube. Writing that makes it sound much faster than reality.
It was pointed out that I riveted a panel before pounding the final 5 rivets underneath it. Fuck. Oh well. Pop rivets are easy to drill out. After getting the cover off I pounded those rivets. Then pounded the three rivets under each door (they were removed to position the door), and finally there were two rivets on the fuselage in line with the panel that for some unknown reason were not pounded. Getting them meant disassembly of the panel (not fun) bucking the two rivets and then reassembling. Ugh.

No Comments