I’ve watched plenty of Mike Patey’s videos showing the fabrication of carbon fiber parts but watching and doing are very different things. I knew this would be a learning project and I definitely developed some new skills. Next time I will be much fast with better quality. That said, I am very happy with the results and improvements I have made to N241VP.
I started with fabricating molds off of my doors, this was accomplished with covering the door pockets with packing tape (next time I would use a layer of blue 3M painters tape before applying the clear packing tape, as the residue was a lot of work cleaning off). Then I laid up three layers of fiberglass.


After the fiberglass cured I popped off the parts and used body filler to cover the imperfections caused by the tape. This was an iterative process of body filler, sand, repeat until I was happy with the molds.


Then I coated the molds with three layers of mold release and made a test part with some unidirectional carbon fiber to prove I was on the right track. That looked good so I proceeded to make the four hinge pocket covers with four layers of carbon fiber and topped with peel ply.
Once cured and the parts removed from the mold I was happy with the peel ply side but not the mold side. After cleaning the mold release and sanding the parts I coated them with epoxy and applied peel ply. The result was was okay but not perfect as I had some areas missing epoxy. Blerg – cue this is a learning project.
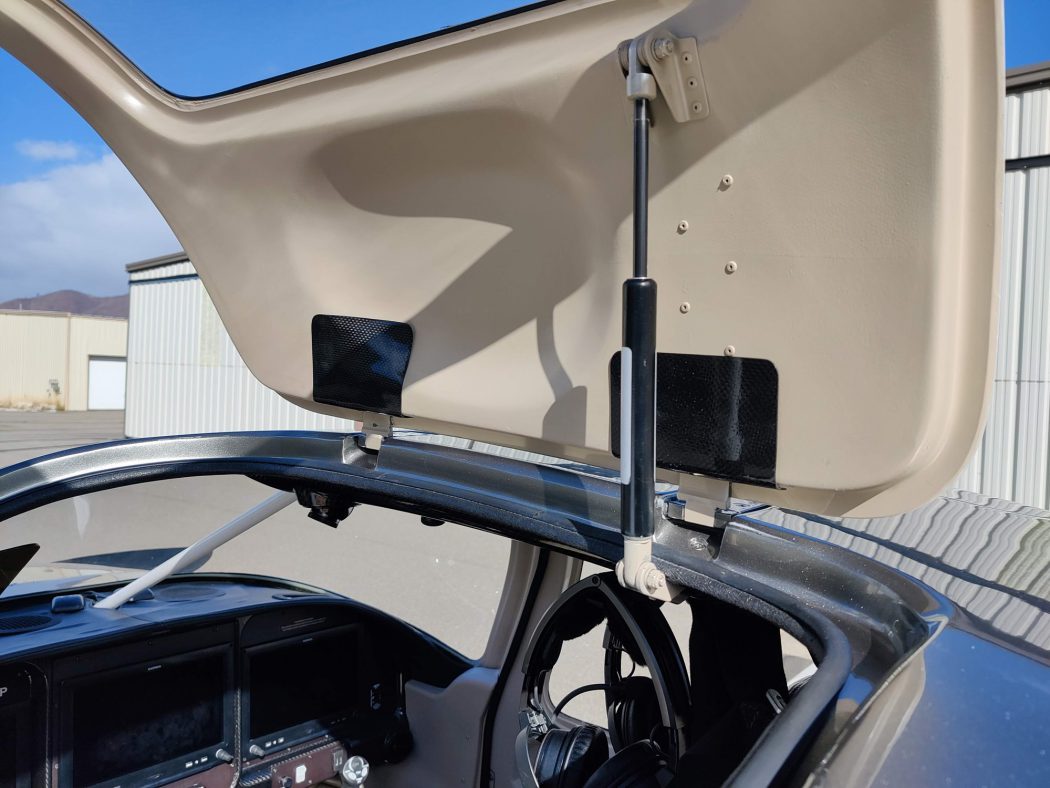
Next I fit the parts to the cabin doors and trim them to size. It was a relief to see that they fit well and looked good. Back home I applied touch up epoxy and then sanded the parts. Half the parts were acceptable but the other two I decided to add a layer of carbon fiber and this time vacuum bag them with my food vacuum sealer. At the same time I made the second door handle pocket cover.
The vacuum sealer was a big improvement but still left some pin holes – to be expected. This time I tried what Cam at Blacktail Studios does on his epoxy tables to fill small voids – CA glue. Short answer, I’ll stick with epoxy. The CA glue cures faster but is much harder making finish sanding a pain since you don’t want to sand the non-CA glue areas. But in the end I had parts ready for clear coat.


I went with rattle can Spray Max 2K High Gloss Finish Clear Coat. Lots of warning about using a respirator and others recommended only using at the recommended 68 degree air temperature – no choice but to spray in my garage (inside a cardboard box) to get the right temperature. I applied four coats and was happy with the finish. If I cut and polished they would be perfect but I was satisfied with calling it good at this point.

Overall a great learning project that took a lot of days due to inexperience and just the process itself. Back to work!
No Comments